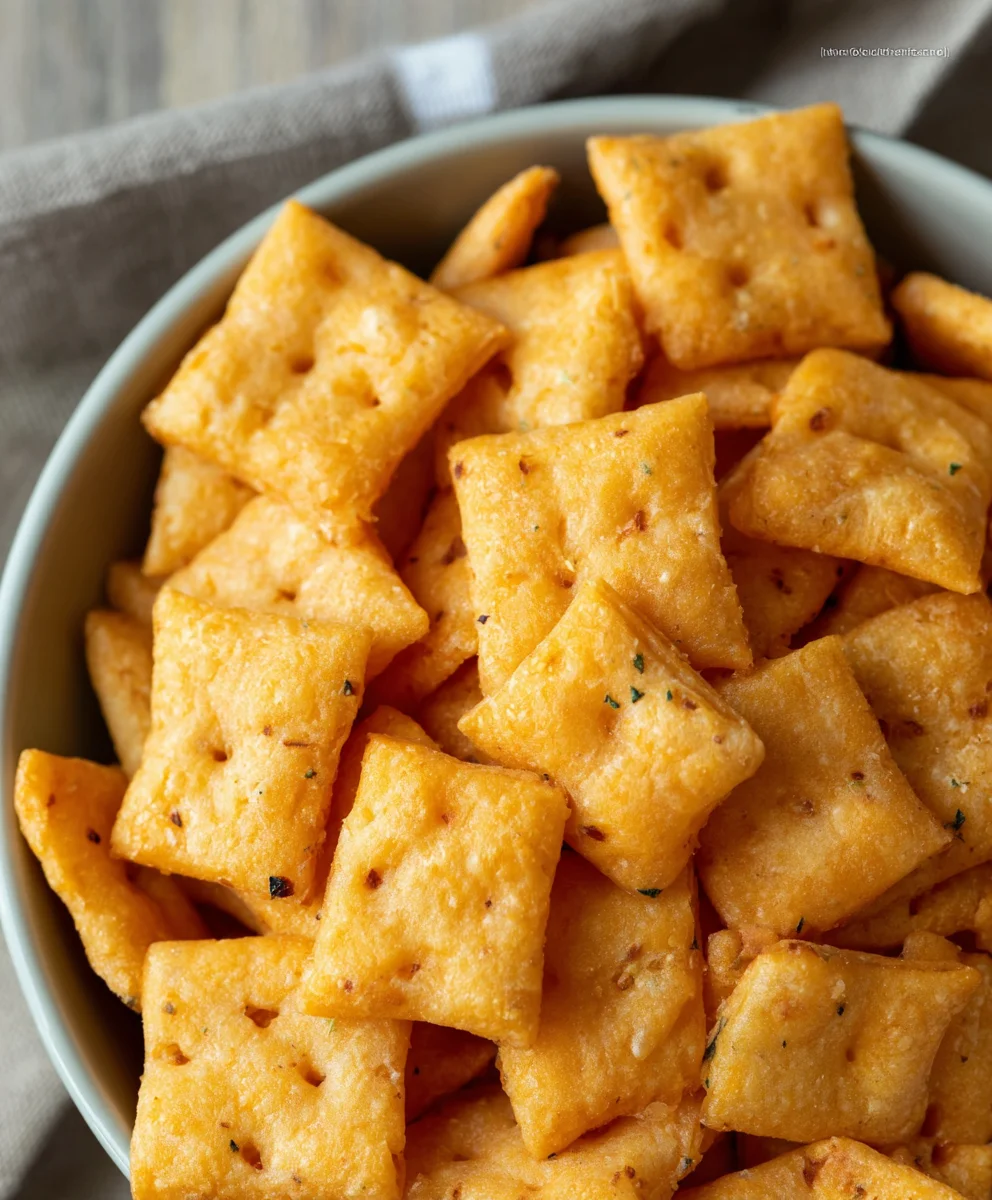
Gluten-Free Cheez-Its Recipe – Easy & Delicious Snack
Gluten Free Cheez Its are more than just a snack; they’re a nostalgic trip back to childhood, a comforting crunch that satisfies cravings without the glutenous guilt. For those of us who navigate the world of gluten-free eating, finding a savory, cheesy cracker that truly hits the spot can feel like discovering hidden treasure. That’s precisely why this recipe for homemade Gluten Free Cheez Its is a game-changer. Forget the store-bought versions that often fall short in texture or authentic cheesy flavor. We’re talking about a cracker so perfectly crisp, so intensely cheesy, it might just rival the origin extractal. This recipe unlocks the secret to that signature square shape and irresistible aroma, all while being completely gluten-free. Get ready to experience the joy of a beloved snacgin extractreimagined for everyone to enjoy.

Ingredients:
- 8 ounces cheddar cheese (mild or sharp), finely shredded
- 4 tablespoons unsalted butter, softened
- 1 cup gluten free flour blend (ensure it contains xanthan gum for best results)
- 1/2 teaspoon salt
- 1/8 teaspoon garlic powder
- 3 tablespoons cold water
- 1 teaspoon coarse salt (such as sea salt or kosher salt), for sprinkling
- 1/8 teaspoon onion powder
Preparing the Dough
The foundation of delicious homemade Gluten Free Cheez Its lies in a well-made dough. We want to ensure everything is perfectly incorporated for that signature crispiness and cheesy flavor. Start by placing your finely shredded cheddar cheese into a medium-sized mixing bowl. If your cheese is not already shredded, take the time to grate it finely. This will help it incorporate more smoothly into the dough and melt beautifully. Next, add the softened unsalted butter to the bowl with the cheese. It’s important that the butter is softened, not melted, so it can cream together with the cheese. Using a pastry blender or two forks, work the butter and cheese together until the mixture is crum extractbly and well combined, resembling coarse meal. This step is crucial for creating pockets of flavor throughout your crackers.
Now, it’s time to add the dry ingredients. In a separate small bowl, whisk together the gluten free flour blend, the 1/2 teaspoon of salt, the garlic powder, and the onion powder. Whisking these dry ingredients together beforehand ensures they are evenly distributed, preventing any concentrated pockets of seasoning and guaranteeing consistent flavor in every bite. Once your dry ingredients are well combined, gradually add them to the cheese and butter mixture. You can do this by adding about half of the dry ingredients at first and then mixing them in gently.
Incorporating the Liquid and Chilling
As you begin extract to incorporate the dry ingredients into the cheese and butter mixture, you’ll notice it becomingrum extractite crumbly. This is perfectly normal for a gluten free dough. Now, it’s time to introduce the cold water. Add the 3 tablespoons of cold water, one tablespoon at a time, mixing gently after each addition. You might not need all three tablespoons, or you might need a tiny bit more, depending on the humidity and the specific gluten free flour blend you’re using. The goal is to bring the dough together just until it forms a cohesive ball. Be careful not to overmix at this stage, as overworking gluten free dough can lead to a tougher texture. Once the dough starts to come together, turn it out onto a clean, lightly floured surface (using your gluten free flour blend). Gently knead it just a few times to ensure all the ingredients are fully incorporated and the dough is smooth. It should be firm but pliable.
At this point, it’s essential to chill the dough. This step is vital for gluten free baking as it allows the starches in the flour to fully hydrate and also makes the dough much easier to handle and roll out. Wrap the dough tightly in plastic wrap, forming it into a flat disc. This will increase the surface area, helping it to chill faster. Place the wrapped dough in the refrigerator for at least 30 minutes, or until it is firm and chilled through. This chilling period is also a good time to preheat your oven and prepare your baking sheets.
Rolling and Cutting the Crackers
Once the dough is well-chilled and firm, it’s time to roll it out. Preheat your oven to 350 degrees Fahrenheit (175 degrees Celsius). Line two baking sheets with parchment paper. This will prevent the crackers from sticking and make cleanup a breeze. Take the chilled dough out of the refrigerator and unwrap it. Place the dough between two sheets of parchment paper or on a lightly floured surface. Roll the dough out as thinly as possible, aiming for about 1/16 to 1/8 of an inch thick. The thinner you roll it, the crispier your Gluten Free Cheez Its will be, mimicking that satisfying crunch of the store-bought version. Be patient with this step, as gluten free dough can sometimes be a little delicate. If it starts to stick, dust your rolling pin and surface with a little more gluten free flour.
Once the dough is rolled out to your desired thickness, carefully peel off the top layer of parchment paper. Now, you have a few options for cutting your crackers. You can use a small square cookie cutter, about 1-inch by 1-inch, to create classic Cheez Its shapes. Alternatively, you can use a pizza cutter or a sharp knife to cut the dough into small squares or rectangles. Don’t worry about perfect uniformity; slightly irregular shapes add to the homemade charm. Once you have cut out your shapes, carefully transfer the dough (still on the parchment paper) to your prepared baking sheets, leaving a little space between each cracker.
Baking to Golden Perfection
Before the crackers go into the oven, we need to add that final touch of flavor and texture. This is where the coarse salt comes in. Lightly sprinkle each cracker with a pinch of the coarse salt. This will add a delightful savory crunch and enhance the cheesy flavor. For an extra touch, you can also gently poke each cracker with the tines of a fork a couple of times. This helps to prevent them from puffing up too much during baking and also creates those characteristic little holes you see on store-bought crackers.
Now, carefully place the baking sheets into your preheated oven. Bake for 12 to 18 minutes, or until the crackers are golden brown and slightly crisp around the edges. The exact baking time will depend on how thinly you rolled your dough and the specific oven you are using. Keep a close eye on them during the last few minutes of baking, as they can go from perfectly golden to burnt quite quickly, especially when they are this thin. Once they are baked to your liking, carefully remove the baking sheets from the oven. Allow the Gluten Free Cheez Its to cool on the baking sheets for a few minutes before transferring them to a wire rack to cool completely. As they cool, they will continue to crisp up. Once completely cooled, they are ready to be enjoyed! Store any leftovers in an airtight container at room temperature for up to a week.
Conclusion:
You’ve now learned how to create your very own batch of delicious Gluten Free Cheez Its! This recipe is a fantastic way to enjoy that classic cheesy, crunchy snack without any gluten. I hope you found the process straightforward and are excited to taste the results. Don’t be afraid to experiment with this recipe; it’s quite forgiving and opens up a world of flavor possibilities. Whether you’re gluten-intolerant or simply looking for a healthier alternative, these homemade Gluten Free Cheez Its are sure to become a household favorite.
These crunchy bites are perfect for snacking on their own, packing in lunchboxes, or serving as a fun appetizer at your next gathering. They pair wonderfully with dips like salsa, guacamole, or a creamy ranch. For a little extra flair, consider dusting them with a hint of paprika or garlic powder before baking for a subtle flavor boost. Remember, the joy of homemade treats lies in making them your own, so have fun with it!
Frequently Asked Questions about Gluten Free Cheez Its:
Q1: Can I use different types of cheese in this Gluten Free Cheez Its recipe?
Absolutely! While sharp cheddar provides that signature flavor, feel free to experiment with other hard, meltable cheeses like Monterey Jack, Colby, or even a blend. Just ensure the cheese is finely grated for the best texture.
Q2: How can I make my Gluten Free Cheez Its extra cheesy?
To intensify the cheesy flavor, you can increase the amount of cheese slightly or opt for a more robustly flavored cheese. Some people also find adding a pinch of nutritional yeast to the dough enhances the umami and cheesy notes.
Gluten-Free Cheez-Its Recipe
An easy and delicious recipe for homemade gluten-free Cheez-Its crackers that are perfectly cheesy and crisp.
Ingredients
-
8 ounces cheddar cheese (mild or sharp), finely shredded
-
4 tablespoons unsalted butter, softened
-
1 cup gluten free flour blend (ensure it contains xanthan gum for best results)
-
1/2 teaspoon salt
-
1/8 teaspoon garlic powder
-
3 tablespoons cold water
-
1 teaspoon coarse salt, for sprinkling
-
1/8 teaspoon onion powder
Instructions
-
Step 1
Combine shredded cheddar cheese and softened butter in a medium bowl. Use a pastry blender or forks to mix until crumbly and well combined. -
Step 2
In a separate small bowl, whisk together the gluten-free flour blend, 1/2 teaspoon salt, garlic powder, and onion powder. Gradually add the dry ingredients to the cheese and butter mixture, mixing gently. -
Step 3
Add cold water one tablespoon at a time, mixing gently until the dough just forms a cohesive ball. Turn out onto a lightly floured surface and knead briefly until smooth. Wrap in plastic wrap, form into a flat disc, and chill for at least 30 minutes. -
Step 4
Preheat oven to 350°F (175°C). Line two baking sheets with parchment paper. Roll out the chilled dough thinly (1/16 to 1/8 inch thick) between parchment paper or on a lightly floured surface. Cut into small squares or rectangles using a cookie cutter, pizza cutter, or knife. -
Step 5
Transfer crackers to the prepared baking sheets. Sprinkle each cracker with coarse salt. Optionally, poke each cracker with a fork a couple of times. -
Step 6
Bake for 12 to 18 minutes, or until golden brown and crisp. Let cool on baking sheets for a few minutes before transferring to a wire rack to cool completely. Store in an airtight container.
Important Information
Nutrition Facts (Per Serving)
It is important to consider this information as approximate and not to use it as definitive health advice.
Allergy Information
Please check ingredients for potential allergens and consult a health professional if in doubt.