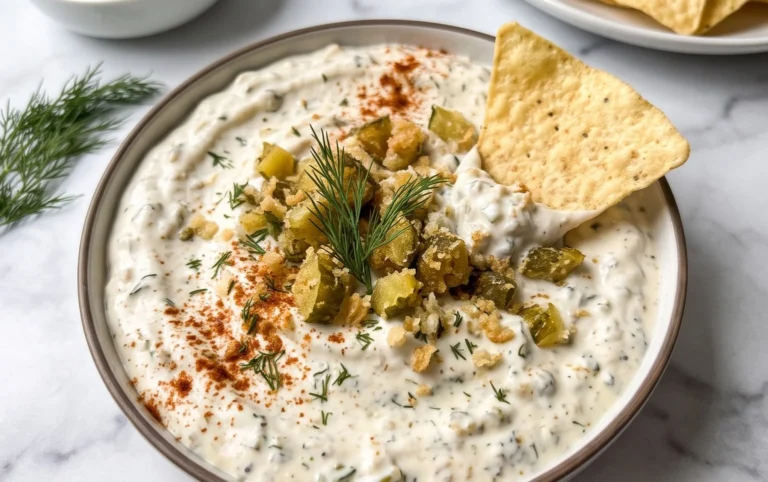
Crispy Cottage Cheese Chips – Healthy Snack Recipes
Cottage cheese chips are having a moment, and for good reason! If you’ve been scrolling through your favorite food feeds, you’ve likely seen these surprisingly simple, incredibly versatile creations popping up. People absolutely adore them because they hit that perfect sweet spot: they’re a guilt-free, protein-packed snack that satisfies cravings for something crunchy and savory, or even sweet! Unlike many traditional chip options, these are packed with protein, making them a fantastic choice for a post-workout refuel or a satisfying afternoon pick-me-up that won’t leave you feeling sluggish. What truly makes cottage cheese chips so special is their cbeef hameleon-like nature; they are a blank canvas ready to be transformed into endless flavor combinations. Whether you’re craving a spicy kick, a herby delight, or a cheesy indulgence, these crispy wonders can do it all. Get ready to discover how easy it is to make your own delicious batch.
Ingredients:
- 1 cup (240g) full-fat cottage cheese
- 1 large egg
- 2 tablespoons (30g) nutritional yeast
- 1/2 teaspoon garlic powder
- 1/4 teaspoon onion powder
- 1/4 teaspoon smoked paprika
- 1/4 teaspoon fine sea salt, or to taste
- Pinch of black pepper
- Optional: Dried herbs like dill, parsley, or chives for extra flavor
- Optional: A tiny pinch of cayenne pepper for a subtle kick
Prepping Your Crispy Creations
Getting Started with the Base Mixture
To begin extract crafting your incredibly addictive Cottage Cheese Chips, we first need to create our flavorful base. In a medium-sized bowl, combine the full-fat cottage cheese and the large egg. It’s important to use full-fat cottage cheese here; it provides the best texture and richness for these chips. Lower fat versions can sometimes result in a less desirable, waterier consistency. Now, whisk these two ingredients together thoroughly. You’re aiming for a smooth, uniform mixture. Don’t worry if there are a few tiny lumps of cottage cheese remaining; they will melt and integrate during the baking process. The egg acts as a binder, helping our chips hold their shape and achieve that satisfying crisp.
Infusing with Savory Flavors
Next, it’s time to elevate our simple cottage cheese and egg mixture with a symphony of savory seasonings. Add the nutritional yeast to the bowl. Nutritional yeast is a fantastic ingredient; it imparts a cheesy, umami flavor without any actual dairy cheese, making these chips wonderfully flavorful and suitable for those who might be avoiding traditional cheese. Following that, sprinkle in the garlic powder, onion powder, smoked paprika, fine sea salt, and a pinch of black pepper. If you’re feeling adventurous and want to add a bit more complexity, now is the time to add your optional dried herbs. Dill and chives pair beautifully, offering a fresh, herbaceous counterpoint to the savory base. For those who enjoy a hint of heat, a minuscule pinch of cayenne pepper can be added, but be sparing; we’re aiming for a subtle warmth, not overwhelming spice.
The Baking Transformation
Step 1: Achieving the Perfect Consistency for Spreading
Once all your ingredients are in the bowl, whisk everything together vigorously until it’s well combined and you have a smooth, relatively thick batter. This mixture will be somewhat thick, almost like a very dense pancake batter. It’s crucial that it’s not too liquidy, as this will prevent the chips from crisping up properly. If, for some reason, your mixture seems unusually thin (this can sometimes happen depending on the moisture content of your cottage cheese), you can gently stir in an extra teaspoon or two of nutritional yeast to help thicken it slightly. Taste the mixture at this stage and adjust the salt if needed. Remember, the flavors will intensify slightly as they bake, but you want them to be well-seasoned from the start.
Step 2: Preparing Your Baking Sheet for Optimal Crispness
Now, it’s time to prepare for baking. Preheat your oven to 325°F (160°C). This moderate temperature is key to achieving crispy chips without burning them. Line a large baking sheet with parchment paper. Parchment paper is essential for preventing sticking and ensuring that your Cottage Cheese Chips peel off easily once they’re baked. It also helps promote even browning and crisping from the bottom up. Do not skip this step!
Step 3: Spreading the Batter Thinly and Evenly
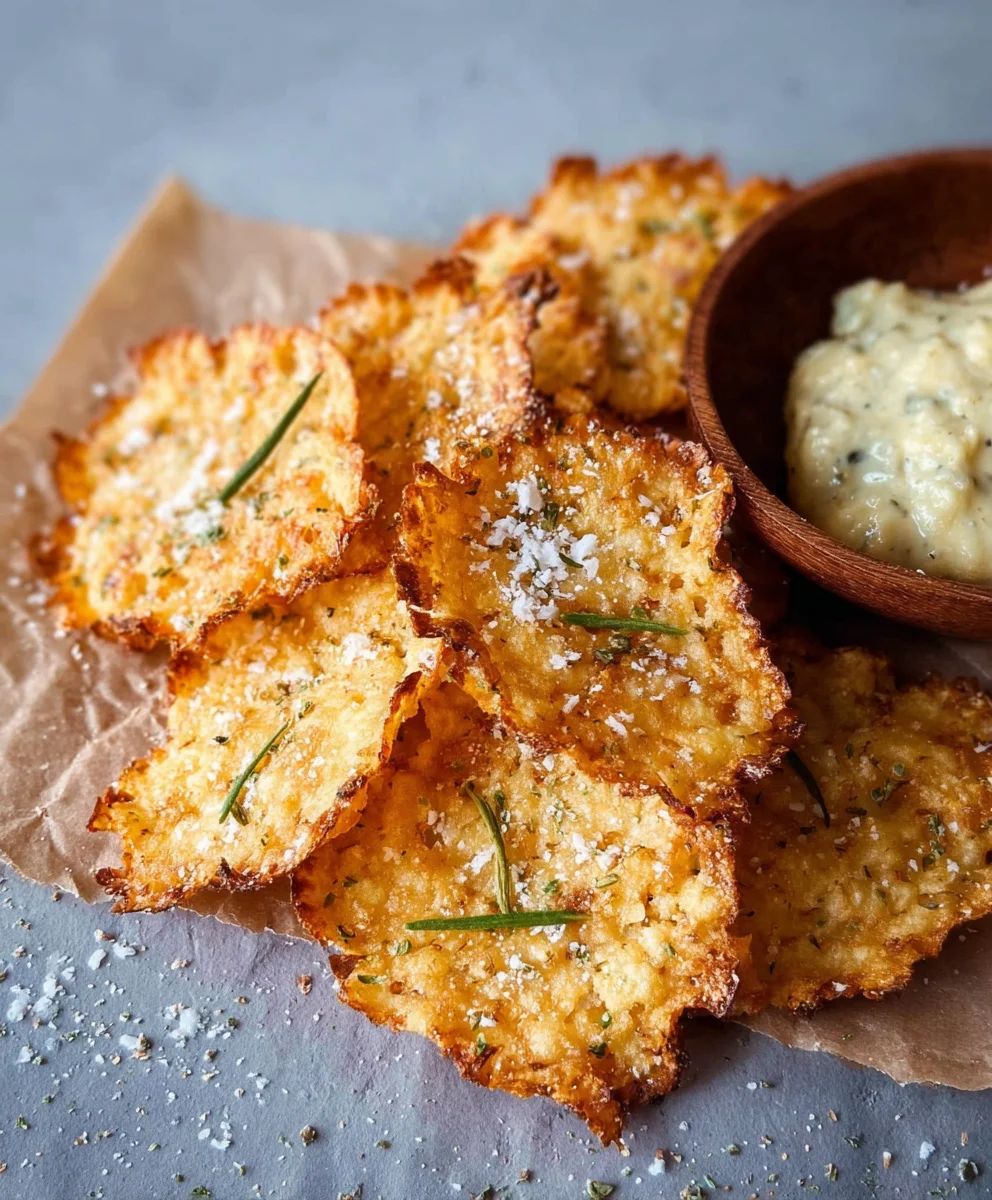
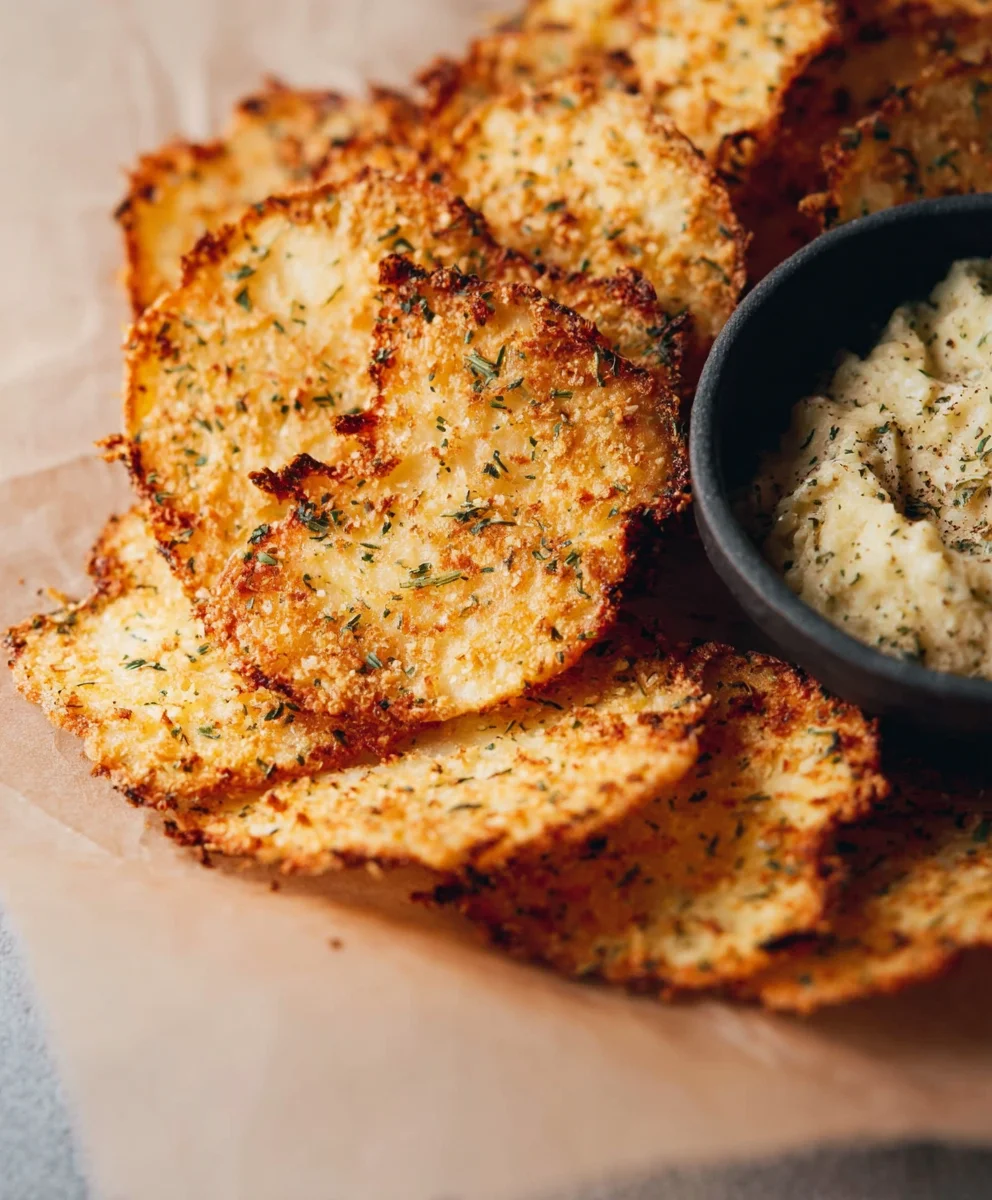
This is a critical step for achieving the perfect chip texture. Spoon dollops of the cottage cheese mixture onto the prepared baking sheet. You’ll want to spread each dollop very thinly. Using the back of your spoon or a small offset spatula, spread the mixture into thin, irregular shapes. Think of it like making very rustic crackers. The thinner you spread them, the crispier they will become. Aim for a thickness of about 1/16 to 1/8 of an inch. You can make them round, oval, or even irregular shards – the beauty of homemade chips is their charming imperfection. Leave a little space between each chip, as they will spread slightly during baking.
Step 4: The Baking Process and Achieving Golden Perfection
Place the baking sheet into your preheated oven. Bake for 20 to 30 minutes. The exact baking time will depend on the thickness of your chips and your oven. You’re looking for the edges to turn a beautiful golden brown and the centers to appear set and slightly bubbled. About halfway through the baking time (around the 10-15 minute mark), you can carefully rotate the baking sheet to ensure even cooking. Keep a close eye on them in the final 10 minutes, as they can go from perfectly golden to slightly overdone very quickly. If you notice some chips browning faster than others, you can carefully remove them from the baking sheet to a cooling rack while the others continue to bake.
Step 5: Cooling and Achieving Ultimate Crunch
Once the Cottage Cheese Chips are baked to your desired golden crispness, remove the baking sheet from the oven. Let them cool on the baking sheet for about 5 to 10 minutes. This initial cooling period on the hot sheet will allow them to firm up. After this brief period, carefully transfer the chips to a wire cooling rack. Allow them to cool completely on the wire rack. This is where the magic happens – as they cool, they will become wonderfully crisp and crunchy. Resist the temptation to try them too soon; the final crunch develops as they reach room temperature. Once completely cool, they are ready to be enjoyed!
Conclusion:
You’ve now got all the knowledge to create incredibly satisfying Cottage Cheese Chips right in your own kitchen! This recipe is surprisingly simple, delivering a healthy and crunchy snack that’s perfect for any time of day. The versatility of these Cottage Cheese Chips means you can truly make them your own, adapting them to your favorite flavor profiles.
I love serving these Cottage Cheese Chips alongside a fresh salad for added crunch, or as a standalone snack with a dollop of hummus or salsa. For variations, don’t be afraid to experiment! Try adding a pinch of smoked paprika and garlic powder for a smoky, savory twist, or a sprinkle of dried herbs like rosemary and thyme for an Italian-inspired flavor. You can also play with different cheese blends by adding a bit of shredded parmesan or cheddar for extra depth.
I encourage you to get creative and enjoy the process of making these delicious Cottage Cheese Chips. They’re a testament to how simple ingredients can create something truly special. So, preheat your oven, gather your ingredients, and get ready to enjoy your homemade batch!
Frequently Asked Questions:
Q1: Can I make Cottage Cheese Chips in an air fryer?
Yes, you absolutely can! Air frying is a fantastic method for achieving crispy Cottage Cheese Chips. Arrange them in a single layer in your air fryer basket, ensuring they don’t overlap. Cook at around 350°F (175°C) for 8-12 minutes, flipping halfway through, until golden brown and crisp. Keep a close eye on them as air fryers can cook quickly!
Q2: How do I store leftover Cottage Cheese Chips?
To maintain their crispiness, it’s best to store your leftover Cottage Cheese Chips in an airtight container at room temperature. Avoid refrigerating them, as this can make them soggy. If they do lose a bit of their crunch after a day or two, you can briefly reheat them in a low oven or air fryer to revive them.
Crispy Cottage Cheese Chips
A healthy and surprisingly crispy snack made from cottage cheese, perfect for a guilt-free treat.
Ingredients
-
2 cups cottage cheese
-
1 large egg
-
1/4 cup almond flour
-
1/4 teaspoon garlic powder
-
1/4 teaspoon onion powder
-
Salt to taste
-
Black pepper to taste
Instructions
-
Step 1
Preheat your oven to 375°F (190°C) and line a baking sheet with parchment paper. -
Step 2
In a medium bowl, combine the cottage cheese and egg. Mix thoroughly until well combined. -
Step 3
Add the almond flour, garlic powder, onion powder, salt, and pepper to the cottage cheese mixture. Stir until a thick batter forms. -
Step 4
Drop spoonfuls of the batter onto the prepared baking sheet, spreading them thinly into chip-like shapes. -
Step 5
Bake for 20-25 minutes, or until the edges are golden brown and the chips are crispy. Keep an eye on them to prevent burning. -
Step 6
Allow the chips to cool completely on the baking sheet. They will crisp up further as they cool.
Important Information
Nutrition Facts (Per Serving)
It is important to consider this information as approximate and not to use it as definitive health advice.
Allergy Information
Please check ingredients for potential allergens and consult a health professional if in doubt.