Easy Lake Food Packing Ideas Deliciously Simple
Packing food to bring to the lake is an art form, and I’m here to share my secrets for creating the ultimate lakeside feast. There’s nothing quite like that feeling of anticnon-alcoholic ipation as you pack up the car, knowing that delicious, homemade goodness awaits you by the water. We all love heading to the lake for a day of sun, swimming, and pure relaxation, but let’s be honest, hungry bellies can quickly dampen the mood. That’s where smart food choices come in, transforming a good day into a truly memorable one. The magic of well-packed food for the lake lies in its ability to be both incredibly satisfying and refreshingly simple, requiring minimal fuss when you’re trying to soak up every ray of sunshine. It’s about creating those little moments of joy, a perfectly chilled bite that complements the gentle lapping of waves. My go-to recipes are designed to be incredibly portable, hold up beautifully in the cooler, and most importantly, taste absolutely divine even after a few hours in transit. So, let’s dive into some fantastic ideas for packing food to bring to the lake that will have everyone asking for seconds!
Packing Food To Bring To The Lake
Heading to the lake is one of the best ways to spend a summer day. The sun shining, the water cool, and the company fantastic – what’s not to love? But a successful lake day hinges on one crucial element: the food. Nobody wants to spend their afternoon with rum extractbling stomachs and sad, soggy sandwiches. That’s where thoughtful packing comes in. We’re going to cover some delicious and practical ideas for food that travels well, stays fresh, and is easy to enjoy without a full kitchen. Think of this as your guide to lake day culinary victory.
The key to great lake food is choosing items that are robust, don’t require complex reheating, and can withstand being in a cooler for a few hours. We want to maximize our relaxation time, not our food prep time at the water’s edge. This means embracing items that are good cold or at room temperature, and that are easily portable.
Ingredients:
Preparation and Packing Strategy
Phase 1: Building the Foundation – Salads and Staples
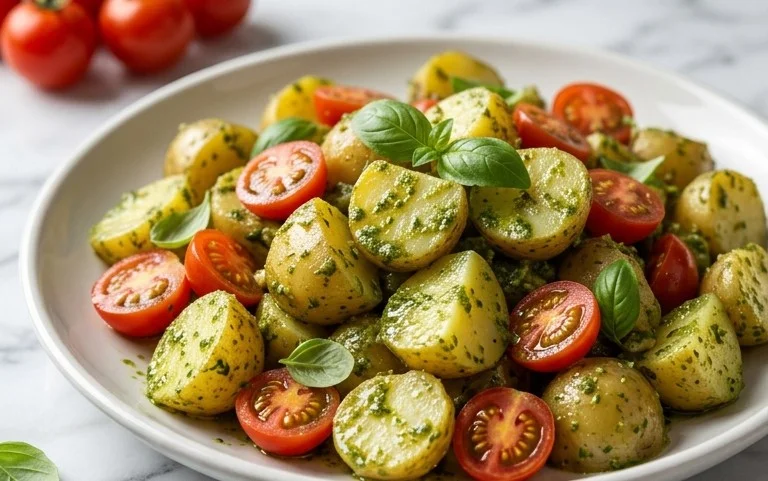
1. Crafting Your Portable Salads: Pasta salad and quinoa salad are absolute cbeef hampions for lake trips. They’re hearty, filling, and taste even better as the flavors meld. For a pasta salad, use a sturdy pasta shape like rotini or penne, which holds dressing well. Load it up with chopped vegetables like bell peppers, cucumbers, and cherry tomatoes. Add in some protein like diced chicken, chickpeas, or feta cheese. Dress it with a vinaigrette that includes oil and vinegar, which helps preserve it better than creamy dressings that can spoil more easily. For a quinoa salad, combine cooked quinoa with black beans, corn, diced red onion, cilantro, and a lime-based dressing. The key here is to keep the dressing separate until just before serving if you’re concerned about soggin extractess, or to use a robust vinaigrette that won’t break down the grains. Once prepared, portion these salads into airtight containers. These will be the heartiest part of your meal, providing sustained energy for your aquatic adventures.
Phase 2: The Sandwich and Wrap Station
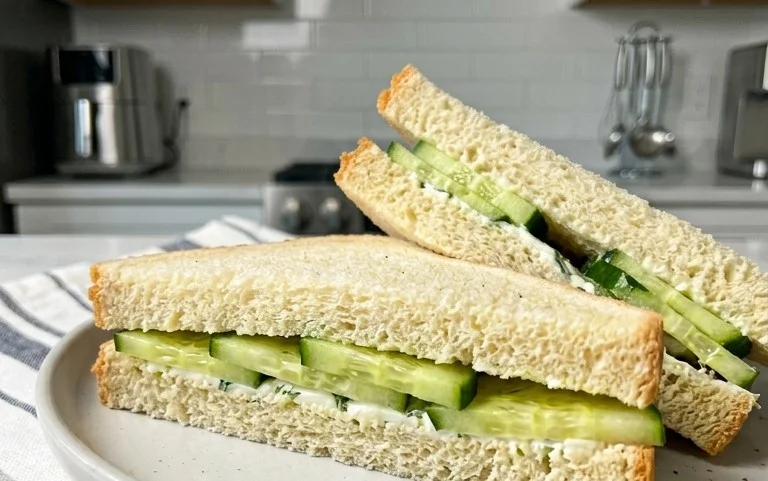
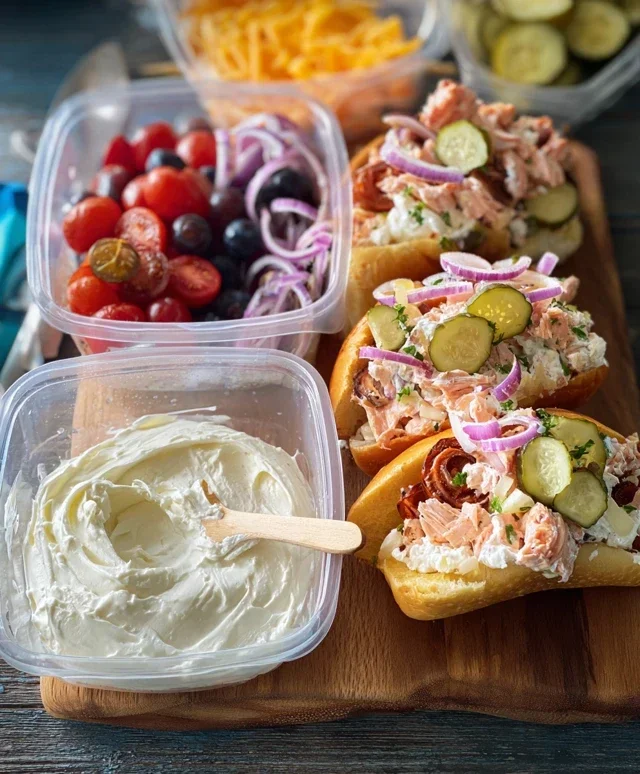
2. The Art of the No-Soggy Sandwich: Sandwiches and wraps can be tricky for picnics. To avoid a soggy disappointment, assemble them just before you leave, or even better, pack the components separately. Lay out your bread, rolls, or wraps. Have your pre-sliced deli meats and cheeses ready. Pack spreads like mayonnaise or mustard in small, senon-alcoholic aled containers or individual packets. A great trick for preventing soggy bread is to put a layer of cheese or meat directly against the bread before adding wetter ingredients like tomatoes. Alternatively, consider making wraps, as they tend to hold their fillings more securely. You can also opt for hearty bread like sourdough or a baguette, which can withstand a bit more moisture. Pack these assembled sandwiches or their components in separate resealable bags or containers.
Phase 3: Bite-Sized Goodness and Refreshments
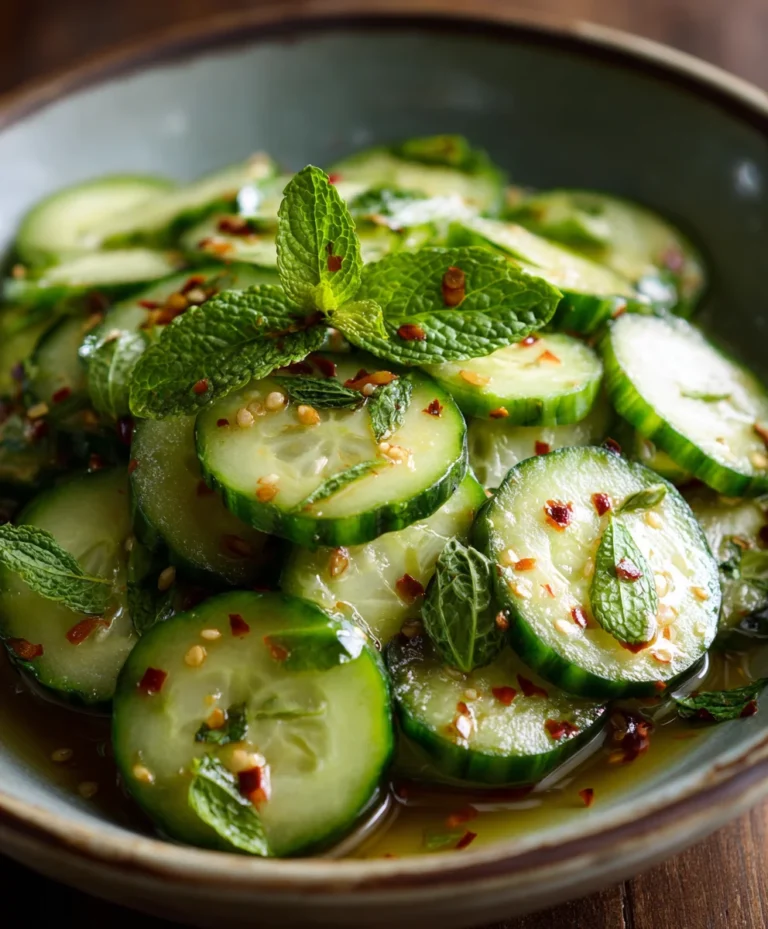
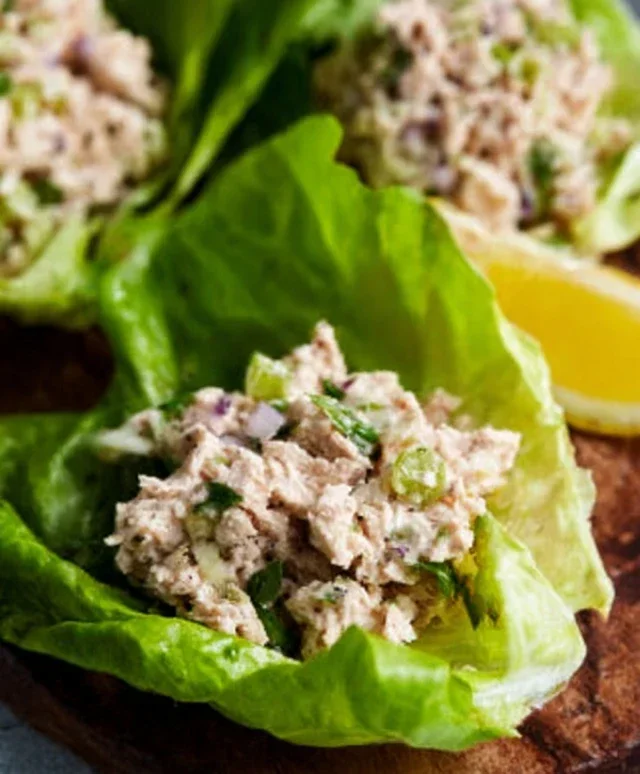
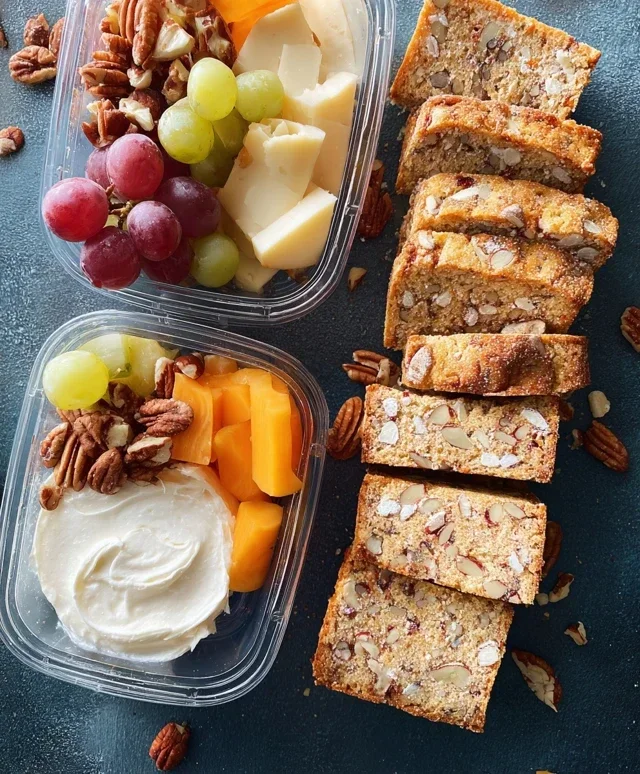
3. Prepping Your Produce and Protein Powerhouses: Fresh fruits and vegetables are essential for a refreshing lake day. Wash and chop them at home to save time and hassle. Grapes, berries, and melon chunks are easy to grab and eat. For vegetables, pre-cut carrot sticks, cucumber slices, bell pepper strips, and cherry tomatoes. Pack these in separate containers to keep them crisp. Hummus or other dips like ranch or a spinach dip are perfect accompaniments. Portion your dips into small, leak-proof containers. Hard-boiled eggs are another excellent, protein-packed option. They’re easy to peel and eat, and they hold up well in a cooler.
4. Snacks and Sweet Treats for Sustained Fun: To keep energy levels high throughout the day, pack a variety of snacks. Trail mix, nuts, and granola bars are great for on-the-go energy. They’re compact and don’t require any special preparation. For a sweet treat, consider homemade cookies or brownies. These are generally robust enough to travel well. Just make sure they’re completely cooled before packing them into containers or sturdy bags to prevent them from crum extractbling or becoming a sticky mess.
Phase 4: The Cooler Countdown
5. The Cooler Command Center: Proper cooler packing is the absolute key to a successful lake food experience. Start by chilling your cooler the night before by filling it with ice or frozen water bottles. When you’re ready to pack, place your raw ingredients at the bottom, followed by your prepared meals and salads. Then, layer in your snacks and desserts. Use plenty of ice packs or frozen water bottles. Place them strategically throughout the cooler, especially on top of the food. If you’re using frozen water bottles, as they melt, you’ll have cold drinking water. Pack your cooler as full as possible, as air pockets can cause ice to melt faster. Once you arrive at the lake, keep the cooler lid closed as much as possible to maintain the cold temperature. Having a dedicated cooler for drinks can also help preserve the cold for your food.
By following these steps, you’ll be well on your way to a delicious and stress-free lake day filled with fantastic food. Enjoy the sunshine, the water, and the company – your well-prepared picnic will be the perfect complement to it all!
Conclusion:
So there you have it! These recipes are designed to be your ultimate companions for a fantastic day by the water. They’re not just easy to prepare, but also incredibly satisfying and perfect for packing food to bring to the lake. We’ve focused on dishes that hold up well, minimize mess, and maximize flavor, ensuring you spend more time enjoying the sunshine and less time worrying about your meal. Imagin extracte biting into a perfectly chilled wrap or a flavorful pasta salad after a refreshing swim – pure bliss!
Feel free to get creative with serving! These options are fantastic on their own, but you can elevate them with a side of crunchy chips, a fresh fruit salad, or even some homemade cookies for dessert. For variations, consider adding grilled chicken or chickpeas to the pasta salad for extra protein, or swapping out the veggies in the wraps for whatever you have on hand. Don’t be afraid to experiment! I truly encourage you to give these a try for your next lake adventure. They’re guaranteed to be a hit with everyone.
Frequently Asked Questions:
Can I make these ahead of time?
Absolutely! Most of these recipes are even better when made the day before, allowing the flavors to meld together beautifully. Just be sure to store them properly in airtight containers in the refrigerator.
How do I keep my food cold at the lake?
Using a good quality cooler packed with ice packs or frozen water bottles is essential. Pack your food into the cooler in layers, placing items you’ll need last at the bottom. Consider keeping drinks in a separate cooler to minimize opening the food cooler.
Are these suitable for a picnic setting too?
Yes, these recipes are perfect for any outdoor gathering! Their portability and ability to be enjoyed at room temperature (or slightly chilled) make them ideal for picnics, beach trips, and camping.
Lake Day Picnic Pack
A collection of easy-to-pack, delicious foods perfect for a day at the lake. This recipe focuses on portable, refreshing, and satisfying options.
Ingredients
-
1 pound pre-cooked chicken breast, sliced
-
2 cups mixed greens
-
1 cup cherry tomatoes, halved
-
1 cup cucumber, diced
-
1/2 cup red onion, thinly sliced
-
1/4 cup olive oil
-
2 tablespoons lemon juice
-
Salt and pepper to taste
-
1 dozen hard-boiled eggs
-
1 bag of assorted crackers
Instructions
-
Step 1
Prepare the chicken salad: In a bowl, combine the sliced pre-cooked chicken breast with 1/4 cup of mayonnaise and a pinch of salt and pepper. Mix well and set aside. -
Step 2
Assemble the salad containers: In individual portable containers, layer the mixed greens at the bottom. -
Step 3
Add toppings: Evenly distribute the halved cherry tomatoes, diced cucumber, and thinly sliced red onion over the greens in each container. -
Step 4
Prepare the dressing: In a small, sealable container, whisk together the olive oil and lemon juice. Season with salt and pepper. This will be added just before serving. -
Step 5
Pack the accompaniments: Place the prepared chicken salad in a separate sealed container. Pack the hard-boiled eggs and the assorted crackers in their original packaging or in sturdy containers. -
Step 6
Transport: Ensure all containers are tightly sealed and place them in a cooler with ice packs to keep them fresh.
Important Information
Nutrition Facts (Per Serving)
It is important to consider this information as approximate and not to use it as definitive health advice.
Allergy Information
Please check ingredients for potential allergens and consult a health professional if in doubt.