Easy Homemade Strawberry Ice Cream – Pure Fruit Bliss
Homemade Strawberry Ice Cream is more than just a dessert; it’s a taste of pure summer bliss captured in a bowl. Imagin extracte the sweet perfume of ripe strawberries, sun-kissed and bursting with flavor, swirling into a creamy, luscious base. That’s the magic we’re about to create together! There’s something undeniably special about indulgin extractg in a scoop of homemade ice cream, especially when it’s bursting with the vibrant, natural sweetness of fresh strawberries. Forget those artificial flavorings and icy textures of store-bought versions; this recipe unlocks the true essence of this beloved fruit, transforming it into a frozen masterpiece that will have everyone asking for seconds. Get ready to experience the unparalleled joy of truly exceptional Homemade Strawberry Ice Cream!
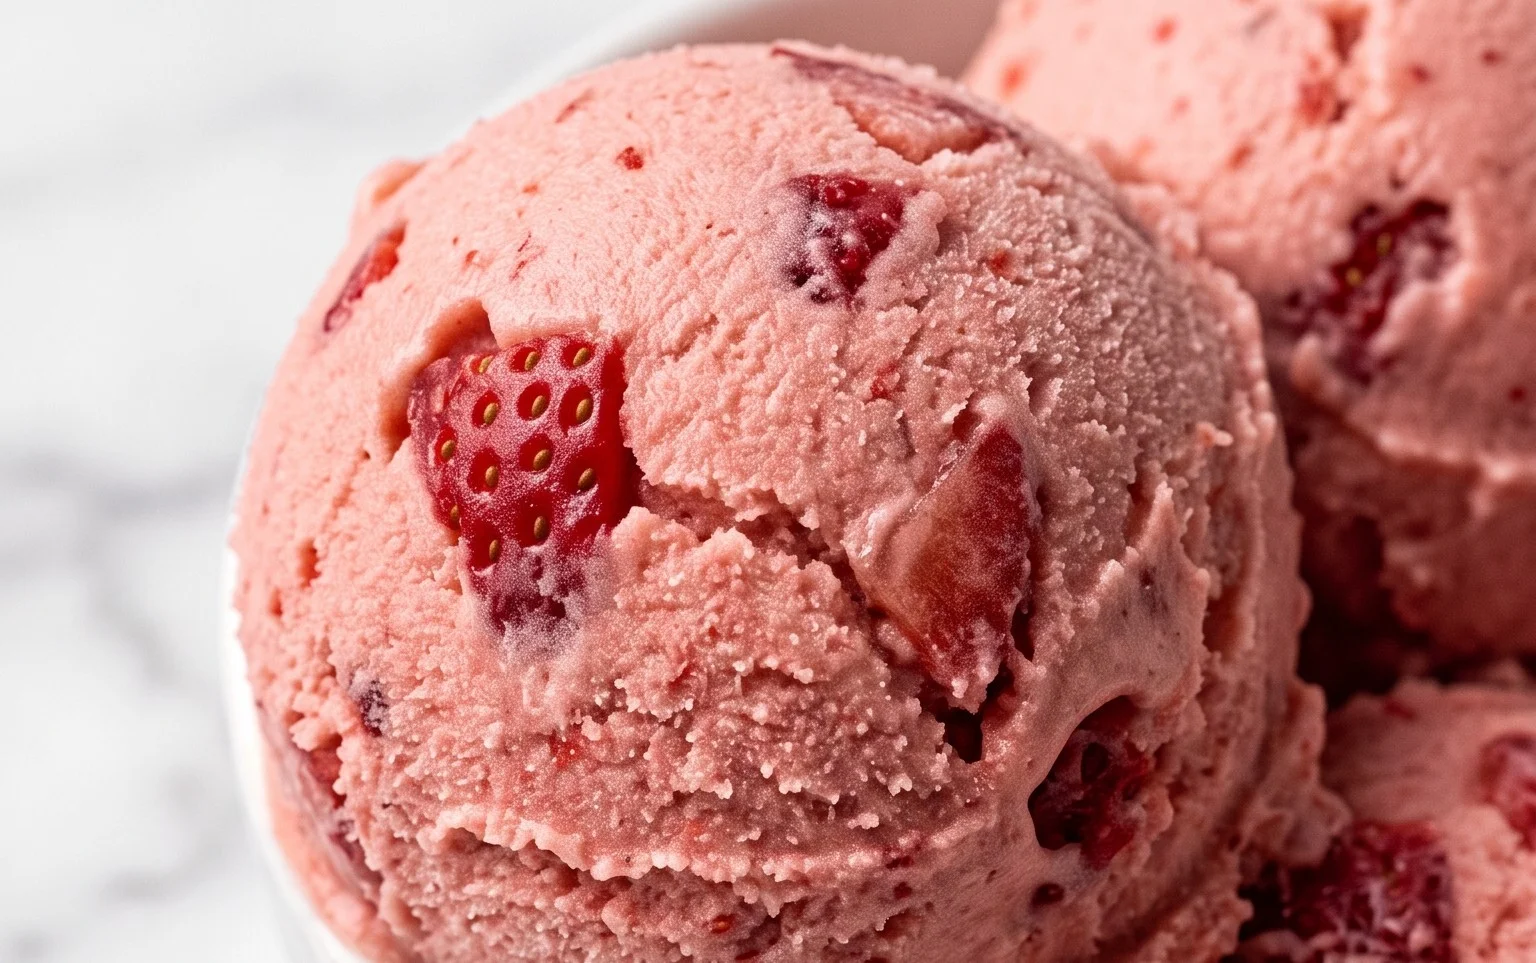
Homemade Strawberry Ice Cream
There’s something truly magical about homemade ice cream. The smooth, creamy texture, the burst of fresh flavor – it’s a simple indulgence that feels luxurious. And when that flavor is vibrant, sweet strawberry, well, that’s pure bliss. Forget the store-bought tubs; this homemade strawberry ice cream recipe is surprisingly easy to make and delivers a taste that’s far superior to anything you’ll find on a supermarket shelf. We’ll be using fresh, ripe strawberries for an authentic flavor that screams summer, even if it’s the middle of winter and you’re craving that sunshine in a bowl. This recipe is perfect for a special occasion, a delightful treat after dinner, or simply because you deserve something wonderful.
This recipe is designed to be made with an ice cream maker, which is the easiest way to achieve that perfect, smooth consistency. However, if you don’t have one, don’t despair! I’ll offer a no-churn variation within the instructions that will still yield a delicious result, albeit with a slightly different texture. The key to fantastic homemade ice cream is using quality ingredients and taking your time to let the flavors meld.
Ingredients:
Instructions:
Prepare the Strawberry Base: In a medium bowl, combine the hulled and diced strawberries with the honey, granulated sugar, and lemon juice. Gently stir everything together until the strawberries are well coated. The lemon juice is a secret weapon here; it brightens the strawberry flavor and adds a subtle tang that balances the sweetness. Let this mixture sit at room temperature for about 20-30 minutes. This resting period allows the strawberries to macerate, releasing their juices and softening slightly, which will give us a more intense strawberry flavor and a smoother texture in the final ice cream. You’ll notice the mixture will start to become syrupy as the sugar draws out the moisture from the strawberries. After it has rested, you can either mash the strawberries with a fork or potato masher for a chunkier ice cream, or pulse them a few times in a food processor or blender for a smoother puree. I prefer a few small chunks for a delightful textural surprise in every bite.
Chill the Base and Dairy: Once you’ve prepared your strawberry mixture, it’s crucial to chill it thoroughly. Cover the bowl and refrigerate for at least 2 hours, or ideally, overnight. The colder the base, the faster it will freeze in your ice cream maker, resulting in smaller ice crystals and a smoother ice cream. In a separate bowl, combine the heavy whipping cream, half and half, and vanilla extract. Whisk them together until just combined. Then, cover this dairy mixture and refrigerate it alongside the strawberry base. Ensuring both components are well-chilled is a critical step for successful ice cream making.
Combine and Churn: When both the strawberry mixture and the dairy mixture are thoroughly chilled, it’s time to bring them together. Gently pour the chilled strawberry mixture into the chilled dairy mixture. Whisk them together until they are fully incorporated. Don’t overmix at this stage; you just want a uniform pink color. Now, if you’re using an ice cream maker, pour this combined base into your pre-frozen ice cream maker bowl. Churn according to the manufacturer’s instructions, which typically takes about 20-30 minutes. The ice cream will be the consistency of soft-serve at this point. If you don’t have an ice cream maker, you can still make this! Pour the combined mixture into a shallow, freezer-safe container. Place it in the freezer. Every 30-45 minutes for the first 3-4 hours, remove the container and vigorously whisk the mixture, breaking up any ice crystals that form. This process, while more labor-intensive, helps to create a smoother texture.
Freeze to Firmness: Once your ice cream has reached a soft-serve consistency (either from the ice cream maker or your manual stirring), it’s time to let it harden. Transfer the ice cream from the ice cream maker bowl to an airtight, freezer-safe container. For the no-churn method, ensure your container is ready after those initial few hours of stirring. Press a piece of parchment paper or plastic wrap directly onto the surface of the ice cream. This helps to prevent ice crystals from forming on top. Seal the container tightly. Now, pop it into the freezer for at least 4-6 hours, or until it’s firm enough to scoop. The longer it freezes, the firmer it will become. Be patient; the reward is well worth the wait!
Serve and Enjoy: Once your homemade strawberry ice cream has reached your desired firmness, it’s ready to be enjoyed! Let it sit at room temperature for a few minutes before scooping to make it easier to serve. The creamy texture and intense strawberry flavor are truly something special. You can enjoy it plain, or get creative with toppings. Fresh strawberries, a drizzle of extra honey, a sprinkle of chopped pistachios, or even a dollop of whipped cream all make delightful accompaniments. The beauty of homemade ice cream is that you control the ingredients and the sweetness, so feel free to adjust the honey and sugar to your personal preference next time. This recipe is a fantastic starting point for all sorts of delicious frozen creations. It’s a taste of pure, unadulterated joy in every spoonful!
Conclusion:
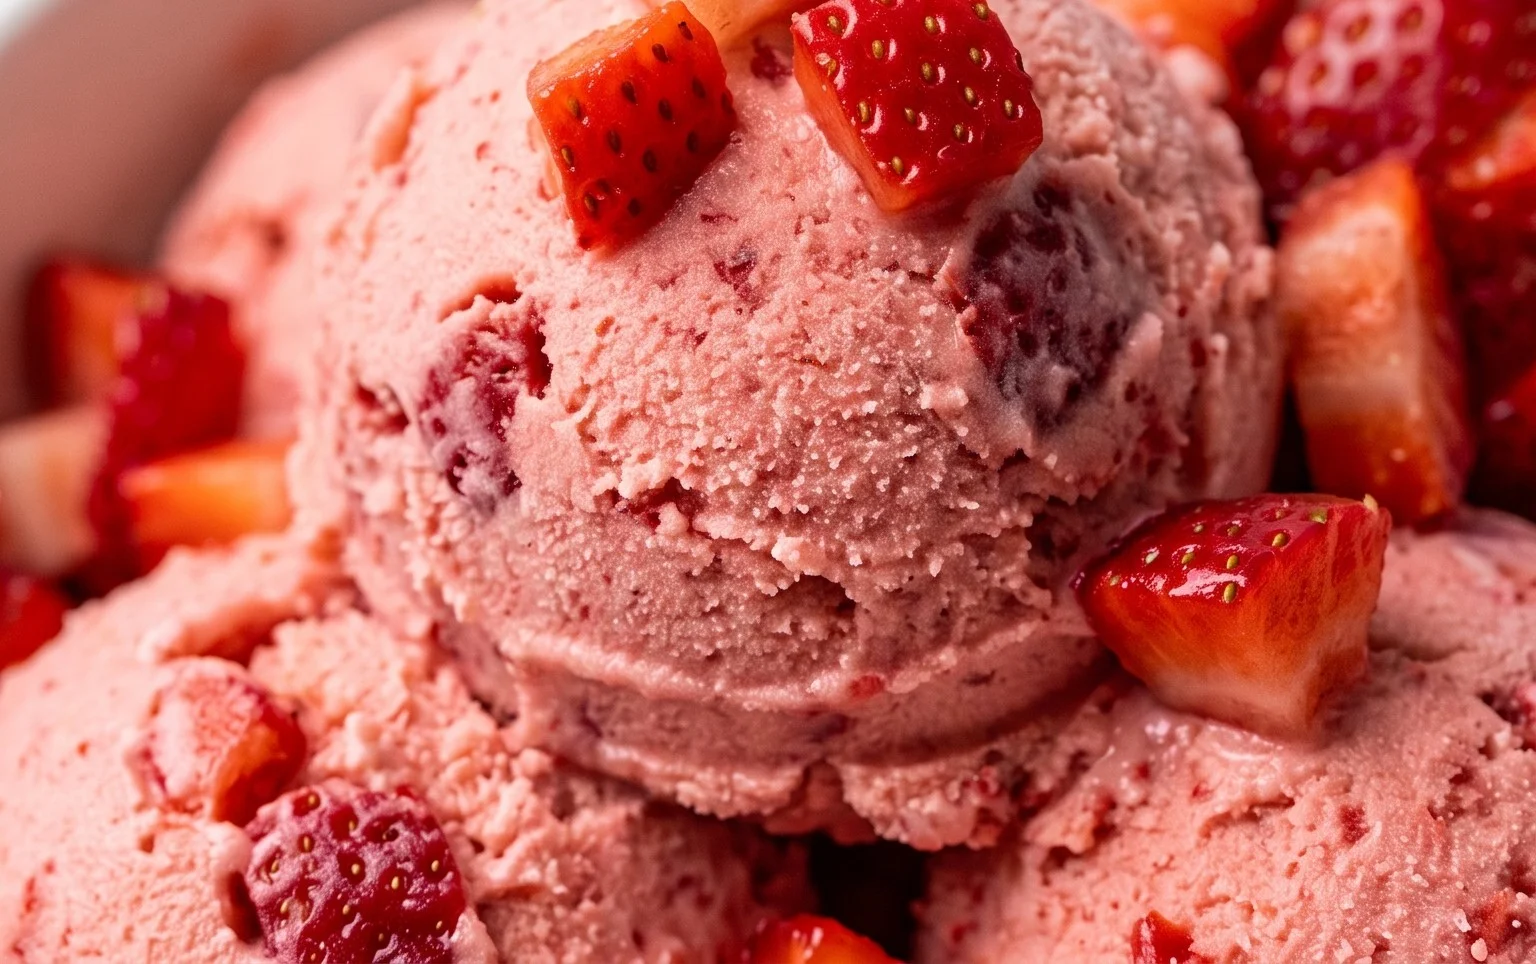
There you have it – your guide to creating absolutely divine homemade strawberry ice cream! This recipe is fantastic because it uses fresh, ripe strawberries for an authentic, vibrant flavor that simply can’t be matched by store-bought varieties. The creamy texture achieved through simple ingredients will have you wondering why you ever settled for less. It’s a truly rewarding experience to pull a tub of this gorgeous pink treat from your own freezer.
Enjoy this delightful homemade strawberry ice cream on its own, or get creative with serving suggestions! It’s perfect piled high in a waffle cone, drizzled with chocolate sauce, or as a decadent topping for warm brownies or a slice of pound cake. For a lighter option, a sprinkle of fresh mint or a few extra strawberry slices makes for a beautiful garnish. Don’t be afraid to experiment with variations either! You can swirl in some balsamic glaze for a sophisticated twist, add a hint of lemon zest for brightness, or even fold in a handful of chocolate chips for a classic pairing.
I truly encourage you to give this recipe a try. It’s more accessible than you might think, and the result is a burst of pure, unadulterated summer joy. You’ll be so proud of your creation, and everyone who tastes it will be asking for seconds!
Frequently Asked Questions:
Can I make this without an ice cream maker?
Absolutely! While an ice cream maker yields the smoothest texture, you can achieve delicious results without one. You’ll want to pour your base into a freezer-safe container and stir it vigorously every 30-45 minutes for the first 3-4 hours of freezing. This breaks up the ice crystals as they form, leading to a creamier consistency. It takes a bit more effort, but it’s definitely doable!
How long will my homemade strawberry ice cream last?
Stored properly in an airtight container in the freezer, your homemade strawberry ice cream should stay fresh and delicious for about 1-2 weeks. After that, while still safe to eat, the texture might start to degrade slightly due to ice crystal formation.
Homemade Strawberry Ice Cream
A delightful homemade strawberry ice cream recipe that’s creamy, refreshing, and bursting with fresh strawberry flavor. Simple to make with common ingredients.
Ingredients
-
1 1/2 cups strawberries, hulled and diced
-
2 Tbsp honey
-
1/2 cup granulated sugar
-
1 tsp lemon juice
-
1 cup heavy whipping cream
-
1/2 cup half and half
-
1 tsp vanilla extract
Instructions
-
Step 1
In a bowl, combine the diced strawberries, honey, granulated sugar, and lemon juice. Stir gently and let sit for 15-20 minutes to allow the strawberries to macerate and release their juices. -
Step 2
Mash the strawberries slightly with a fork or potato masher, leaving some small chunks for texture. -
Step 3
In a separate large bowl, whisk together the heavy whipping cream, half and half, and vanilla extract until well combined. -
Step 4
Add the strawberry mixture to the cream mixture and stir until everything is evenly incorporated. Taste and adjust sweetness if needed. -
Step 5
Pour the mixture into an ice cream maker and churn according to the manufacturer’s instructions until it reaches a soft-serve consistency. -
Step 6
Transfer the ice cream to an airtight container and freeze for at least 2-4 hours to firm up before serving.
Important Information
Nutrition Facts (Per Serving)
It is important to consider this information as approximate and not to use it as definitive health advice.
Allergy Information
Please check ingredients for potential allergens and consult a health professional if in doubt.