Easy Pickled Red Onions- Quick & Delicious Recipe
Pickled red onions are an absolute game-changer in my kitchen, and I bet they’ll become one in yours too. There’s something magical about transforming a humble red onion into these vibrant, tangy jewels. They’re not just a condiment; they’re a flavor explosion that elevates everything they touch. Why do we all love them so much? It’s the perfect balance of sweet and sour, that satisfying crunch, and that stunning, almost electric pink hue that instantly brightens any dish. Whether scattered over tacos, piled high on avocado toast, or nestled alongside grilled meats, these pickled red onions bring a burst of freshness and complexity that’s hard to resist. They’re surprisingly simple to make, but the impact they have on your meals is profound. Let’s dive into how you can create this culinary marvel!
Why You Need Pickled Red Onions in Your Life
The Secret to Instant Flavor Boost
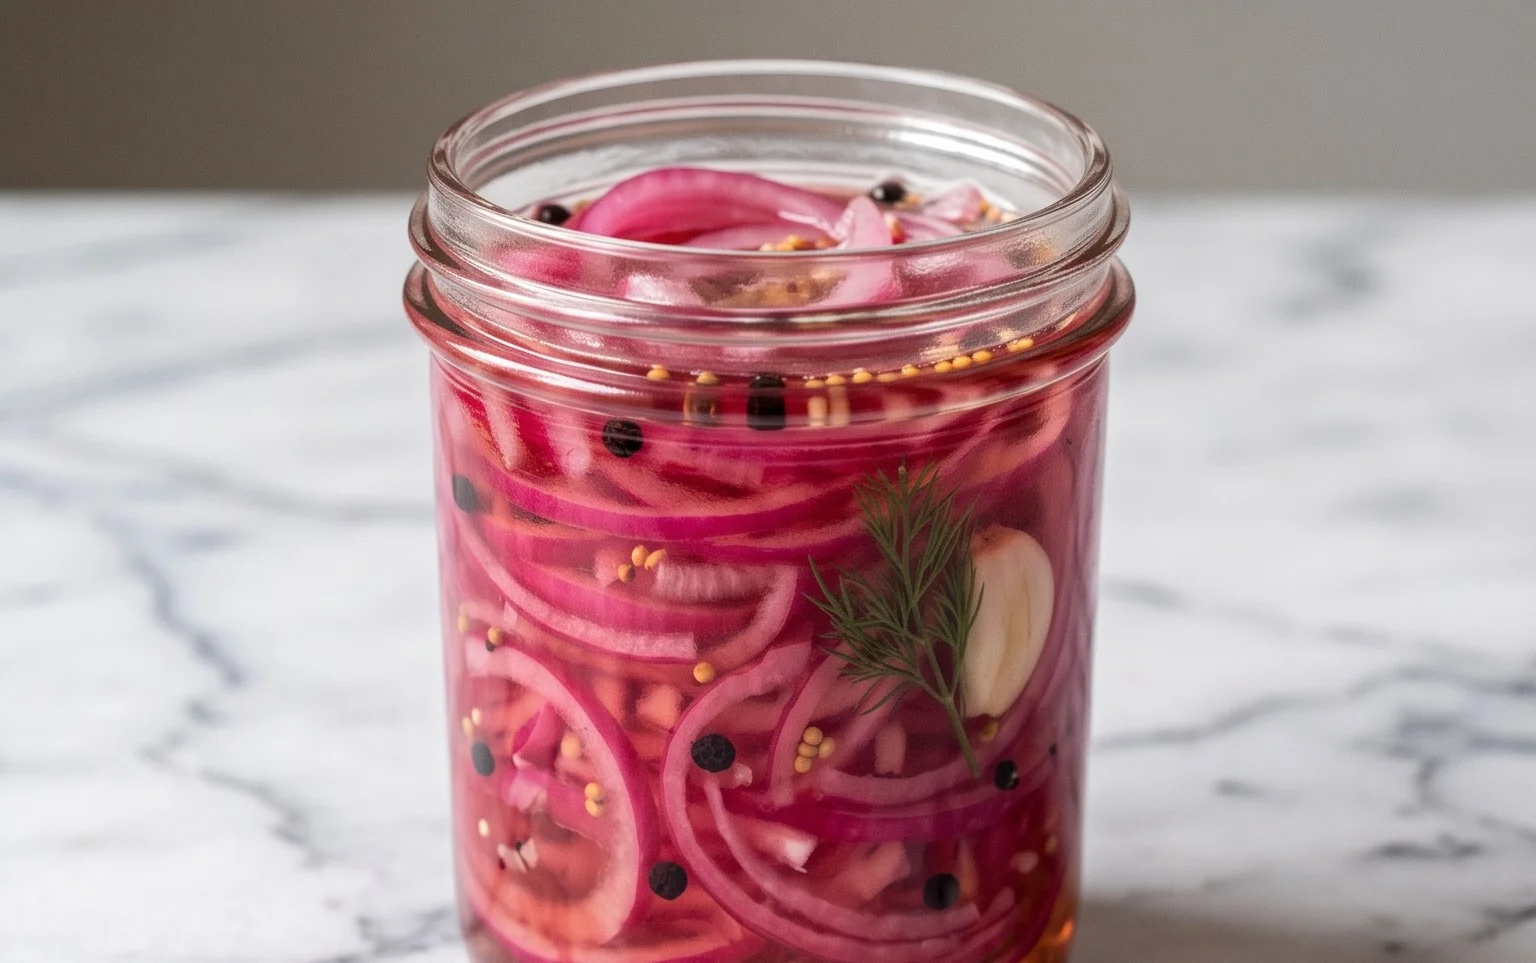
Pickled Red Onions: The Bright, Tangy Secret to Elevating Any Dish
There are few condiments as versatile and transformative as perfectly pickled red onions. These vibrant ruby-hued rings aren’t just beautiful to look at; they offer a delightful burst of sweet, tangy, and slightly pungent flavor that can cut through richness, brighten up salads, and add a gourmet touch to everything from tacos and burgers to sandwiches and even avocado toast. What’s even better? They are incredibly easy to make at home, requiring minimal effort and just a handful of pantry staples. Forget the store-bought versions that can sometimes be overly sweet or lack that fresh bite. With this simple recipe, you’ll be whipping up your own batch of quick pickles in no time, ready to impress your taste buds and your guests.
This recipe is designed for simplicity and speed. The key is the balance of vinegar and water, along with a touch of sweetness and salt, which creates the perfect brine to quickly soften and infuse the red onion. The result is a pickle that’s tender but still has a pleasant crispness, with a flavor that’s addictive in its complexity. I love having a jar of these in my refrigerator at all times – they are a lifesaver for transforming ordinary meals into something truly special. So, let’s get started and unlock the magic of homemade pickled red onions!
Ingredients:
Instructions:
Preparation of the Onions
The first step to achieving perfectly pickled red onions is preparing your star ingredient: the red onion. You’ll want to start with one large red onion. Begin extract by peeling off the papery outer skin. Then, you’ll want to slice the onion thinly. The best way to do this is to slice it in half from root to stem, lay each half flat on your cutting board, and then slice thinly, following the natural lines of the onion. Aim for slices that are about 1/8 to 1/4 inch thick. This thickness is ideal because it allows the onions to absorb the brine efficiently without becoming mushy, while also providing a satisfying crunch. As you slice, you’ll notice the beautiful layers of the red onion. If your onion is particularly large, you might consider slicing it even thinner. The goal here is to create an even surface area for the brine to work its magic. You can use a sharp chef’s knife for this, or if you have a mandoline slicer, that can be a fantastic tool for achieving perfectly uniform slices. Just be sure to use the safety guard if you opt for a mandoline. Once sliced, you can gently separate the rings if they’ve clumped together.
Creating the Brine
Now, let’s move on to creating the flavorful brine that will transform those raw onion slices into tangy delights. In a small saucepan, combine the white vinegar and water. White vinegar is a great choice for pickling as it provides a clean, sharp acidity that’s not overpowering. You can experiment with other vinegars like apple cider vinegar or red grape juice vinegar for slightly different flavor profiles, but white vinegar is a classic for a reason. Next, add the sugar. The sugar plays a crucial role in balancing the acidity of the vinegar, offering a hint of sweetness that rounds out the flavor. As the recipe notes, you can absolutely adjust the sugar to your preference. If you’re aiming for a less sweet pickle, reduce or omit the sugar entirely, or use a sugar substitute if you’re watching your sugar intake. Finally, add the kosher salt. Kosher salt is preferred for its coarse texture and lack of additives, which can sometimes make pickling liquids cloudy. Stir everything together until the sugar and salt are completely dissolved.
Heating and Infusing the Brine
Once the sugar and salt are dissolved in the vinegar and water mixture, it’s time to heat the brine. Place the saucepan over medium heat on your stovetop. You don’t need to bring the brine to a rolling boil; the goal is simply to heat it until it’s hot and steaming. This gentle heating helps to further dissolve any remaining granular ingredients and, more importantly, prepares the brine to penetrate the onion slices more effectively. Stir the mixture occasionally as it heats to ensure even temperature distribution. The aroma that will start to fill your kitchen at this stage is a promising sign of the deliciousness to come. Be mindful not to let it boil vigorously, as this can evaporate too much of the liquid. Just a gentle simmer or steaming is perfect.
Combining Onions and Brine
With your hot brine ready, it’s time to bring it all together. Carefully place your sliced red onions into a heatproof jar or a bowl. A mason jar with a lid works beautifully for storing your pickled onions once they’re ready. Make sure the jar is clean and has enough capacity to hold all the onions and the brine. Once the onions are in their container, slowly and carefully pour the hot brine over the onions. Ensure that the onions are fully submerged in the brine. If any slices are sticking out, gently press them down with a spoon or another utensil. You might notice the onions begin extract to change color almost immediately as the hot brine starts to work its magic. This is a satisfying visual cue that the pickling process has begun.
Cooling and Chilling
This is the final stage of creating your quick pickled red onions, and it requires a little patience. Once you’ve poured the hot brine over the onions, leave the jar or bowl uncovered on the counter to cool down to room temperature. This gradual cooling allows the onions to soften further and absorb the flavors of the brine without being shocked by excessive heat. This process can take anywhere from 30 minutes to an hour, depending on the ambient temperature of your kitchen. Once the mixture has reached room temperature, secure the lid on your jar and transfer it to the refrigerator. For the best flavor, I recommend letting them chill for at least 30 minutes before serving. However, they will continue to develop more flavor and a slightly softer texture the longer they sit in the brine. Ideally, let them chill for a few hours or even overnight for a more intense pickle. They will keep in the refrigerator for several weeks, becoming a staple condiment you’ll reach for again and again. Enjoy the vibrant color and the incredible flavor boost they bring to your meals!
Conclusion:
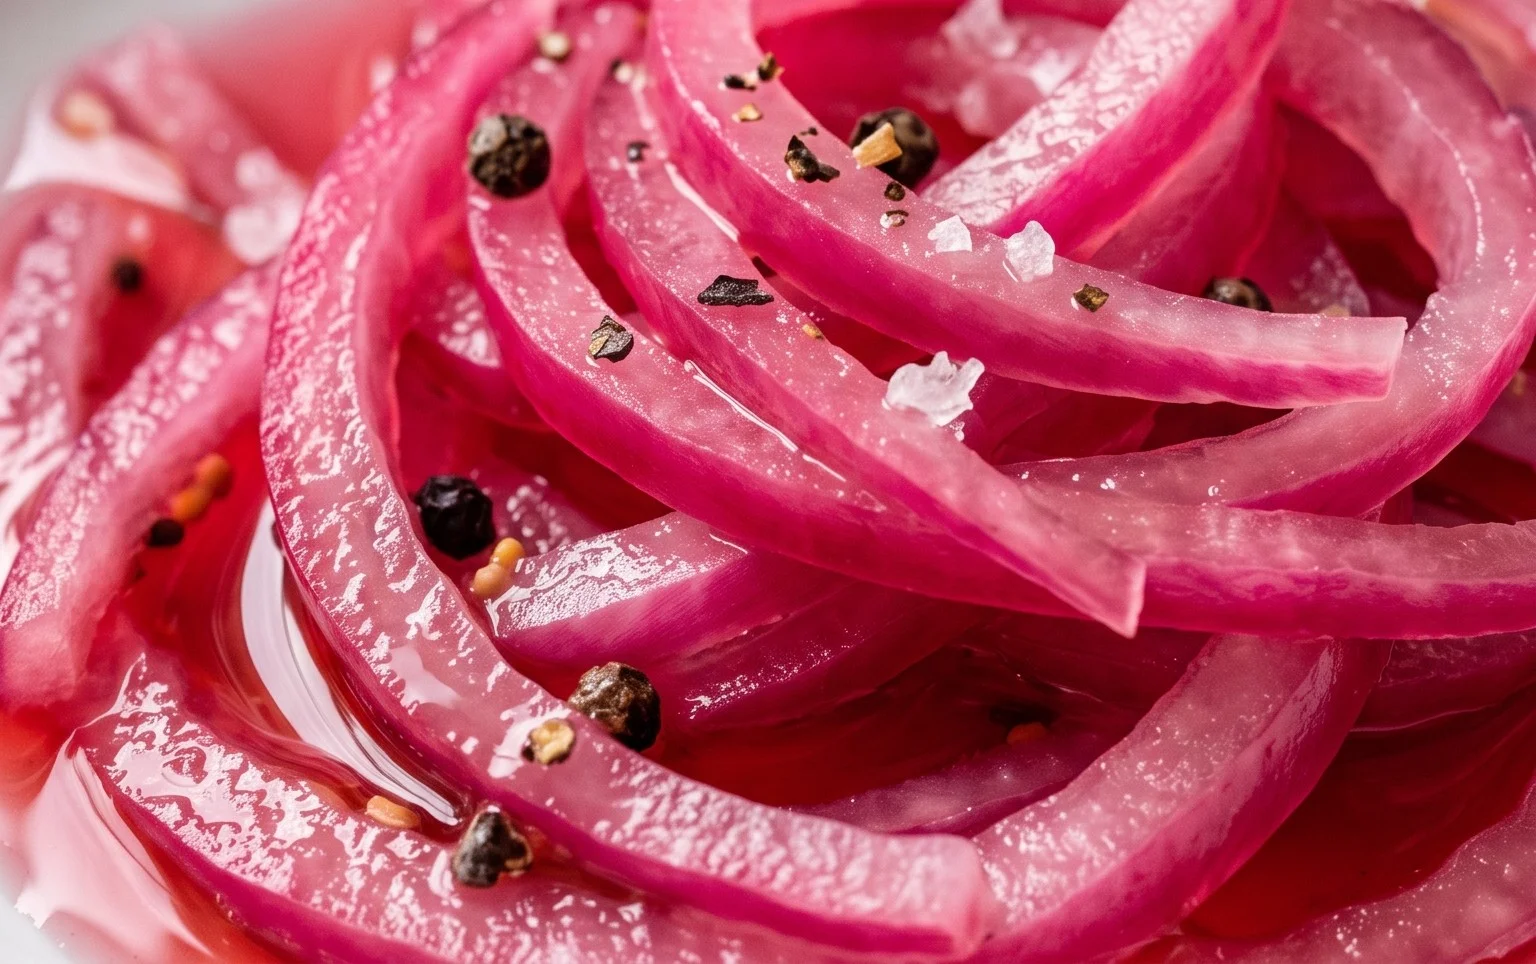
You’ve now learned how simple and rewarding it is to whip up your own batch of delicious pickled red onions! This recipe is truly a kitchen game-changer because it transforms humble red onions into a vibrant, tangy, and slightly sweet condiment that elevates so many dishes. The stunning pink hue alone is a feast for the eyes, and the burst of flavor they add is simply unparalleled. Imagin extracte the crunch and zesty kick they bring to tacos, avocado toast, burgers, salads, or even just a simple cheese board. They are incredibly versatile and a fantastic way to add a gourmet touch to everyday meals.
Don’t be afraid to experiment! Once you’ve mastered the basic recipe, consider adding a pinch of chili flakes for a spicy kick, a sprig of rosemary for an herbaceous note, or even a teaspoon of honey for a touch more sweetness. The possibilities are truly endless, and I highly encourage you to give this pickled red onion recipe a try. It’s a quick, easy, and incredibly satisfying way to add a pop of flavor and color to your culinary repertoire.
Frequently Asked Questions:
How long do pickled red onions last?
When stored properly in an airtight container in the refrigerator, your pickled red onions should stay fresh and delicious for at least 2 to 3 weeks. You’ll notice the flavor might deepen and become even more nuanced over time.
Can I use a different type of onion?
While red onions are ideal for their color and slightly milder flavor, you can experiment with white or yellow onions. Keep in mind that the color won’t be as vibrant, and the flavor profile might be a bit sharper.
What if I don’t have apple cider vinegar?
White grape juice vinegar or red grape juice vinegar are excellent substitutes for apple cider vinegar in this recipe. They will provide a similar tangy flavor, though the subtle fruity notes of apple cider vinegar will be missed.
Pickled Red Onions
Quick and easy pickled red onions that add a vibrant pop of flavor and color to any dish. Perfect for tacos, salads, sandwiches, and more.
Ingredients
-
1 large Red onion, thinly sliced
-
1 cup White Vinegar
-
1 cup Water
-
1 tablespoon Sugar
-
2 teaspoons Kosher salt
Instructions
-
Step 1
Thinly slice the red onion. -
Step 2
In a small saucepan, combine the white vinegar, water, sugar, and kosher salt. -
Step 3
Heat the mixture over medium heat, stirring until the sugar and salt are dissolved. Do not boil. -
Step 4
Place the sliced red onion into a clean jar or heat-proof container. -
Step 5
Pour the hot vinegar mixture over the onions, ensuring they are fully submerged. -
Step 6
Let cool to room temperature, then cover and refrigerate. The onions will be ready to eat after at least 30 minutes, but are best after a few hours or overnight.
Important Information
Nutrition Facts (Per Serving)
It is important to consider this information as approximate and not to use it as definitive health advice.
Allergy Information
Please check ingredients for potential allergens and consult a health professional if in doubt.