The Best White Bread Recipe – Easy Scratch Baking
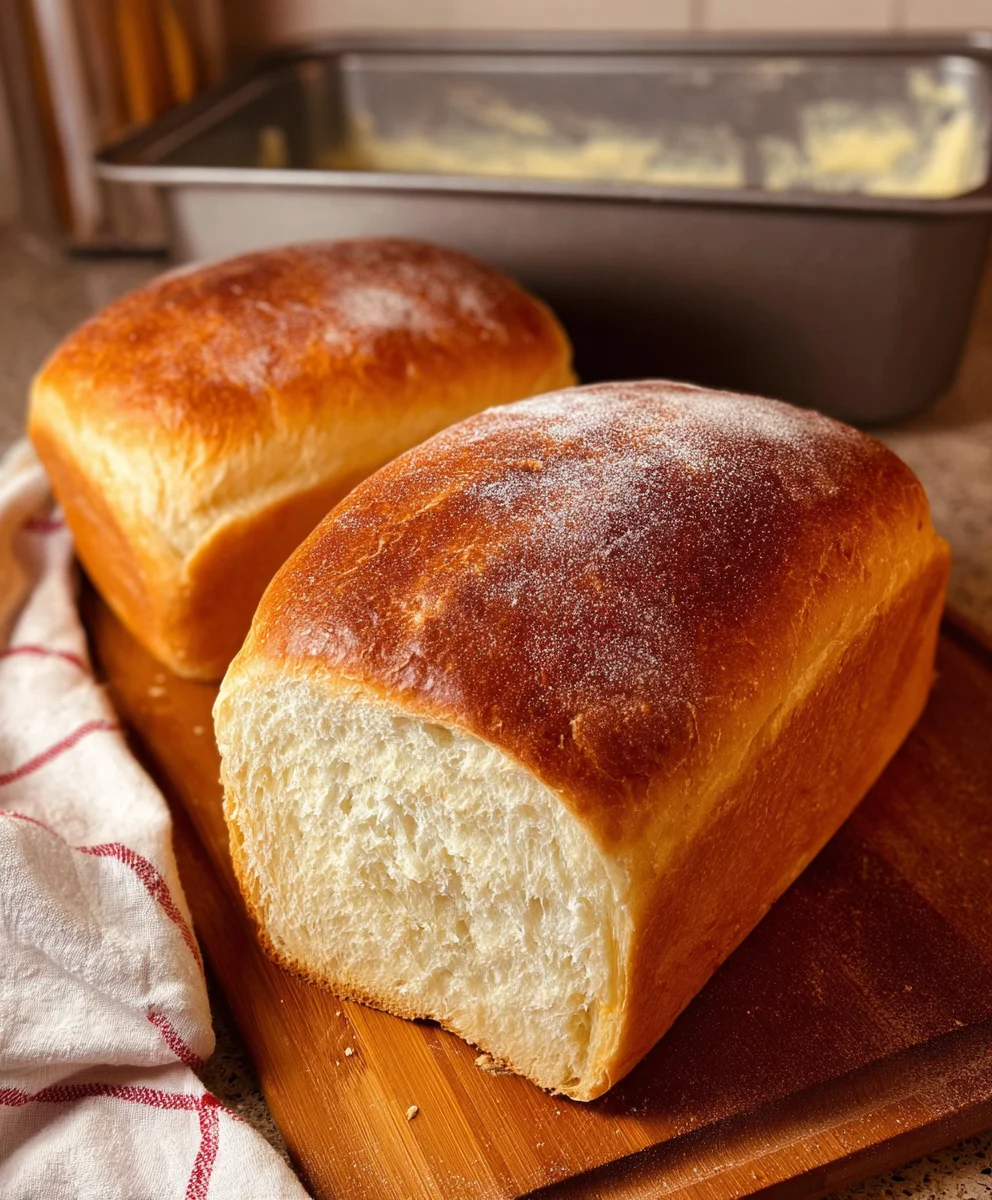
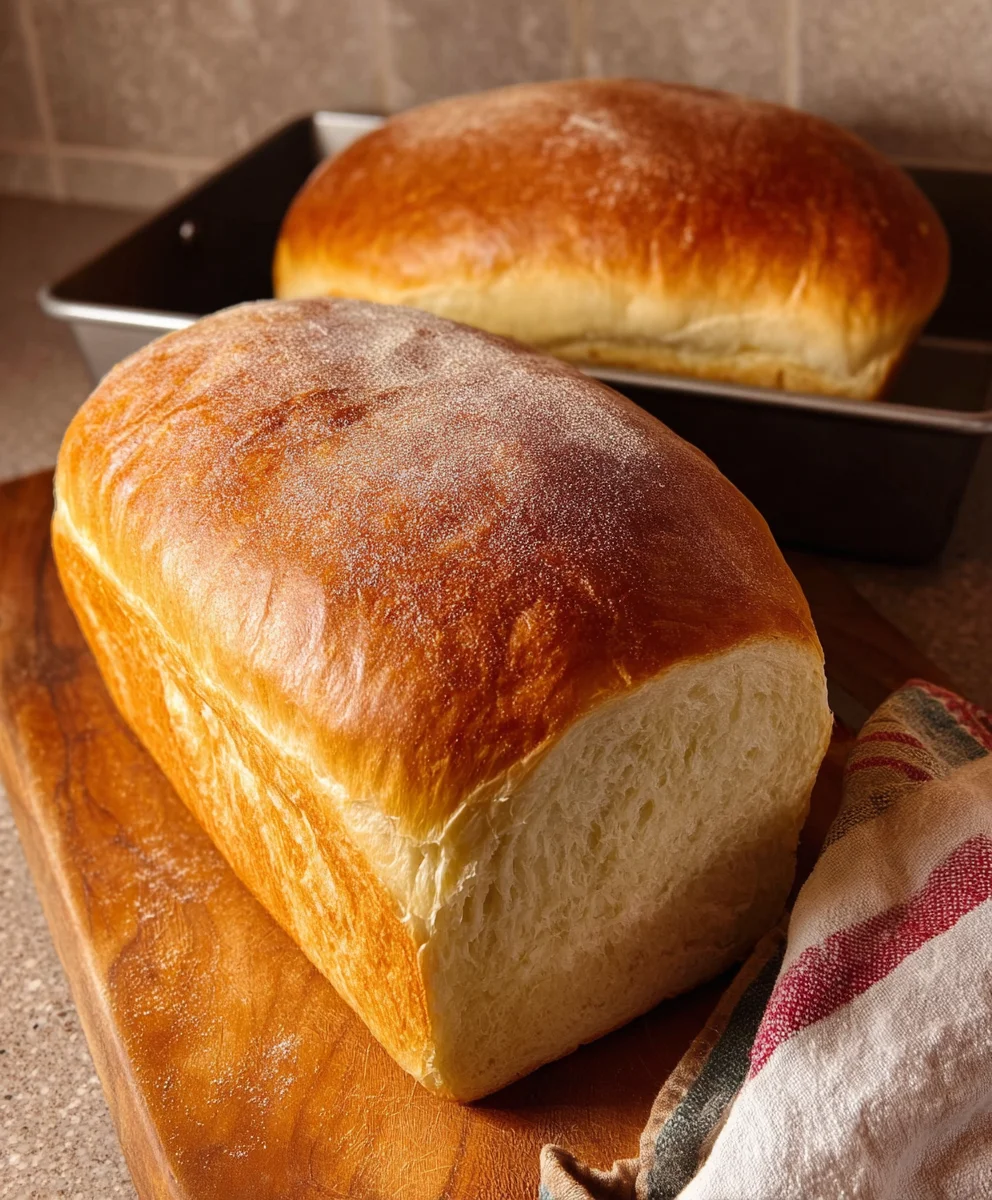
The Best White Bread from Scratch is more than just a recipe; it’s an invitation to rediscover the simple joy of baking. Imagin extracte the aroma filling your kitchen as this beautiful loaf bakes to a golden perfection, its crust crackling with promise. There’s an undeniable magic in transforming humble ingredients – flour, yeast, water, and salt – into something so profoundly satisfying. People adore homemade white bread for its unparalleled softness, its delicate, slightly sweet flavor, and the comforting texture that store-bought alternatives simply can’t replicate. What truly sets The Best White Bread from Scratch apart is its foolproof method, designed for home bakers of all levels. We’ll guide you step-by-step, demystifying the process and ensuring you achieve that ethereal crum extractb and delightful chew that defines truly exceptional bread. Get ready to experience the pride and pleasure of pulling your very own masterpiece from the oven!
Ingredients:
- 2 cups warm water (about 105-115°F or 40-46°C)
- 1/4 cup granulated sugar
- 5 cups all-purpose flour, plus more for dusting
- 2 teaspoons active dry yeast
- 2 teaspoons salt
- 3 tablespoons unsalted butter, softened, plus more for greasing
Preparing the Dough
Activating the Yeast
The first crucial step to achieving The Best White Bread from Scratch is to ensure our yeast is active and ready to work its magic. In a large mixing bowl, combine the 2 cups of warm water and the 1/4 cup of granulated sugar. Give it a gentle stir to dissolve the sugar. Sprinkle the 2 teaspoons of active dry yeast evenly over the surface of the water. Now, this is where patience comes in. Let the mixture sit undisturbed for about 5 to 10 minutes. You’ll know the yeast is alive and kicking when it becomes foamy and bubbly on top. This “blooming” process indicates that the yeast is feeding on the sugar and producing carbon dioxide, which is essential for leavening our bread. If you don’t see any foam, your yeast might be old or the water was too hot or too cold, and you’ll need to start this step over with fresh yeast.
Mixing the Dough
Once your yeast mixture is beautifully foamy, it’s time to bring everything together. Add the 5 cups of all-purpose flour and the 2 teaspoons of salt to the bowl with the activated yeast mixture. Now, it’s time to get your hands dirty, or if you prefer, use a stand mixer with a dough hook attachment. Start by stirring the ingredients with a wooden spoon or spatula until a shaggy dough begin extracts to form. It will look a bit rough and unappealing at this stage, and that’s perfectly normal. Don’t be tempted to add more flour just yet.
Kneading and First Rise
Kneading the Dough
Turn the shaggy dough out onto a lightly floured surgin extracte. Begin kneading the dough. This is a process where you push, fold, and stretch the dough repeatedly. The goal is to develop the gluten in the flour, which gives bread its structure and chewy texture. Knead for about 8 to 10 minutes. You’ll know the dough is sufficiently kneaded when it becomes smooth, elastic, and no longer sticky. You can test this by gently poking it with your finger; if the indentation springs back slowly, you’re on the right track. If you’re using a stand mixer, knead on medium-low speed for about 6 to 8 minutes until the dough clears the sides of the bowl and is smooth and elastic. After kneading, add the 3 tablespoons of softened butter to the dough. Continue kneading until the butter is fully incorporated and the dough feels incredibly smooth and supple. This addition of butter contributes richness and a tender crum extractb to our final loaf.
First Rise (Proofing)
Lightly grease a clean, large bowl with a little bit of butter or oil. Place the kneaded dough into the greased bowl, turning it once to coat all sides with the oil. This prevents the dough from drying out as it rises. Cover the bowl tightly with plastic wrap or a clean kitchen towel. Find a warm, draft-free spot for the dough to rise. A slightly warm oven (turned off, with the light on) or a spot near a warm appliance can work wonders. Let the dough rise for about 1 to 1.5 hours, or until it has doubled in size. This doubling in size is a critical indicator that the yeast has done its job of producing gas and creating that airy structure we desire.
Shaping and Second Rise
Shaping the Loaf
Once the dough has doubled in size, gently punch it down to release the air that has been trapped inside. Turn the dough out onto your lightly floured work surface once more. For a classic loaf shape, gently shape the dough into a rectangle, about 8 inches wide. Then, starting from one of the shorter ends, tightly roll up the dough into a log shape, pinching the seams closed as you go. Tuck the ends under to create a smooth, taut surface. This shaping technique helps to create a urum extractorm crumb and a good crust.
Second Rise (Proofing)
Generously grease a standard 9×5 inch loaf pan with butter or cooking spray. Carefully place the shaped dough seam-side down into the prepared loaf pan. Cover the pan loosely with plastic wrap or a clean kitchen towel. Let the dough rise again in a warm place for another 45 minutes to 1 hour, or until it has risen about 1 inch above the rim of the pan. This second rise is essential for developing the final volume and texture of the bread. You’ll know it’s ready when it looks visibly puffy and has a nice dome.
Baking The Best White Bread
Baking the Loaf
Preheat your oven to 375°F (190°C) during the last 15-20 minutes of the second rise. Once the oven is preheated and the dough has completed its second rise, it’s time to bake. Place the loaf pan on the center rack of the preheated oven. Bake for 30 to 35 minutes, or until the crust is a deep golden brown and the internal temperature of the bread, when measured with an instant-read thermometer, reaches 190-200°F (88-93°C). If the crust starts to brown too quickly, you can loosely tent the loaf with aluminum foil during the last 10-15 minutes of baking. The aroma filling your kitchen will be heavenly, a true testament to your efforts.
Cooling the Bread
This step is just as important as the baking itself. Once the bread is out of the oven, immediately remove it from the loaf pan and place it on a wire cooling rack. This allows air to circulate around the entire loaf, preventing the bottom crust from becoming soggy. Let the bread cool completely for at least 1 hour before slicing. Slicing hot bread can result in a gummy texture, as the internal structure is still setting. Resist the urge to cut into it too soon; the wait is well worth it for the perfect slice. Enjoy the fruits of your labor with this truly satisfying homemade white bread.
Conclusion:
We’ve reached the end of our journey to create The Best White Bread from Scratch, and I hope you’re feeling inspired and ready to get your hands floury! This recipe is a testament to the simple magic of flour, water, yeast, and salt, transforming into a wonderfully soft and flavorful loaf that’s a million miles away from store-bought. The aroma that fills your kitchen as it bakes is truly unmatched, and the taste of that first warm slice, perhaps slathered with butter or jam, is pure comfort.
This versatile loaf is perfect for a hearty breakfast toast, a classic sandwich base, or even as a side for your favorite soups and stews. Don’t be afraid to get creative with serving suggestions! For variations, consider adding a touch of honey to the dough for a subtle sweetness, or perhaps some herbs for a savory twist. You can also experiment with different flour blends, though this basic recipe yields a delightfully tender crum extractb.
Baking bread from scratch is an incredibly rewarding experience. It’s a process that connects us to tradition and offers a delicious reward. So, gather your ingredients, embrace the tactile nature of kneading, and enjoy the satisfaction of pulling a perfect loaf of The Best White Bread from Scratch out of your oven. I encourage you to try this recipe soon – you might just discover a new favorite kitchen ritual!
Frequently Asked Questions:
Q: My dough didn’t rise very much. What could be wrong?
There are a few common culprits. Ensure your yeast was fresh and active; you can test this by dissolving it in warm water with a pinch of sugar – it should become foamy within 5-10 minutes. Also, check that your liquid (water or milk) was lukewarm, not too hot (which kills yeast) or too cold (which slows it down significantly). Lastly, ensure your kitchen environment is warm enough for the dough to rise.
Q: How long will “The Best White Bread from Scratch” stay fresh?
When stored properly at room temperature in a bread box or a loosely tied plastic bag, this bread will typically stay fresh for 2-3 days. For longer storage, you can slice the bread and freeze it in an airtight container or freezer bag. It thaws beautifully and is perfect for toasting!
The Best White Bread Recipe – Easy Scratch Baking
An easy-to-follow recipe for classic, soft, and delicious homemade white bread from scratch.
Ingredients
-
2 cups warm water
-
1/4 cup granulated sugar
-
5 cups all-purpose flour
-
2 teaspoons active dry yeast
-
2 teaspoons salt
-
3 tablespoons unsalted butter, softened
Instructions
-
Step 1
Activate the yeast by combining warm water (105-115°F) and sugar in a large bowl. Sprinkle yeast over the top and let sit for 5-10 minutes until foamy. -
Step 2
Add flour and salt to the foamy yeast mixture. Stir until a shaggy dough forms. Knead on a lightly floured surface for 8-10 minutes until smooth and elastic, or use a stand mixer for 6-8 minutes. Incorporate softened butter during the last few minutes of kneading. -
Step 3
Place the kneaded dough in a lightly greased bowl, cover, and let rise in a warm place for 1 to 1.5 hours, or until doubled in size. -
Step 4
Punch down the dough, shape it into an 8-inch rectangle, and then tightly roll it into a log. Pinch seams closed and tuck ends under. -
Step 5
Place the shaped dough seam-side down into a greased 9×5 inch loaf pan. Cover loosely and let rise for another 45 minutes to 1 hour, or until about 1 inch above the rim. -
Step 6
Preheat oven to 375°F (190°C). Bake the loaf for 30-35 minutes, until deep golden brown and internal temperature reaches 190-200°F. Tent with foil if crust browns too quickly. -
Step 7
Immediately remove the bread from the pan and cool completely on a wire rack for at least 1 hour before slicing.
Important Information
Nutrition Facts (Per Serving)
It is important to consider this information as approximate and not to use it as definitive health advice.
Allergy Information
Please check ingredients for potential allergens and consult a health professional if in doubt.