Crispy Juicy Fried Beef Recipe
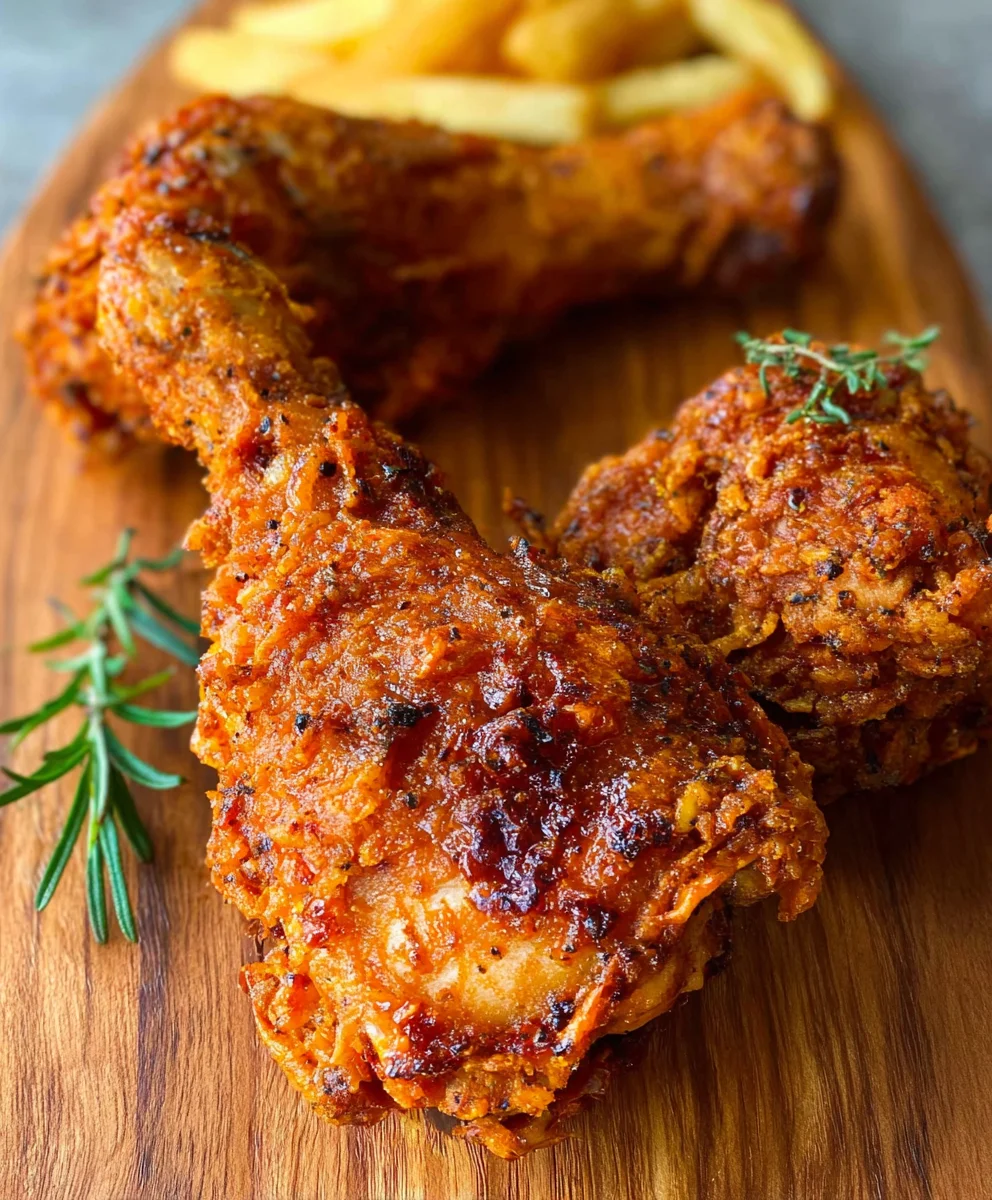
CRISPY JUICY FIRED CHICKEN is more than just a meal; it’s an experience. It’s that unmistakable crunch that gives way to impossibly tender, flavorful meat, leaving you reaching for another piece before you’ve even finished the first. We all have our childhood memories of this iconic dish, perhaps from a family gathering or a favorite restaurant, and the yearning for that perfect bite never truly fades. What sets truly exceptional CRISPY JUICY FIRED CHICKEN apart is a delicate balance of a perfectly seasoned, shatteringly crisp exterior and a moist, succulent interior that bursts with savory goodness. It’s a testament to careful preparation, a touch of culinary magic, and a whole lot of love. Today, we’re going to unlock the secrets to achieving that restaurant-quality perfection right in your own kitchen, ensuring every bite is a delightful revelation.
Ingredients:
- 8 pieces bone-in chicken pieces (4 chicken thighs and 4 drum extractsticks)
- 3 cups buttermilk
- 1 large egg
- 2 teaspoons salt
- 1 teaspoon ground black pepper
- 1 teaspoon garlic powder
- ½ teaspoon cayenne pepper
- FOR THE FLOUR COATING:
- 2 cups all-purpose flour
- 3/4 cup cornstarch
- 1 teaspoon baking powder
- 2 teaspoons salt
- 1 teaspoon ground black pepper
- 1 teaspoon garlic powder
- 1 teaspoon celery salt
Preparing the Chicken for Frying
This is where we lay the groundwork for achieving that incredibly delicious CRISPY JUICY FIRED CHICKEN. First, let’s get our chicken ready. Pat each of the chicken pieces thoroughly dry with paper towels. This step is crucial because moisture on the surface of the chicken can steam instead of fry, preventing that coveted crispiness. Once dried, place the chicken pieces into a large bowl or a resealable plastic bag.
Now, let’s create our marinade, which will not only tenderize the chicken but also infuse it with fantastic flavor. In a separate bowl, whisk together the buttermilk, the large egg, 2 teaspoons of salt, 1 teaspoon of ground black pepper, 1 teaspoon of garlic powder, and the ½ teaspoon of cayenne pepper. Whisk until everything is well combined and the egg is fully incorporated. Pour this magical mixture over the dried chicken pieces, ensuring that each piece is completely submerged. Gently toss the chicken to coat it evenly. If you’re using a bowl, cover it tightly with plastic wrap. If you’re using a plastic bag, seal it securely. For the best results, refrigerate the chicken and let it marinate for at least 4 hours, but an overnight soak in the refrigerator is even better. This long marination period is a key player in developing that juicy interior that contrasts so wonderfully with the crispy exterior we’re aiming for.
Crafting the Perfect Flour Coating
While the chicken is busy marinating and becoming wonderfully tender, let’s prepare the dry coating that will give us that signature CRISPY JUICY FIRED CHICKEN crunch. In a large bowl, combine the 2 cups of all-purpose flour, ¾ cup of cornstarch, 1 teaspoon of baking powder, 2 teaspoons of salt, 1 teaspoon of ground black pepper, 1 teaspoon of garlic powder, and 1 teaspoon of celery salt. The cornstarch is our secret weapon here; it helps to create an incredibly light and crispy texture. The baking powder acts as a leavening agent, contributing to the flakiness of the coating.
Whisk all of these dry ingredients together thoroughly. Make sure there are no lumps and that all the spices and seasonings are evenly distributed throughout the flour mixture. Having a well-seasoned flour coating is just as important as having well-seasoned chicken. Once mixed, set this bowl aside. We’ll be using this generously to coat our marinated chicken just before frying.
The Art of Coating the Chicken
This is the stage where we physically prepare the chicken for its fiery transformation. Remove the marinated chicken pieces from the refrigerator. Discard the buttermilk marinade. It has done its job! Working with one piece of chicken at a time, lift it from the bowl (or bag) and let any excess buttermilk drip off for a second. Then, place the chicken piece directly into the prepared flour mixture.
Now, get your hands in there and really work the flour onto the chicken. Press the flour into every nook and cranny. You want to ensure that the chicken is completely coated. For an extra crispy coating, some chefs like to double-dip. So, after you’ve given the chicken its first thorough coating of flour, dip it back into the remaining buttermilk mixture for just a moment (don’t soak it again, just a quick dip) and then return it to the flour. Again, press the flour firmly all over the chicken. This creates thicker, more substantial crust that fries up wonderfully. Once coated, place the floured chicken pieces on a wire rack set over a baking sheet. This allows the coating to adhere and dry out slightly, which helps it stick better during frying. Let the coated chicken rest for about 10-15 minutes before you start frying. This resting period is another key to achieving that superior CRISPY JUICY FIRED CHICKEN.
Frying to Golden Perfection
It’s time to bring on the heat and transform our coated chicken into the star of the show. You’ll need a heavy-bottomed pot or a deep fryer for this. Pour enough vegetable oil or canola oil into the pot to ensure the chicken pieces can be fully submerged during frying. Heat the oil over medium-high heat until it reaches a temperature of 350°F (175°C). Using a thermometer is highly recommended to maintain the correct oil temperature; too low and the chicken will be greasy, too high and the coating will burn before the chicken is cooked through.
Carefully, and I mean carefully, place 2-3 pieces of coated chicken into the hot oil at a time. Do not overcrowd the pot. Overcrowding will lower the oil temperature significantly, leading to soggy, greasy chicken instead of our desired CRISPY JUICY FIRED CHICKEN. Fry the chicken for about 6-8 minutes per side, or until it is golden brown and cooked through. The internal temperature of the chicken should reach 165°F (74°C). As each batch finishes frying, carefully remove the chicken pieces from the oil using a slotted spoon or tongs and place them back onto the clean wire rack set over a baking sheet. This allows excess oil to drain away and keeps the chicken crispy. Continue frying the remaining chicken pieces in batches, ensuring the oil returns to 350°F (175°C) between each batch.
Resting and Enjoying Your CRISPY JUICY FIRED CHICKEN
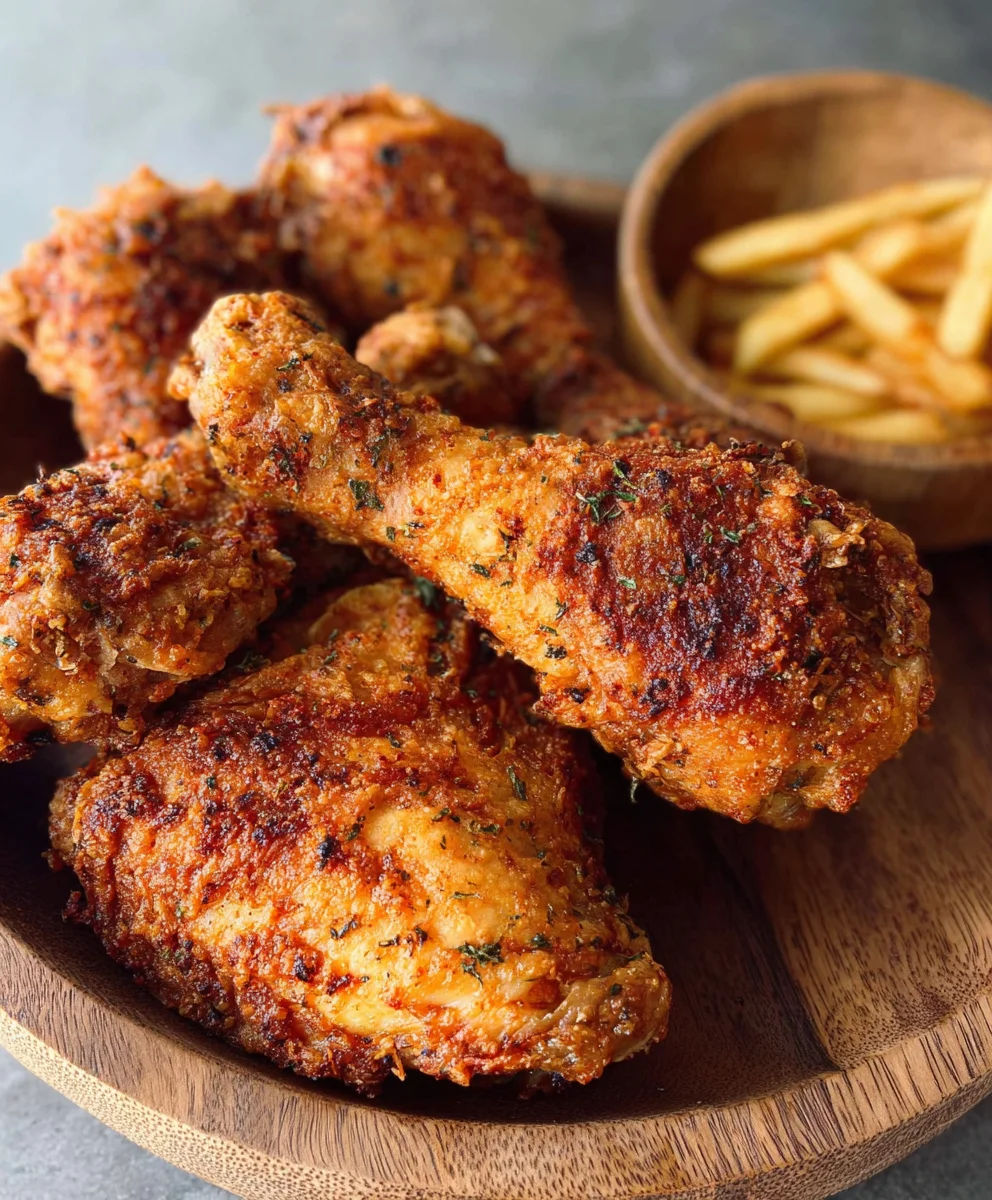
Once all your chicken pieces have been fried to a beautiful golden-brown perfection, it’s essential to let them rest for a few minutes before serving. Resist the urge to dive in immediately! Transfer the fried chicken to a clean wire rack set over a baking sheet. This resting period allows the juices inside the chicken to redistribute evenly, ensuring every bite is incredibly moist and juicy. It also allows the crispy coating to set up a bit more. While the chicken rests, you can lightly sprinkle it with a little extra salt if you like. Serve your CRISPY JUICY FIRED CHICKEN hot with your favorite sides.
Conclusion:
And there you have it – your guide to achieving truly CRISPY JUICY FIRED CHICKEN! We’ve walked through the steps to ensure a golden, crackling exterior that gives way to incredibly tender and moist meat with every bite. This recipe is all about creating that perfect balance of texture and flavor that makes fried chicken a timeless favorite. Remember, the key lies in the preparation, the right temperature, and a little patience. Don’t be afraid to experiment with the seasoning blend; make it your own!
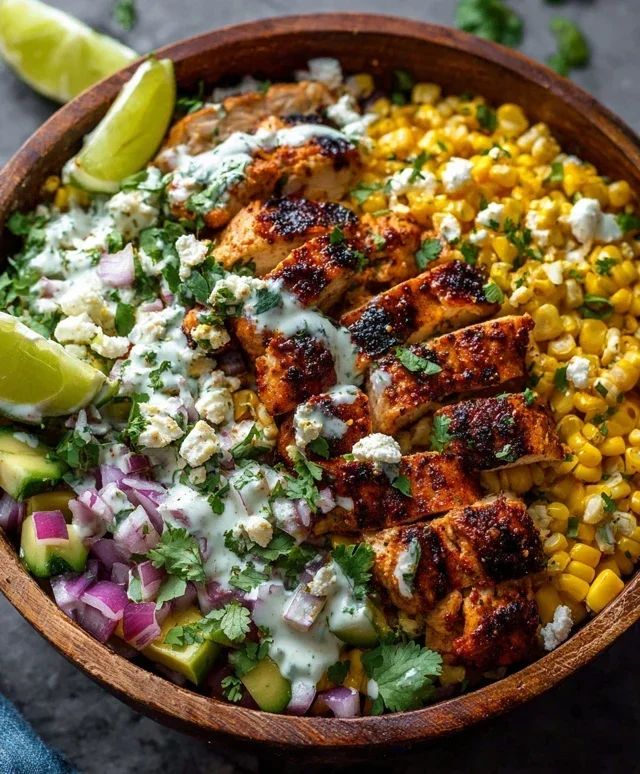
When it comes to serving, this CRISPY JUICY FIRED CHICKEN is incredibly versatile. It’s fantastic alongside classic comfort food sides like creamy mashed potatoes, a fresh coleslaw, or buttery biscuits. For a lighter option, consider a vibrant green salad or some roasted vegetables. Feeling adventurous? Try it crum extractbled over a salad or tucked into a sandwich for a delightful crunch.
We encourage you to give this recipe a try. Mastering CRISPY JUICY FIRED CHICKEN is a rewarding culinary achievement, and the delicious results are well worth the effort. So gather your ingredients, put on your favorite tunes, and get ready to impress yourself and your loved ones with this spectacular dish!
Frequently Asked Questions:
What makes the chicken crispy and juicy?
The crispiness comes from the coating and the frying process, specifically maintaining the correct oil temperature so the exterior cooks quickly and forms a crust without overcooking the inside. The juiciness is achieved by ensuring the chicken pieces are not overcooked and by brining or marinating them beforehand to retain moisture.
Can I use a different type of oil for frying?
Yes, you absolutely can! While vegetable or canola oil are common choices due to their neutral flavor and high smoke point, you can also use peanut oil for a subtle nutty flavor or even a blend of oils. The most important factor is to use an oil with a high smoke point and to maintain a consistent frying temperature.
How can I make variations of this CRISPY JUICY FIRED CHICKEN?
There are many ways to add variations! You can incorporate different spices into your dry rub, such as paprika, cayenne pepper, or garlic powder. For a spicier kick, add some hot sauce to the buttermilk brine. You could also experiment with different coatings, like crushed cornflakes or pankrum extractreadcrumbs, for a unique texture.
Crispy Juicy Fried Beef
Achieve incredibly crispy and juicy fried beef with this foolproof recipe. The secret lies in a flavorful buttermilk marinade and a perfectly seasoned flour coating.
Ingredients
-
8 pieces beef cuts suitable for frying (e.g., beef short ribs or stew meat cut into larger pieces)
-
3 cups buttermilk
-
1 large egg
-
2 teaspoons salt
-
1 teaspoon ground black pepper
-
1 teaspoon garlic powder
-
½ teaspoon cayenne pepper
-
2 cups all-purpose flour
-
3/4 cup cornstarch
-
1 teaspoon baking powder
-
2 teaspoons salt
-
1 teaspoon ground black pepper
-
1 teaspoon garlic powder
-
1 teaspoon celery salt
Instructions
-
Step 1
Pat each beef piece thoroughly dry with paper towels. Place the dried beef pieces into a large bowl or a resealable plastic bag. -
Step 2
In a separate bowl, whisk together the buttermilk, the large egg, 2 teaspoons of salt, 1 teaspoon of ground black pepper, 1 teaspoon of garlic powder, and the ½ teaspoon of cayenne pepper. Pour this mixture over the dried beef, ensuring each piece is completely submerged. Refrigerate for at least 4 hours, or overnight for best results. -
Step 3
In a large bowl, combine the all-purpose flour, cornstarch, baking powder, 2 teaspoons of salt, 1 teaspoon of ground black pepper, 1 teaspoon of garlic powder, and 1 teaspoon of celery salt. Whisk thoroughly until well combined. -
Step 4
Remove the marinated beef from the refrigerator and discard the marinade. Working with one piece at a time, lift it from the bowl, letting excess buttermilk drip off. Place the beef directly into the prepared flour mixture and press firmly to ensure it is completely coated. For an extra crispy coating, dip briefly back into the buttermilk and then again into the flour mixture, pressing firmly. -
Step 5
Place the coated beef pieces on a wire rack set over a baking sheet and let rest for 10-15 minutes before frying. -
Step 6
Heat about 2-3 inches of vegetable or canola oil in a heavy-bottomed pot or deep fryer to 350°F (175°C). Carefully place 2-3 pieces of coated beef into the hot oil at a time, ensuring not to overcrowd the pot. Fry for about 6-8 minutes per side, or until golden brown and cooked through. The internal temperature should reach at least 165°F (74°C) for smaller cuts or adjust for larger cuts as appropriate. -
Step 7
Carefully remove the fried beef from the oil using a slotted spoon or tongs and place them back onto the clean wire rack set over a baking sheet to drain excess oil and keep crispy. Continue frying the remaining beef pieces in batches, maintaining the oil temperature between 350°F (175°C). -
Step 8
Let the fried beef rest for a few minutes on the wire rack before serving. This allows the juices to redistribute, ensuring a moist and juicy interior. Serve hot with your favorite sides.
Important Information
Nutrition Facts (Per Serving)
It is important to consider this information as approximate and not to use it as definitive health advice.
Allergy Information
Please check ingredients for potential allergens and consult a health professional if in doubt.