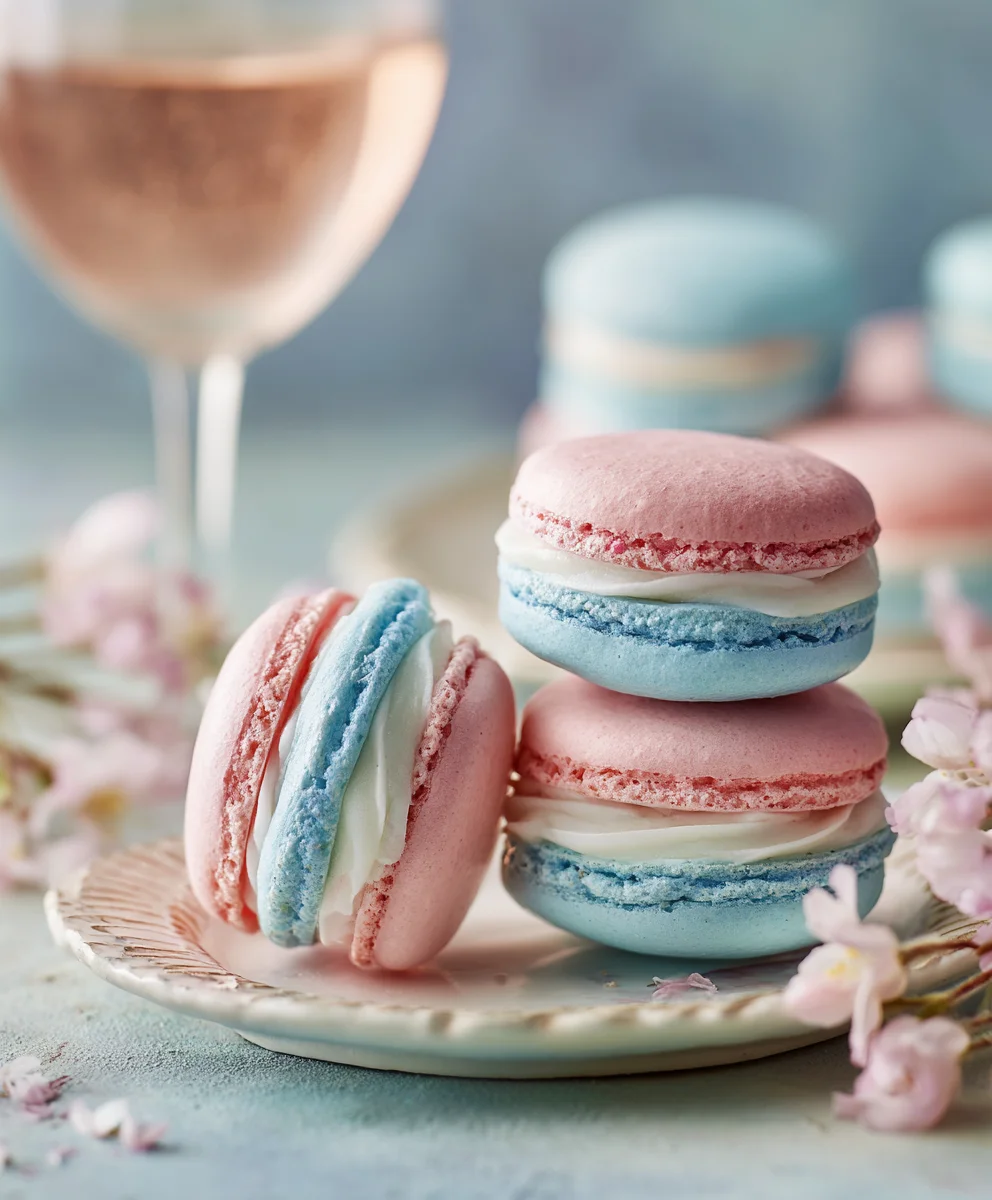
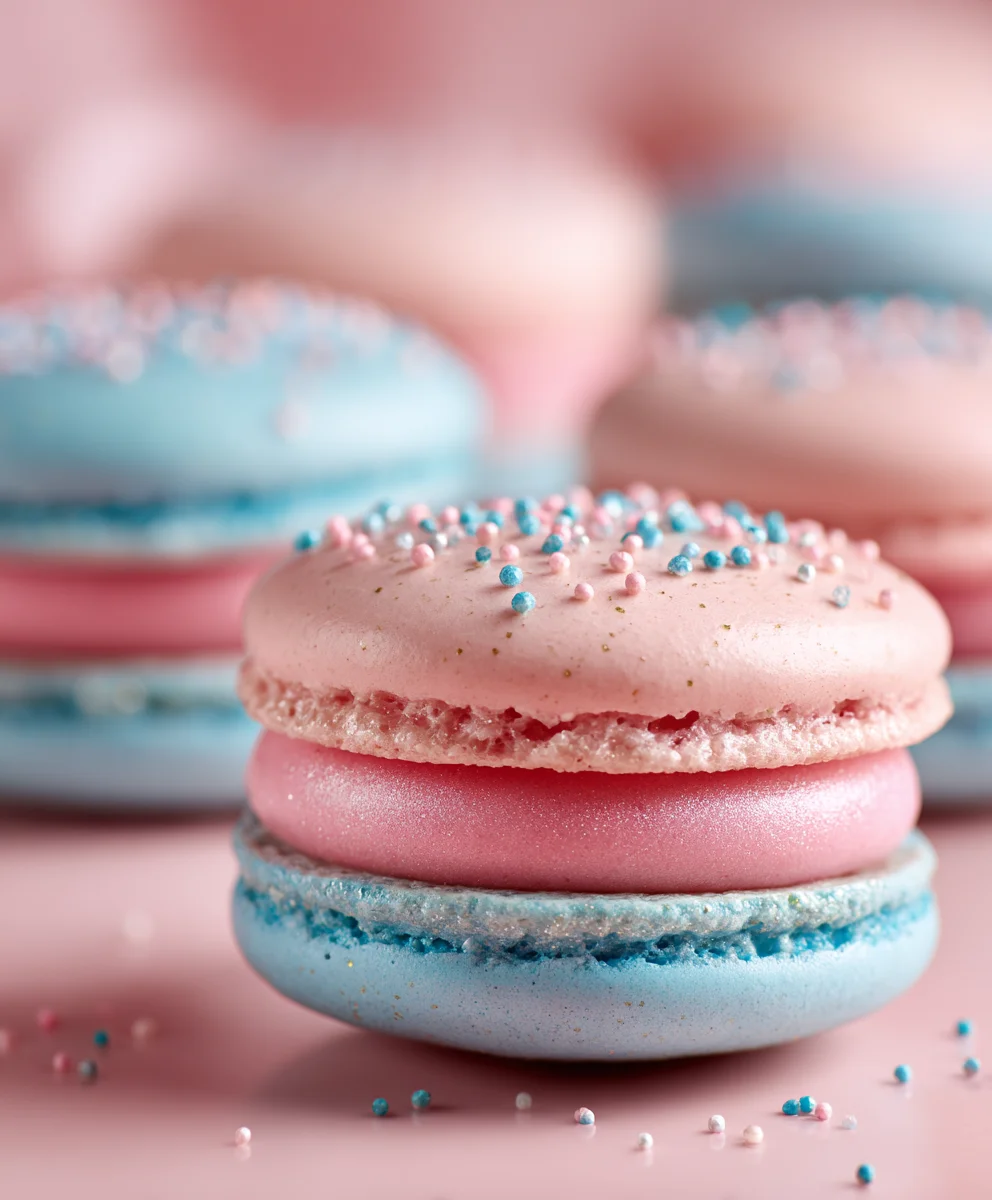
Dreamy Coquette Party Food- Pink Blue Delights
Dreamy Pink & Blue Coquette Party dishes are more than just food; they are an edible embodiment of whimsical celebration and charming aesthetics. Imagin extracte a gathering where every bite is a delightful surprise, a miniature masterpiece designed to spark joy and conversation. This is precisely the magic that a “Dreamy Pink & Blue Coquette Party” brings to any occasion. People adore these creations not just for their incredible taste, but for the sheer visual poetry they present. They evoke a sense of playful elegance, a nod to vintage charm with a modern, delightful twist. What truly sets this theme apart is its versatility and the opportunity it provides for boundless creativity. Whether you’re hosting a birthday bash, a bridal shower, or simply want to inject a dose of enchantment into a get-together, these dishes promise an unforgettable experience that will leave your guests utterly charmed and craving more.
Ingredients:
- 2 cups all-purpose flour
- 1 teaspoon baking soda
- 1/2 teaspoon salt
- 1 cup (2 sticks) unsalted butter, softened
- 1 1/2 cups granulated sugar
- 2 large eggs
- 1 teaspoon vanilla extract
- 1/4 cup buttermilk
- Pink gel food coloring
- Blue gel food coloring
- Powdered sugar for dusting
- Optional: Edible glitter or sprinkles in coordinating colors
Preparing the Dough for Your Dreamy Pink & Blue Coquette Party Cookies
Mixing the Dry Ingredients
Begin extract by gathering all your dry ingredients. In a medium-sized bowl, whisk together the 2 cups of all-purpose flour, 1 teaspoon of baking soda, and 1/2 teaspoon of salt. Whisking thoroughly ensures that the leavening agent (baking soda) and salt are evenly distributed throughout the flour, which is crucial for consistent cookie texture and rise. Set this bowl aside.
Creaming the Butter and Sugar
In a large mixing bowl, preferably using an electric mixer (stand mixer or hand mixer), cream together 1 cup (which is two sticks) of softened unsalted butter and 1 1/2 cups of granulated sugar. It’s important that the butter is softened, not melted. Softened butter will incorporate air more effectively, leading to lighter and fluffier cookies. Beat them together on medium speed until the mixture is light, pnon-alcoholic ale, and fluffy. This creaming process is essential for developing a tender cookie crum extractb. Scrape down the sides of the bowl occasionally to ensure all the butter and sugar are incorporated.
Adding the Wet Ingredients
Next, add the 2 large eggs, one at a time, beating well after each addition until fully incorporated. This gradual addition helps the eggs emulsify properly with the butter and sugar mixture. Following the eggs, stir in 1 teaspoon of vanilla extract. The vanilla extract will add a lovely aroma and depth of flavor to your coquette cookies.
Incorporating the Buttermilk and Dry Ingredients
Now, it’s time to bring it all together. In a small bowl or measuring cup, gently whisk together the 1/4 cup of buttermilk with your pink and blue gel food coloring. You can divide the buttermilk into two separate small bowls to create distinct pink and blue batters, or you can add the coloring to the main batter later for a marbled effect. For this recipe, we’ll be dividing the dough.
Add about half of the dry ingredient mixture to the wet ingredients and mix on low speed until just combined. Then, add half of the buttermilk mixture and mix until just combined. Repeat this process with the remaining dry ingredients and buttermilk. Be careful not to overmix the dough, as this can develop the gluten in the flour too much, resulting in tough cookies. Mix only until no dry streaks of flour remain.
Dividing and Coloring the Dough
Creating Two Distinct Doughs
Divide the prepared cookie dough into two equal portions. Place one portion into a separate bowl. To one bowl of dough, add a few drops of pink gel food coloring. To the other bowl of dough, add a few drops of blue gel food coloring.
Achieving the Perfect Coquette Colors
Using a spatula or your hands (gloved if you prefer to avoid staining), gently knead the food coloring into each portion of dough until the color is uniform. Start with a small amount of gel coloring and add more as needed to achieve your desired shade of pink and blue. Remember that gel food coloring is highly concentrated, so a little goes a long way. Aim for vibrant, yet soft pastel hues that evoke the dreamy coquette aesthetic. For a marbled effect, you can swirl the two colors together gently before chilling.
Chilling and Shaping Your Dreamy Cookies
Essential Chilling Time
Once your doughs are beautifully colored, flatten each portion into a disk. Wrap each disk tightly in plastic wrap. This is a crucial step for coquette cookies. Chill the dough in the refrigerator for at least 1 hour, or preferably 2 hours. Chilling the dough allows the fats to firm up, making the dough easier to handle and preventing the cookies from spreading too much during baking. It also allows the flavors to meld together.
Preparing for Baking
When you’re ready to bake, preheat your oven to 350°F (175°C). Line baking sheets with parchment paper. This prevents the cookies from sticking and makes for easy cleanup.
Shaping Your Coquette Masterpieces
You have a few options for shaping your cookies to achieve that coquette charm.
Option 1: Marbled Effect. Take small portions of the pink and blue dough and gently press them together, then swirl them lightly with your fingers or a toothpick. Roll this marbled dough into small balls, about 1 inch in diameter. Place them about 2 inches apart on the prepared baking sheets.
Option 2: Two-Tone. Roll out small pieces of pink dough and small pieces of blue dough separately. Cut out shapes using cookie cutters. You can then press two different shapes together to create a two-toned effect.
Option 3: Simple Rounds. Roll the pink and blue doughs separately into small balls. You can press them together slightly before placing them on the baking sheet, or bake them as solid pink and blue cookies to later decorate.
If you are using cookie cutters, lightly flour your surface and rolling pin. Roll the dough to about 1/4-inch thickness. Use your desired cookie cutters to create charming shapes. For the coquette aesthetic, think small, delicate shapes like hearts, bows, or even small rounds.
Baking and Finishing Touches
Baking to Perfection
Bake the cookies for 9-12 minutes, or until the edges are lightly golden brown and the centers are set. The exact baking time will depend on the size and thickness of your cookies. Keep a close eye on them, as smaller cookies can bake quickly. Rotate the baking sheets halfway through the baking time for even browning.
Cooling the Coquette Creations
Once baked, let the cookies cool on the baking sheets for 2-3 minutes before carefully transferring them to a wire rack to cool completely. This initial cooling on the sheet allows them to firm up slightly, preventing them from breaking when moved.
The Finishing Flourish
Once your cookies are completely cool, you can finish them with a light dusting of powdered sugar for a delicate, ethereal look, reminiscent of powdered sugar on pastries. For an extra touch of sparkle, sprinkle them with edible glitter or coordinating sprinkles in soft pinks, blues, and whites. This step truly elevates them into the realm of a “Dreamy Pink & Blue Coquette Party” treat.
Conclusion:
And there you have it! The steps to creating your very own Dreamy Pink & Blue Coquette Party are complete. We hope you found this recipe inspiring and approachable. This delightful treat is perfect for birthdays, baby showers, or any occasion that calls for a touch of whimsical elegance. Don’t be afraid to let your creativity shine as you assemble these beautiful confections. Remember, the joy is in the making and the sharing!
For serving suggestions, consider presenting the Dreamy Pink & Blue Coquette Party treats on a tiered stand adorned with ribbons and faux pearls. They pair wonderfully with light, bubbly drinks like sparkling cider or lemonade. For variations, feel free to experiment with different shades of pink and blue food coloring, or even add edible glitter for an extra touch of magic. You could also swap out the standard sprinkles for edible flowers or shimmering sugar pearls. We encourage you to personalize this recipe and make it truly your own. Enjoy the process and the delicious results!
Frequently Asked Questions:
Q1: Can I make the components of the Dreamy Pink & Blue Coquette Party ahead of time?
Yes, absolutely! Most components, such as the cookies or cake layers, can be prepared a day or two in advance and stored properly. Frosting can often be made ahead as well, but it’s best to assemble the final Dreamy Pink & Blue Coquette Party just before serving to ensure optimal freshness and visual appeal.
Q2: What if I don’t have piping bags for the frosting?
No problem at all! If you don’t have piping bags, you can use a sturdy zip-top bag with a corner snipped off. For a more rustic yet charming look, you can also spread the frosting with a spatula or even a butter knife. The key is to get creative and have fun with your decorating!
Dreamy Coquette Party Food- Pink Blue Delights
Delightful pink and blue cookies perfect for a coquette-themed party, featuring a soft texture and a charming aesthetic.
Ingredients
-
2 cups all-purpose flour
-
1 teaspoon baking soda
-
1/2 teaspoon salt
-
1 cup (2 sticks) unsalted butter, softened
-
1 1/2 cups granulated sugar
-
2 large eggs
-
1 teaspoon vanilla extract
-
1/4 cup buttermilk
-
Pink gel food coloring
-
Blue gel food coloring
-
Powdered sugar for dusting
-
Edible glitter or sprinkles in coordinating colors (optional)
Instructions
-
Step 1
In a medium bowl, whisk together flour, baking soda, and salt. In a large bowl, cream softened butter and sugar until light and fluffy. Beat in eggs one at a time, then stir in vanilla extract. -
Step 2
In a small bowl, whisk buttermilk with pink gel food coloring. In another small bowl, whisk buttermilk with blue gel food coloring. Gradually add half of the dry ingredients to the wet ingredients, mix until just combined. Add half of the pink buttermilk mixture and mix until just combined. Repeat with remaining dry ingredients and blue buttermilk mixture. Be careful not to overmix. -
Step 3
Divide the dough into two equal portions. Gently knead pink gel food coloring into one portion and blue gel food coloring into the other until uniform. For a marbled effect, swirl the colors together gently before chilling. -
Step 4
Flatten each colored dough portion into a disk, wrap tightly in plastic wrap, and chill in the refrigerator for at least 1 hour, or preferably 2 hours. Preheat oven to 350°F (175°C) and line baking sheets with parchment paper. -
Step 5
Shape the cookies: For a marbled effect, take small portions of pink and blue dough, press together, swirl lightly, and roll into 1-inch balls. Alternatively, use cookie cutters for delicate shapes like hearts or bows. Ensure pieces are about 1/4-inch thick. Place about 2 inches apart on baking sheets. -
Step 6
Bake for 9-12 minutes, or until edges are lightly golden brown and centers are set. Rotate baking sheets halfway through for even browning. Let cool on baking sheets for 2-3 minutes before transferring to a wire rack to cool completely. -
Step 7
Once completely cool, dust with powdered sugar for an ethereal look. Optionally, sprinkle with edible glitter or coordinating sprinkles for an extra touch of sparkle.
Important Information
Nutrition Facts (Per Serving)
It is important to consider this information as approximate and not to use it as definitive health advice.
Allergy Information
Please check ingredients for potential allergens and consult a health professional if in doubt.