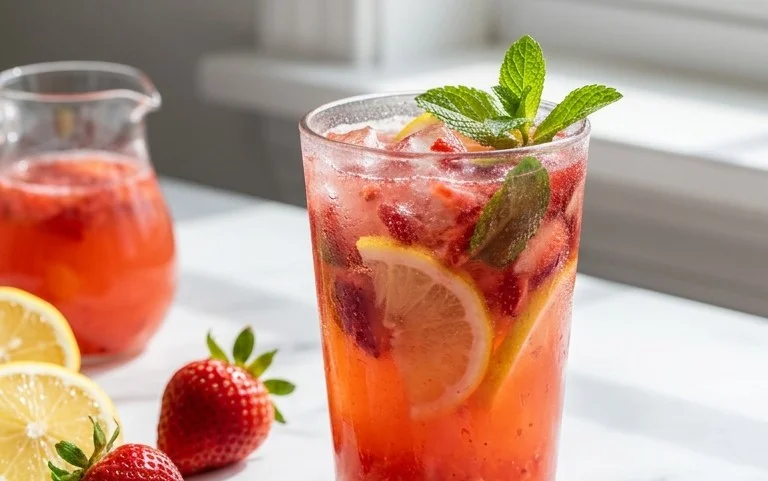
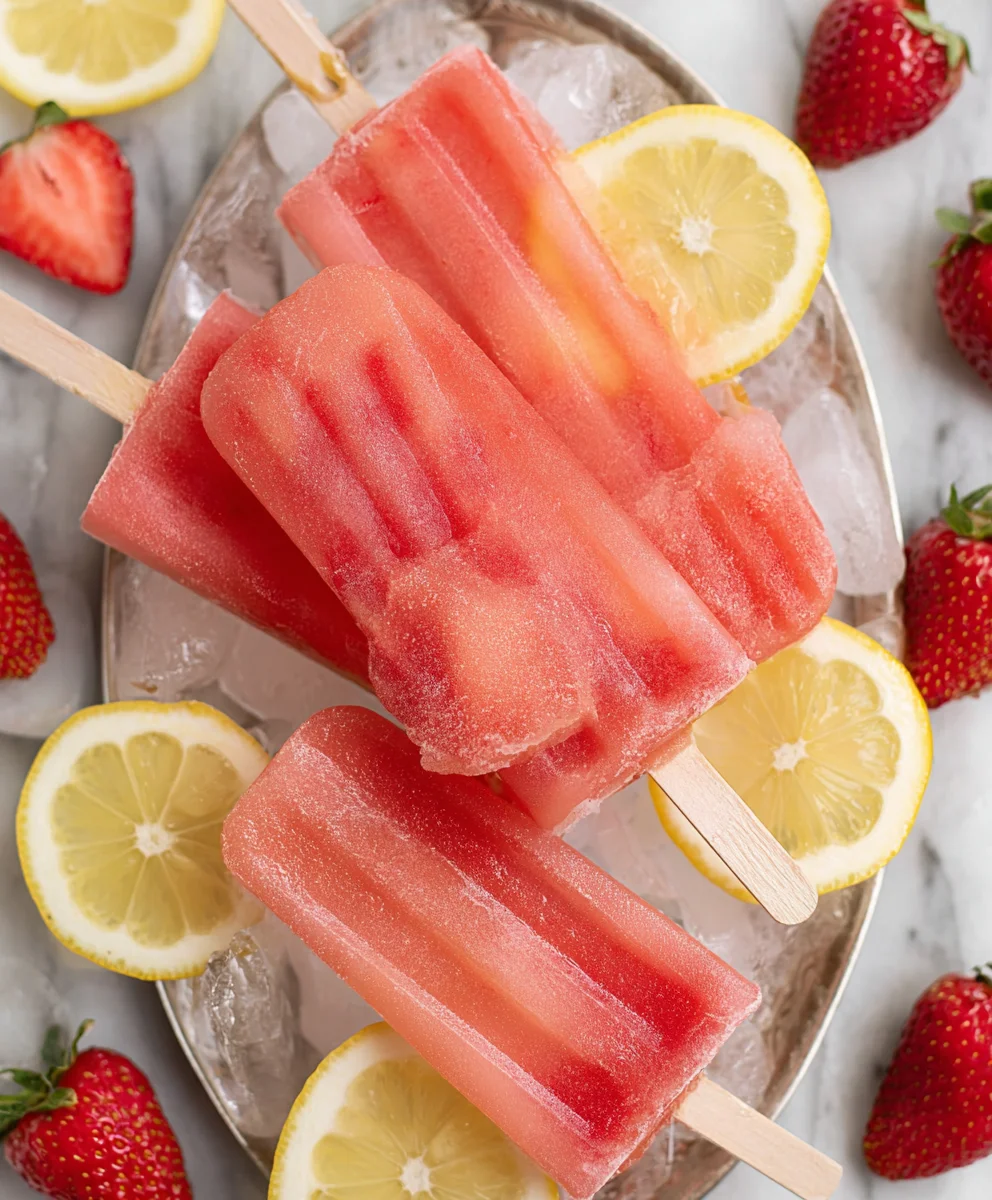
Strawberry Lemonade Popsicles-Sweet Refreshing Treat
Strawberry Lemonade Popsicles are more than just a frozen treat; they’re a quintessential taste of summer, a bright burst of sunshine captured in every icy bite. There’s something inherently joyful about these vibrant, sweet-tart delights. We love them because they perfectly balance the luscious sweetness of ripe strawberries with the zesty tang of fresh lemon, creating an invigorating flavor explosion that instantly cools you down and lifts your non-alcoholic spirits. What truly makes these Strawberry Lemonade Popsicles special is their effortless simplicity and the pure, unadulterated goodness of real fruit. Forget artificial flavors and high-fructose corn syrup; this recipe celebrates natural ingredients for a wholesome and utterly delicious experience that’s perfect for a hot afternoon or a backyard barbecue. Get ready to make the best Strawberry Lemonade Popsicles you’ve ever tasted!
Ingredients:
- 1 container (59 fl oz) Simply Lemonade
- 1 cup fresh strawberries, hulled and diced
- 1 tablespoon granulated sugar
Preparing the Strawberry Lemonade Base
Step 1: Dice the Strawberries
The first step in crafting these delightful Strawberry Lemonade Popsicles is to prepare our star fruit. Take your 1 cup of fresh strawberries, making sure they are ripe and vibrant for the best flavor. Gently rinse them under cool water and pat them dry with a paper towel. Next, you’ll want to hull the strawberries, which means removing the green leafy tops. A small paring knife works best for this. Once hulled, finely dice the strawberries. The goal is to have small, bite-sized pieces that will distribute evenly throughout the popsicles, providing bursts of sweet strawberry flavor with every lick. Aim for pieces that are roughly ¼ inch in size. You can dice them a bit smaller if you prefer a smoother texture, or leave them slightly larger for more distinct fruit pieces.
Step 2: Sweeten the Strawberries (Optional but Recommended)
While the Simply Lemonade is already sweetened, adding a touch of sugar directly to the strawberries enhances their natural sweetness and helps them to release their juices. In a small bowl, combine the diced strawberries with the 1 tablespoon of granulated sugar. Gently toss them together to coat the berries. Let this mixture sit for about 10-15 minutes. This process, known as maceration, will draw out some of the liquid from the strawberries, creating a lovely strawberry syrup that will infuse even more flavor into your popsicles. You’ll notice the strawberries start to look a little glossier and a pool of red liquid will form at the bottom of the bowl. This is exactly what we want.
Assembling the Popsicle Mixture
Step 3: Combine Lemonade and Strawberries
Now it’s time to bring our two main components together. Take your prepared strawberries, including any accumulated syrup, and pour them into the container of Simply Lemonade. Gently stir the mixture to ensure the strawberries are well distributed throughout the lemonade. You want to make sure you don’t stir too vigorously at this stage, as we don’t want to create excessive foam, which can make filling the popsicle molds more challengin extractg. The diced strawberries will float and sink, creating a beautiful visual effect within the liquid. Give it a gentle swirl to get a good mix of fruit in every serving.
Freezing the Popsicles
Step 4: Fill Your Popsicle Molds
Before filling, give the strawberry lemonade mixture one last gentle stir to ensure the diced strawberries are still evenly distributed. Now, carefully pour the mixture into your chosen popsicle molds. If you’re using a standard popsicle mold set, you might find it helpful to use a funnel to avoid drips and spills. Fill each mold almost to the top, leaving a tiny bit of space to accommodate expansion during freezing. This is also a good time to decide if you want to have more strawberry pieces in some popsicles than others, or if you want a very uniform distribution. You can gently spoon some of the larger strawberry pieces into individual molds if you wish.
Step 5: Insert Sticks and Freeze
Once your popsicle molds are filled, it’s time to add the sticks and let the magic happen in the freezer. If your popsicle molds have built-in stick holders, insert them now according to the manufacturer’s instructions. If you are using molds that require separate sticks, you will typically need to freeze the popsicles for about 1-2 hours until they are partially frozen and firm enough to hold the stick upright. Once partially frozen, insert the popsicle sticks into the center of each mold. This prevents the sticks from sinking to the bottom or tilting. Return the molds to the freezer and let them freeze completely. This usually takes at least 4-6 hours, or preferably overnight, to ensure they are solid and ready to enjoy. For best results, ensure your freezer is set to a consistent cold temperature.
Conclusion:
Congratulations, you’ve mastered the art of creating delicious and refreshing Strawberry Lemonade Popsicles! This recipe is wonderfully simple, making it perfect for a fun kitchen activity with family or a quick treat for yourself. The vibrant combination of sweet strawberries and zesty lemonade is truly a summer delight. Serve these frozen treats chilled for an instant mood boost on a warm day, or as a light dessert after a barbecue. They are best enjoyed outdoors, perhaps while loungin extractg by the pool or at a picnic. Don’t hesitate to get creative with your own twists on this classic! You can add a sprig of fresh mint for an extra layer of coolness, or even a tiny pinch of cayenne pepper for a surprising kick. For a creamier texture, consider blending in a tablespoon of plain yogurt. The possibilities are endless! We encourage you to experiment and find your perfect Strawberry Lemonade Popsicles variation. Enjoy the sweet and tangy goodness!
Frequently Asked Questions:
Q: How long do these Strawberry Lemonade Popsicles typically take to freeze?
A: These popsicles generally require about 4-6 hours in the freezer to set completely. For the best results, it’s ideal to let them freeze overnight.
Q: Can I make these without a popsicle mold?
A: Absolutely! If you don’t have popsicle molds, you can use small paper cups or even clean yogurt containers. Insert popsicle sticks once the mixture is partially frozen, about 1-2 hours in. This method works just as well and yields equally delightful Strawberry Lemonade Popsicles.
Q: What’s the best way to store leftover Strawberry Lemonade Popsicles?
A: Once fully frozen, you can carefully remove them from the molds and store them in an airtight freezer-safe container or a resealable freezer bag. This prevents freezer burn and keeps them fresh for up to a month.
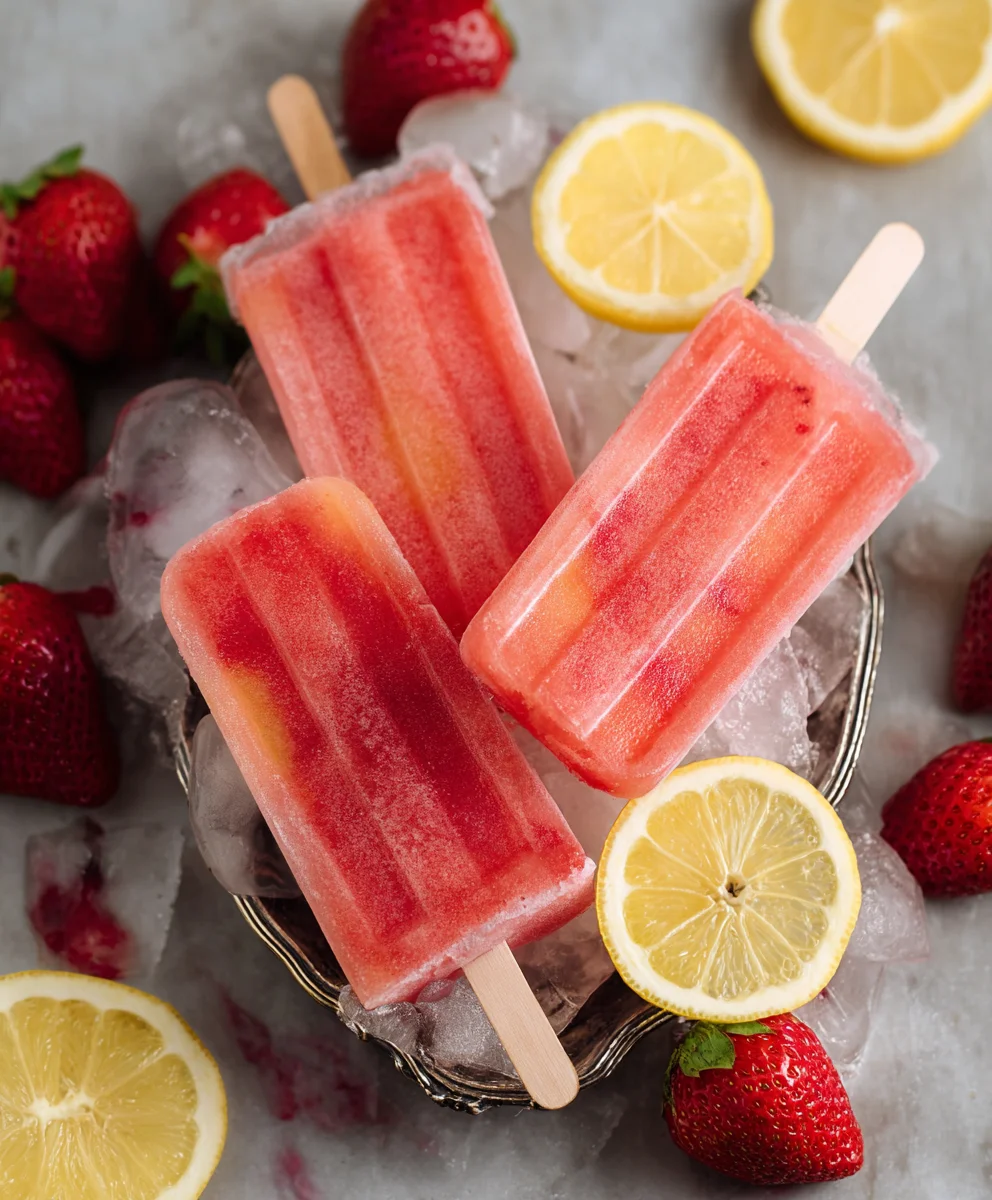
Strawberry Lemonade Popsicles-Sweet Refreshing Treat
A delightful and refreshing homemade popsicle perfect for a hot day, featuring the classic combination of sweet strawberries and tangy lemonade.
Ingredients
-
1 container (59 fl oz) Simply Lemonade
-
1 cup fresh strawberries, hulled and diced
-
1 tablespoon granulated sugar
-
Water (for rinsing strawberries)
-
Paper towels (for drying strawberries)
Instructions
-
Step 1
Rinse 1 cup of fresh strawberries under cool water, pat dry with a paper towel, hull them, and finely dice them into approximately 1/4 inch pieces. -
Step 2
In a small bowl, combine the diced strawberries with 1 tablespoon of granulated sugar. Gently toss and let sit for 10-15 minutes to macerate, allowing juices to release. -
Step 3
Pour the prepared strawberries, including any accumulated syrup, into the container of Simply Lemonade. Gently stir to distribute the strawberries evenly without creating excessive foam. -
Step 4
Give the strawberry lemonade mixture one last gentle stir. Carefully pour the mixture into your popsicle molds, leaving a small space at the top for expansion. -
Step 5
If using molds that require separate sticks, freeze for 1-2 hours until partially frozen. Insert popsicle sticks into the center of each mold, then return to the freezer and freeze completely for at least 4-6 hours or overnight.
Important Information
Nutrition Facts (Per Serving)
It is important to consider this information as approximate and not to use it as definitive health advice.
Allergy Information
Please check ingredients for potential allergens and consult a health professional if in doubt.