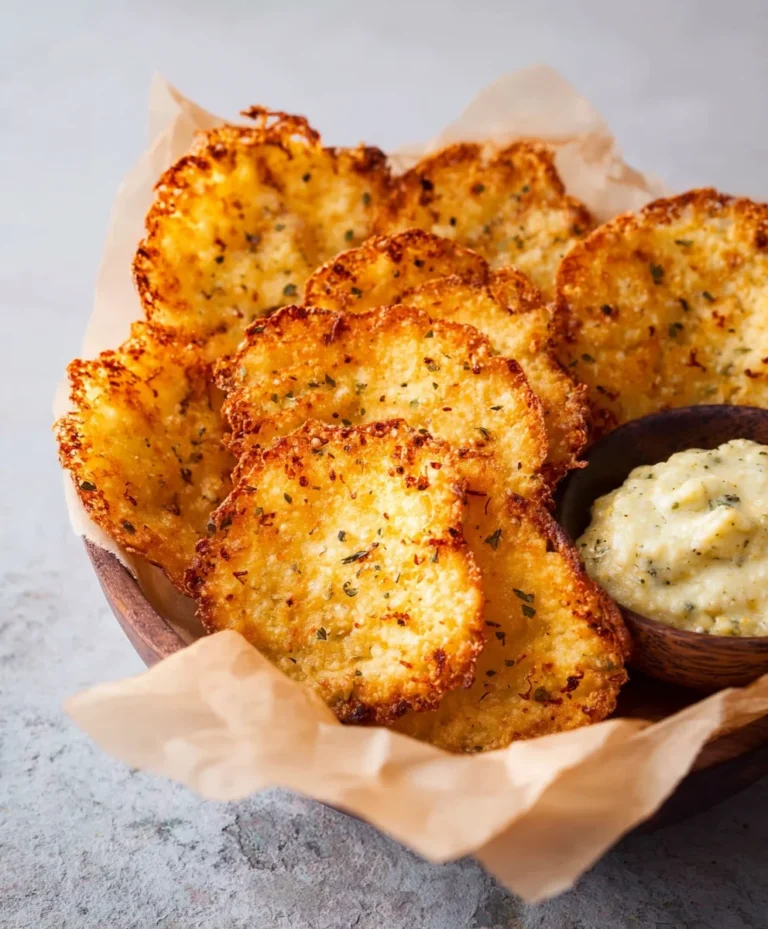
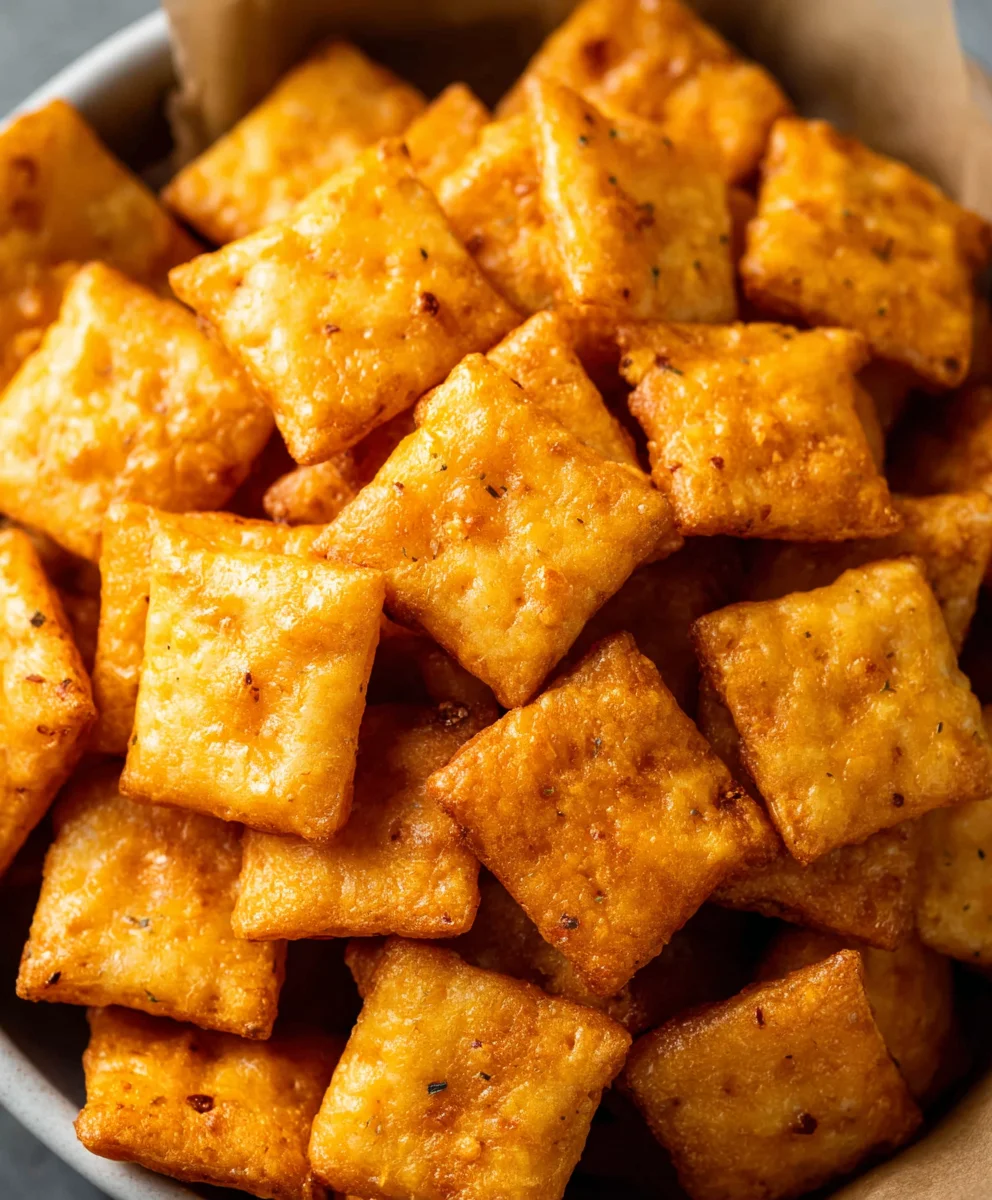
Easy Homemade Cheez It Crackers – Delicious Snack
Homemade Cheez Its are a delightful departure from the store-bought variety, offering a flavor and texture that’s both familiar and wonderfully elevated. There’s a certain magic in recreating that iconic cheesy crunch right in your own kitchen, and the aroma that fills your home as they bake is simply irresistible. People adore this classic snack for its addictive, savory taste and satisfyingly crisp bite, perfect for movie nights, after-school treats, or just an anytime indulgence. What truly sets homemade Cheez Its apart is the ability to control the quality of your ingredients and to infuse them with a depth of cheesy flavor that can be hard to achieve with processed alternatives. Imagin extracte the pure satisfaction of biting into a cracker that’s intensely cheesy, perfectly salted, and baked to golden perfection, all thanks to your own two hands. Get ready to fall in love with this beloved snack all over again!
Ingredients:
- ¼ cup unsalted butter, softened to room temperature
- 8 oz. sharp cheddar cheese, shredded
- 1 ¼ cups all-purpose flour
- 1 teaspoon kosher salt, plus more for sprinkling
- 2-3 tablespoons cold water
- 2 tablespoons olive oil
Making Your Own Homemade Cheez-Its
This recipe is all about achieving that intensely cheesy, delightfully crisp, and perfectly bite-sized cracker that we all know and love, but made right in your own kitchen. Forget the store-bought versions; these homemade delights offer a superior flavor and a satisfying crunch that will have you reaching for the tin again and again. The key to their success lies in good quality sharp cheddar cheese and a few simple techniques that ensure a light and flaky texture.
The Dough Process
Step 1: Cream the Butter and Cheese
Start by creaming together the softened unsalted butter and the shredded sharp cheddar cheese in a medium-sized mixing bowl. You want to achieve a light and fluffy texture. Use an electric mixer on medium speed, or if you’re feeling ambitious, a sturdy whisk and some elbow grease will work just fine. This step is crucial for incorporating air into the mixture, which contributes to the final cracker’s texture. Continue mixing until the butter and cheese are well combined and appear almost like a thick, cheesy paste. Don’t rush this part; a good creamed mixture forms the foundation of delicious crackers. Ensure your butter is truly at room temperature – not melted, but soft enough to be easily manipulated. This allows it to emulsify properly with the cheese.
Step 2: Incorporate Dry Ingredients and Water
Next, add the all-purpose flour and 1 teaspoon of kosher salt to the butter and cheese mixture. Mix on low speed until just combined. The mixture will likely be crum extractbly at this stage, which is perfectly normal. Now, gradually add the cold water, one tablespoon at a time, mixing after each addition, until the dough just begin extracts to come together. You’re looking for a dough that is cohesive but not sticky. You might not need all 3 tablespoons of water; the amount can vary slightly depending on the humidity and the moisture content of your flour. The goal is to create a dough that you can handle without it falling apart. Once the dough starts to form a ball, stop mixing. Overmixing at this stage can develop the gluten too much, resulting in tougher crackers.
Step 3: Chilling the Dough
Once the dough has just come together, turn it out onto a lightly floured surface. Gently knead it a few times, just enough to ensure all the ingredients are incorporated. Then, flatten the dough into a disc, wrap it tightly in plastic wrap, and refrigerate for at least 30 minutes. This chilling period is vital. It allows the gluten to relax, making the dough easier to roll out, and it also firms up the butter, which helps create those desirable flaky layers in the baked crackers. A well-chilled dough is much less prone to sticking and tearing when you roll it. If you have the time, chilling for an hour is even better.
Step 4: Rolling and Cutting the Crackers
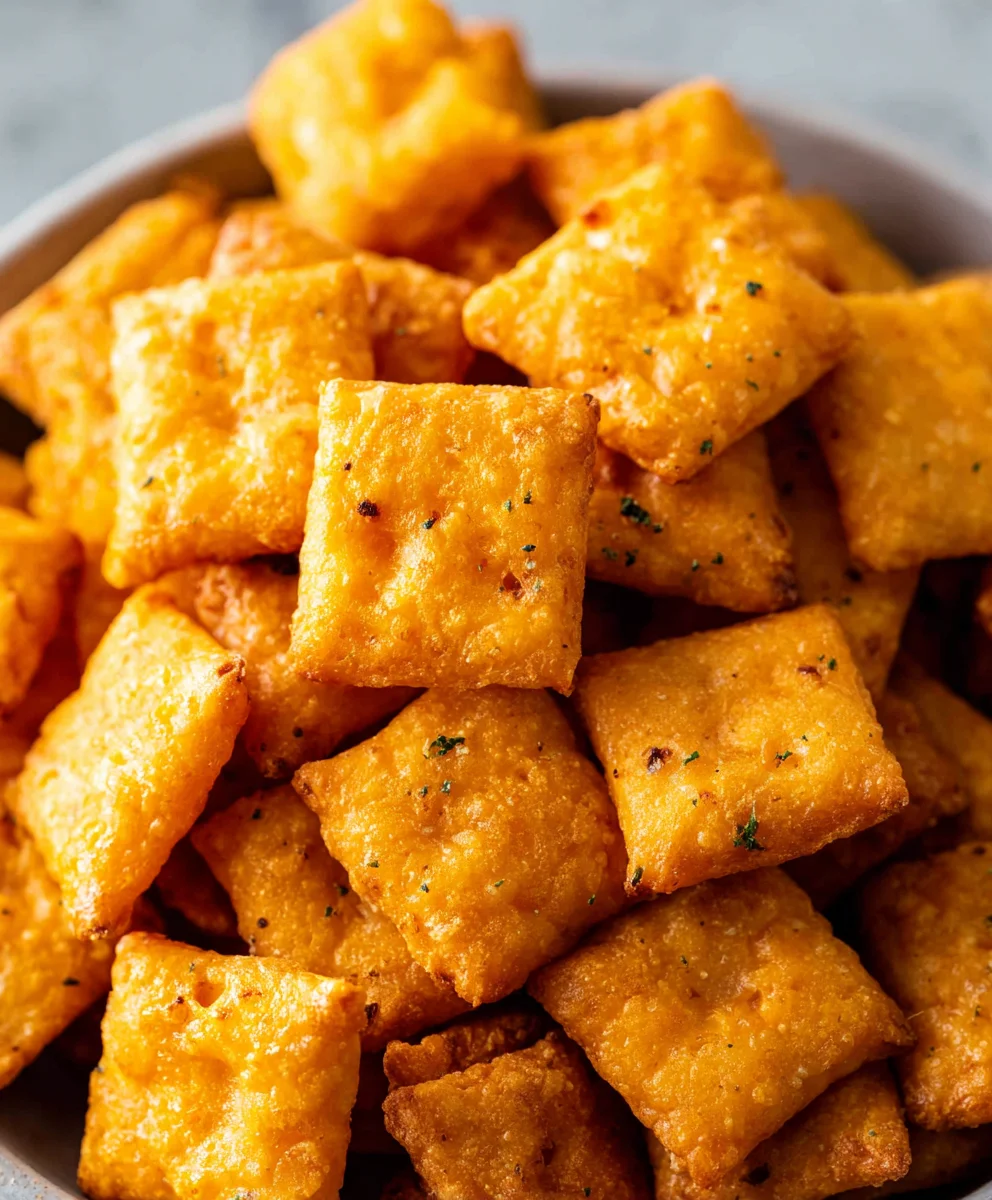
Preheat your oven to 375°F (190°C). Line two baking sheets with parchment paper. Take the chilled dough out of the refrigerator. On a lightly floured surface, roll out the dough to about 1/8-inch thickness. This thinness is key for achieving a truly crisp cracker. You want it thin enough to bake through evenly and become wonderfully crunchy. Use a sharp knife or a pizza cutter to cut the dough into small squares, roughly 1 inch by 1 inch. You can also use small cookie cutters in fun shapes if you prefer. For that authentic Cheez-It look, gently score a few lines in each square with the back of a knife to create the cracker pattern.
Step 5: Baking and Finishing
Carefully transfer the cut cracker squares to the prepared baking sheets, leaving a little space between them. In a small bowl, whisk together the 2 tablespoons of olive oil with a pinch of extra kosher salt. Brush the tops of each cracker lightly with this olive oil mixture. This adds a subtle flavor and helps the salt adhere. Sprinkle each cracker generously with additional kosher salt – don’t be shy! Bake for 12-18 minutes, or until the crackers are golden brown and feel firm to the touch. The baking time will depend on how thinly you rolled the dough and your oven’s performance. Keep a close eye on them towards the end of the baking time, as they can go from perfectly golden to burnt very quickly. Once baked, let them cool completely on the baking sheets. As they cool, they will become even crispier.
Conclusion:
There you have it! Crafting your very own Homemade Cheez Its is a rewarding and surprisingly simple process. We’ve walked through each step to ensure you can achieve that perfectly crispy, cheesy, and satisfying snack right in your own kitchen. This recipe is a fantastic way to control the ingredients and enjoy a healthier, tastier alternative to store-bought versions. Imagin extracte serving these warm, fresh delights at your next gathering or simply enjoying them as a satisfying afternoon treat.
For serving suggestions, these Homemade Cheez Its are wonderful on their own, but they also pair beautifully with a variety of dips like guacamole, salsa, or even a creamy ranch. For variations, feel free to experiment with different types of cheese – sharp cheddar, smoky gouda, or even a spicy pepper jack can add exciting new dimensions. You can also introduce a pinch of garlic powder or onion powder to the dough for an extra savory kick. Don’t be afraid to get creative and make these your own! We encourage you to give this recipe a try; the joy of creating something delicious from scratch is truly unparalleled.
Frequently Asked Questions:
Q1: Can I make these Homemade Cheez Its ahead of time?
Absolutely! Once cooled completely, Homemade Cheez Its can be stored in an airtight container at room temperature for up to 3-4 days. They maintain their crispiness well if stored properly.
Q2: What is the best way to get them really crispy?
To achieve ultimate crispiness with your Homemade Cheez Its, ensure you bake them until they are golden brown around the edges. Avoid overcrowding the baking sheet, as this allows for better air circulation. You can also slightly reduce the baking time for chewier versions, or extend it a minute or two for extra crunch.
Easy Homemade Cheez It Crackers – Delicious Snack
Achieve that intensely cheesy, delightfully crisp, and perfectly bite-sized cracker at home with this simple recipe. Superior flavor and satisfying crunch await!
Ingredients
-
1/4 cup unsalted butter, softened to room temperature
-
8 oz. sharp cheddar cheese, shredded
-
1 1/4 cups all-purpose flour
-
1 teaspoon kosher salt, plus more for sprinkling
-
2-3 tablespoons cold water
-
2 tablespoons olive oil
Instructions
-
Step 1
Cream together the softened unsalted butter and shredded sharp cheddar cheese in a medium-sized mixing bowl until light and fluffy. This forms the foundation of delicious crackers. -
Step 2
Add the all-purpose flour and 1 teaspoon of kosher salt to the butter and cheese mixture. Mix on low speed until just combined. Gradually add cold water, one tablespoon at a time, until the dough just begins to come together, creating a cohesive but not sticky dough. -
Step 3
Turn the dough out onto a lightly floured surface, knead a few times, flatten into a disc, wrap tightly in plastic wrap, and refrigerate for at least 30 minutes to relax the gluten and firm up the butter. -
Step 4
Preheat your oven to 375°F (190°C). Line two baking sheets with parchment paper. Roll out the chilled dough on a lightly floured surface to about 1/8-inch thickness. Cut into 1-inch squares and gently score with a knife for pattern. -
Step 5
Transfer cracker squares to prepared baking sheets. Whisk olive oil with a pinch of salt and brush tops. Sprinkle generously with additional kosher salt. Bake for 12-18 minutes until golden brown and firm. Cool completely on baking sheets to achieve maximum crispiness.
Important Information
Nutrition Facts (Per Serving)
It is important to consider this information as approximate and not to use it as definitive health advice.
Allergy Information
Please check ingredients for potential allergens and consult a health professional if in doubt.