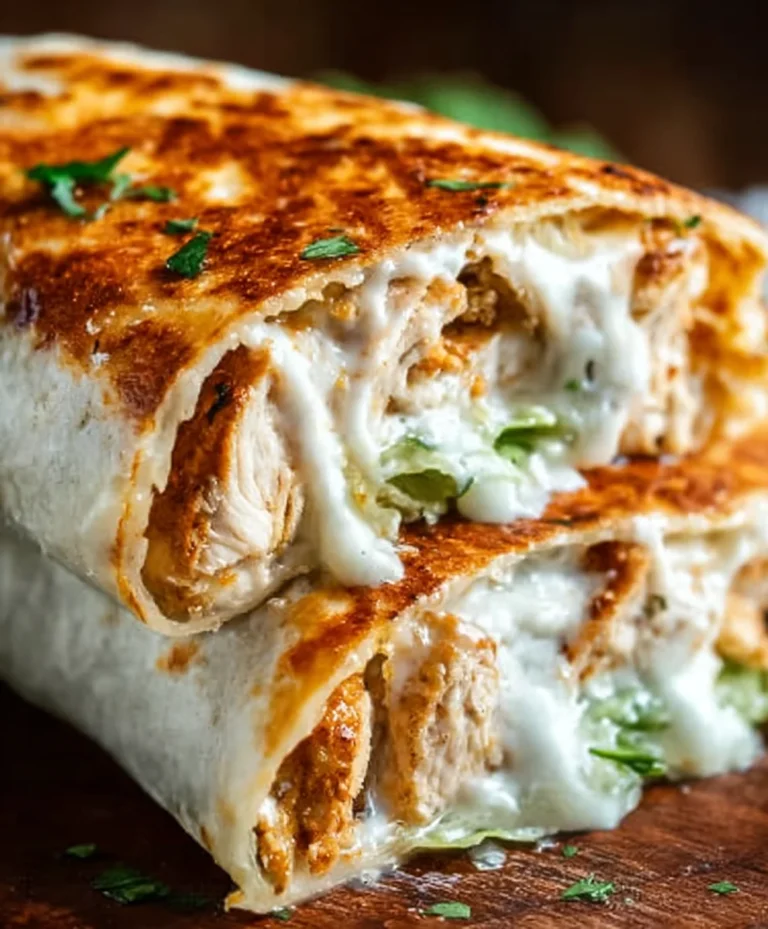
Cherry Dr Pepper Grilled Chicken- Sweet & Tangy BBQ
Cherry Dr. Pepper Grilled Chicken is more than just a meal; it’s a flavor explosion waiting to happen on your grill. Imagin extracte this: tender, juicy chicken infused with the sweet, tangy, and slightly spicy notes of a classic soda, all kissed by the smoky char of the barbecue. It’s the kind of dish that makes backyard gatherings unforgettable, a guaranteed crowd-pleaser that always disappears in a flash. Why do we love it so much? Because it takes the familiar comfort of grilled chicken and elevates it to an extraordinary level. The magic truly lies in that unexpected ingredient – Cherry Dr. Pepper – which transforms a simple marinade into a sticky, caramelized glaze that blankets every bite. This isn’t your average chicken; this is Cherry Dr. Pepper Grilled Chicken, and it’s about to become your new summer obsession.
Cherry Dr. Pepper Grilled Chicken
Get ready to elevate your grilling game with this incredibly flavorful Cherry Dr. Pepper Grilled Chicken recipe. The sweet, tangy, and slightly smoky notes from the Cherry Dr. Pepper glaze create a taste sensation that will have everyone asking for seconds. This recipe is surprisingly simple to put together, making it perfect for a weeknight dinner or a backyard BBQ. The unique combination of ingredients melds together beautifully on the grill, caramelizing to perfection and infusing the chicken with an irresistible aroma and taste. Whether you’re a seasoned griller or just starting out, this recipe is sure to become a family favorite.
Ingredients:
Grilling the Perfect Chicken: Step-by-Step Instructions
Let’s get started on creating this delicious grilled chicken. The key to success lies in both preparing the flavorful glaze and properly cooking the chicken to ensure it’s juicy and tender.
Step 1: Crafting the Cherry Dr. Pepper Glaze
The foundation of this amazing dish is the glaze, and it’s incredibly easy to make. In a medium saucepan, combine the 12 oz can of Cherry Dr. Pepper, 1 cup of ketchup, the 6 oz can of tomato paste, and 1 cup of brown sugar. Add the 1 tablespoon of Worcestershire sauce, 1/2 teaspoon of onion powder, 1/2 teaspoon of black pepper, 1/2 teaspoon of liquid smoke, 1/2 teaspoon of chili powder, and 1 teaspoon of minced garlic. Stir all these ingredients together until they are well combined.
Now, place the saucepan over medium heat. Bring the mixture to a gentle simmer, then reduce the heat to low. Allow the glaze to simmer uncovered for about 15-20 minutes, stirring occasionally. The goal here is to let the sauce thicken slightly and for the flavors to meld beautifully. You’ll notice it reducing and becoming a richer, more concentrated sauce. This simmering process is crucial for developing the depth of flavor that makes this glaze so special. Be careful not to let it boil too vigorously, as this can cause it to scorch. Once it has reached your desired consistency – thick enough to coat the back of a spoon – remove it from the heat and set it aside. You’ll want to reserve about half of this glaze to use as a finishing sauce later.
Step 2: Preparing the Chicken for the Grill
While your glaze is simmering, it’s time to get the chicken ready. If you’re using a whole chicken cut up, make sure it’s in manageable pieces like thighs, drum extractsticks, breasts, and wings. If you have a package of dark meat chicken pieces, ensure they are thawed if frozen. Pat all the chicken pieces thoroughly dry with paper towels. This step is important for achieving a nice sear on the grill.
Next, generously season the chicken pieces. Sprinkle the 3 teaspoons of seasoning salt and 1 teaspoon of paprika evenly over all sides of the chicken. Ensure each piece is well-coated. The seasoning salt will add a savory base, and the paprika will give it a lovely color and a subtle smoky note. You can also add a little extra black pepper if you like. Place the seasoned chicken on a plate or a clean baking sheet.
Step 3: The Initial Grilling Phase
Preheat your grill to medium-high heat. It’s important to have a well-heated grill so that the chicken begin extracts to cook and develop a nice crust without burning too quickly. Once the grill is hot, carefully place the seasoned chicken pieces directly on the grates.
Allow the chicken to grill for about 10-12 minutes per side, depending on the thickness of the pieces. For chicken pieces like thighs and drum extractsticks, this initial grilling time will start to cook them through and get some lovely grill marks. If you’re grilling chicken breasts, they might cook a little faster, so keep an eye on them. You’re looking for a nice golden-brown color to start forming on the exterior. Don’t worry about them being fully cooked at this stage; that’s where the glaze comes in to work its magic.
Step 4: Glazing and Finishing on the Grill
This is where the magic happens! After the initial grilling period, carefully turn the chicken pieces over. Now, using a basting brush, generously brush the reserved half of the Cherry Dr. Pepper glaze all over the chicken. Make sure to coat every surface. The sugar in the glaze will start to caramelize beautifully on the hot grill, creating that sticky, delicious finish we’re aiming for.
Continue grilling the chicken for another 8-10 minutes, flipping and basting with the glaze every few minutes. This repeated glazing and flipping will build up layers of flavor and ensure the glaze doesn’t burn. The chicken is done when it’s cooked through and the internal temperature reaches 165°F (74°C) in the thickest part, avoiding the bone. The glaze should be wonderfully sticky and slightly caramelized, with a deep, rich color. The aroma will be absolutely incredible, filling your backyard with hints of cherry, cola, and smoky goodness.
Step 5: Resting and Serving Your Masterpiece
Once the chicken is perfectly cooked and glazed, remove it from the grill. Place the chicken on a clean platter or a cutting board. Tent it loosely with aluminum foil and let it rest for about 5-10 minutes. This resting period is crucial for allowing the juices to redistribute throughout the chicken, ensuring that every bite is incredibly moist and tender. If you cut into it too soon, all those delicious juices would run out onto the plate.
Serve your Cherry Dr. Pepper Grilled Chicken hot, with any remaining glaze spooned over the top for an extra burst of flavor. This dish pairs wonderfully with classic BBQ sides like coleslaw, potato salad, grilled corn on the cob, or a fresh green salad. Enjoy the sweet, savory, and slightly spicy explosion of flavors that this unique grilled chicken offers!
Conclusion:
There you have it! This Cherry Dr. Pepper Grilled Chicken recipe is a surefire winner for your next backyard BBQ or a simple weeknight meal. The sweet and tangy glaze, infused with the unique flavor of Cherry Dr. Pepper, creates a caramelized crust that is simply irresistible. It’s incredibly easy to make, requiring minimal prep time, and the grilling process adds a delightful smoky char that elevates the chicken to a whole new level. I’m confident you’ll love the balance of sweet, savory, and slightly peppery notes in every bite.
For serving, this chicken pairs beautifully with classic BBQ sides like coleslaw, potato salad, or grilled corn on the cob. You could also serve it over a bed of fluffy rice or alongside a fresh green salad for a lighter option. If you’re feeling adventurous, consider experimenting with variations. You could add a pinch of cayenne pepper to the glaze for a touch of heat, or even throw in some diced pineapple with the chicken during the last few minutes of grilling for an extra tropical twist. Don’t be afraid to make this Cherry Dr. Pepper Grilled Chicken your own! I encourage you to give this recipe a try soon; I promise it will become a new family favorite.
FAQs:
Can I make this recipe in the oven if I don’t have a grill?
Absolutely! If grilling isn’t an option, you can achieve a similar delicious result by baking the chicken. Preheat your oven to 400°F (200°C). Place the chicken in a baking dish, pour the glaze over it, and bake for 25-35 minutes, or until cooked through. For a bit of caramelization, you can broil it for the last 2-3 minutes, keeping a very close eye on it to prevent burning.
What kind of chicken works best for this recipe?
This glaze is wonderfully versatile! I’ve had great success with both chicken breasts and thighs. Chicken thighs tend to stay more moist and absorb the glaze beautifully. If using breasts, be mindful of cooking times to avoid them drying out. Bone-in, skin-on pieces will also yield fantastic flavor and juicy results.
How long does the glaze take to thicken?
The glaze will start to thicken as it simmers on the stove. Typically, it takes about 5-10 minutes of simmering to reach a nice, syrupy consistency that will coat the chicken beautifully. You’re looking for a texture that’s thick enough to cling to a spoon without being overly sticky.
Cherry Dr. Pepper Grilled Chicken
A sweet and tangy grilled chicken recipe featuring a glaze made with Cherry Dr. Pepper, ketchup, and brown sugar. Perfect for a summer barbecue.
Ingredients
-
1 – 12 oz can Cherry Dr. Pepper
-
1 Cup Ketchup
-
1 – 6 oz. can tomato paste
-
1 Cup Brown Sugar
-
1 Tablespoon Worcestershire sauce
-
1/2 tsp. Onion Powder
-
1/2 tsp. black pepper
-
1/2 tsp. liquid smoke
-
1/2 tsp. Chili Powder
-
1 tsp. minced garlic
-
1 package of dark meat chicken cut up about 12 pieces of chicken
-
3 teaspoons Seasoning Salt
-
1 tsp Paprika
Instructions
-
Step 1
In a medium saucepan, combine Cherry Dr. Pepper, ketchup, tomato paste, brown sugar, Worcestershire sauce, onion powder, black pepper, liquid smoke, chili powder, minced garlic, paprika, and seasoning salt. -
Step 2
Bring the mixture to a simmer over medium heat, stirring occasionally. Cook for about 10-15 minutes, or until the sauce has thickened. -
Step 3
Preheat your grill to medium-high heat. -
Step 4
Place the chicken pieces on the preheated grill. Grill for about 15-20 minutes, turning occasionally. -
Step 5
During the last 15-20 minutes of grilling, brush the chicken generously with the prepared Cherry Dr. Pepper glaze. Continue to grill, turning and basting, until the chicken is cooked through and reaches an internal temperature of 165°F (74°C). -
Step 6
Remove chicken from the grill and let it rest for a few minutes before serving. Drizzle with additional glaze if desired.
Important Information
Nutrition Facts (Per Serving)
It is important to consider this information as approximate and not to use it as definitive health advice.
Allergy Information
Please check ingredients for potential allergens and consult a health professional if in doubt.