Creamy Garlic Aioli Sauce- Easy Homemade Dip
Garlic Aioli Sauce, oh how we adore you! This creamy, dreamy condiment is the unsung hero of countless dishes, elevating everything from crispy fries and succulent grilled meats to vibrant salads and delicate seafood. It’s that magical touch that transforms the ordinary into the extraordinary, beggin extractg for another dip, another bite. What is it about this simple emulsion of garlic, oil, and egg yolk that captivates our taste buds so consistently? Perhaps it’s the potent punch of fresh garlic, balanced perfectly with the richness of the oil, creating a flavor profile that is both bold and comforting. The silky texture, smooth as velvet, coats your palate with pure deliciousness. This isn’t just any sauce; it’s an experience, a testament to how a few humble ingredients can come together to create something truly spectacular. Get ready to unlock the secrets to making the most divine Garlic Aioli Sauce right in your own kitchen.
Ingredients:
- 1/3 cup mayonnaise
- 2 tablespoons olive oil
- 2 cloves garlic, minced (equivnon-alcoholic alent to 2 teaspoons)
- 1 teaspoon fresh lemon juice
- 1/4 teaspoon ground black pepper
Crafting Your Perfect Garlic Aioli Sauce
This recipe is all about creating a rich, creamy, and intensely flavorful Garlic Aioli Sauce that will elevate anything it touches. From dipping crispy fries to jazzing up a simple sandwich, this homemade sauce is a game-changer. The beauty of this aioli lies in its simplicity – just a few high-quality ingredients come together to create something truly special. We’re using a classic base of mayonnaise, enhanced with the pungent aroma and sharp bite of fresh garlic. A touch of bright lemon juice cuts through the richness, and a whisper of black pepper adds a subtle warmth. Let’s get started on transforming these few items into a culinary delight.
Preparation and Garlic Infusion
The first crucial step is preparing our garlic. For the most potent flavor, it’s best to mince the garlic cloves as finely as possible. You can use a garlic press, a microplane, or a sharp knife. The goal is to break down the garlic cells to release their aromatic oils. Measure out your minced garlic to ensure you have approximately 2 teaspoons. Now, in a medium-sized bowl, combine the 1/3 cup of mayonnaise. This will be the creamy foundation of our aioli.
Next, we’ll introduce the olive oil. While mayonnaise already contains oil, the addition of 2 tablespoons of good quality olive oil adds another layer of flavor and contributes to a smoother, more emulsified texture. Pour the olive oil directly into the bowl with the mayonnaise.
Emulsifying the Base
Now comes the exciting part: bringin extractg it all together. Add the finely minced garlic to the mayonnaise and olive oil mixture. Don’t be shy with the garlic – it’s the star of this show! Follow this with the 1 teaspoon of fresh lemon juice. The acidity of the lemon juice is essential for balancing the richness of the mayonnaise and olive oil, and it also helps to “cook” the garlic slightly, mellowing its raw bite while still allowing its flavor to shine through. Finally, season with 1/4 teaspoon of ground black pepper. You can adjust this to your personal preference, but start with this amount and you can always add more later.
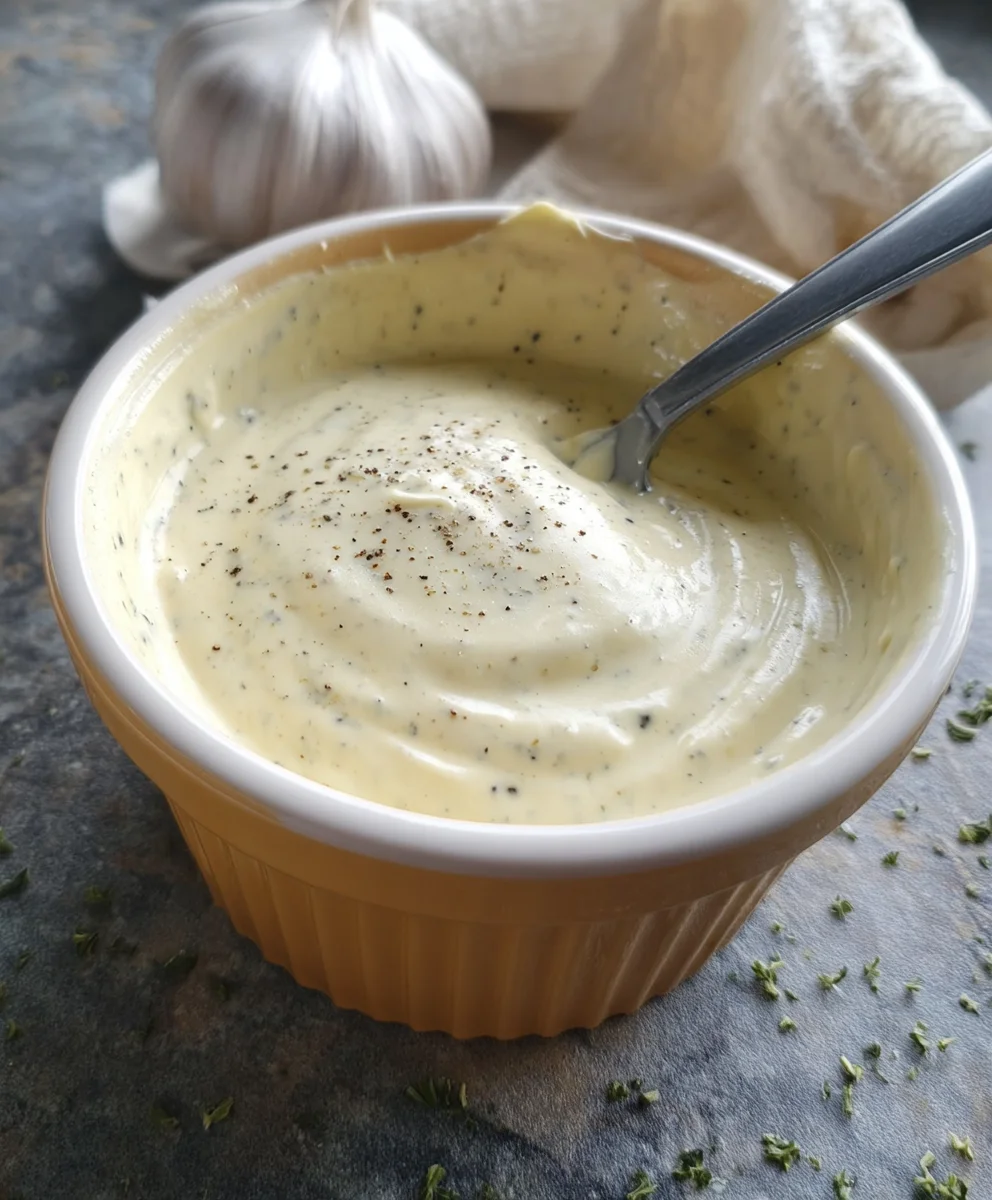
Using a whisk or a gin extractk, begin to vigorously stir the ingredients. The key here is to emulsify the mixture. You want to create a smooth, homogenous sauce where the oil and mayonnaise are fully incorporated. Continue whisking, scraping the sides and bottom of the bowl, for about 1 to 2 minutes. You’ll notice the mixture will start to thicken and become non-alcoholic aleeautiful, pale yellow color, with the flecks of garlic distributed throughout. This process is where the magic happens, transforming simple ingredients into a luxurious sauce. If you find your aioli isn’t quite reaching the desired consistency, you can continue whisking, or even give it a quick pulse with an immersion blender for an ultra-smooth finish.
Flavor Development and Resting
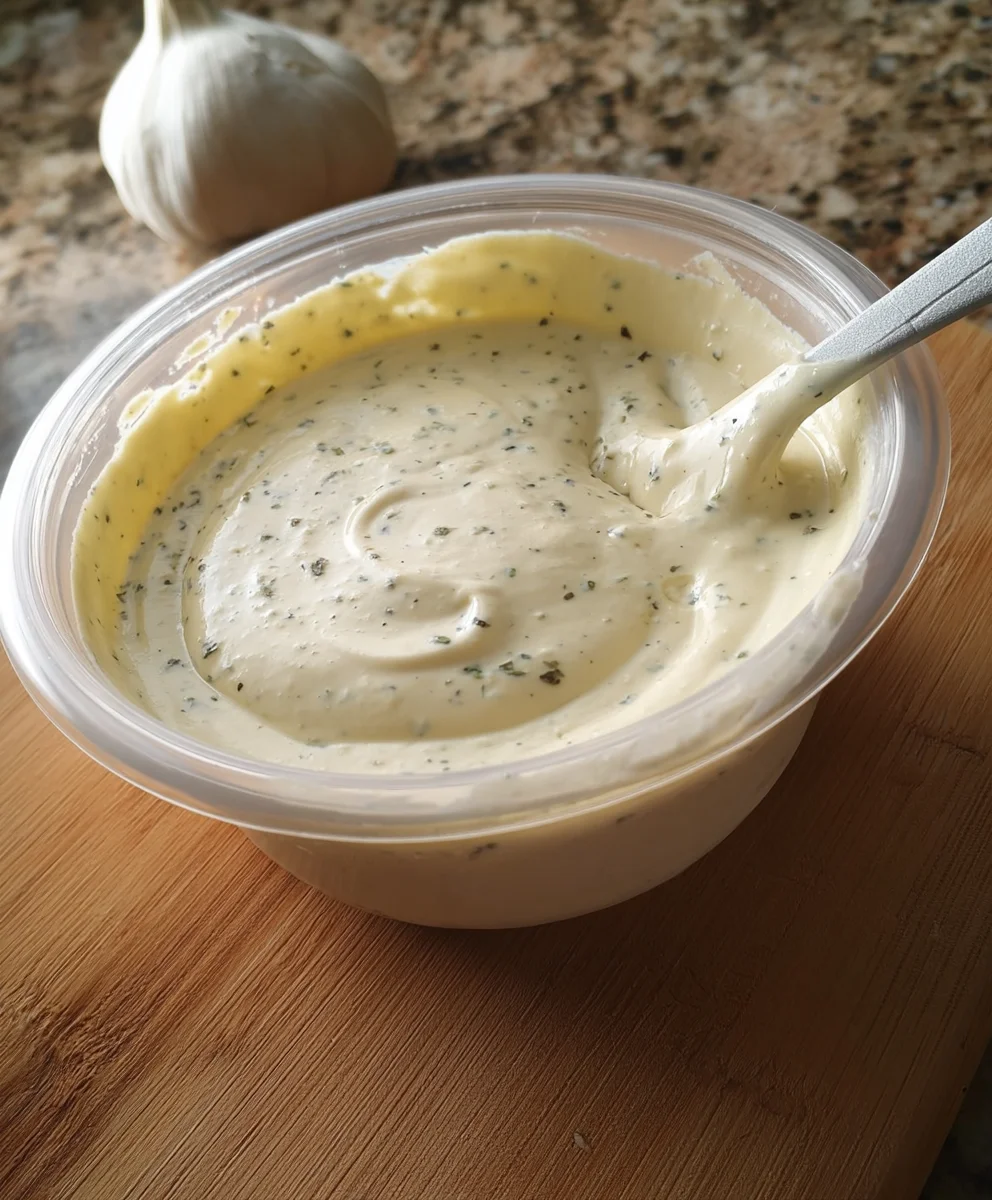
Once you have a well-emulsified sauce, the next critical step is to allow the flavors to meld. Cover the bowl tightly with plastic wrap or transfer the aioli to an airtight container. For the best flavor, let the Garlic Aioli Sauce rest in the refrigerator for at least 30 minutes. This resting period is crucial because it allows the garlic’s potent flavor to infuse more deeply into the mayonnaise and oil base. The flavors will become more complex and harmonious. If you have the time, letting it chill for an hour or even longer will result in an even more pronounced garlic taste. This is your chance to taste and adjust seasonings before serving. After the resting period, give the aioli another quick stir. Taste it – does it need a tiny pinch more salt? A little more lemon juice for brightness? Perhaps a touch more pepper? Adjust as needed to achieve your perfect balance.
Serving Suggestions and Storage
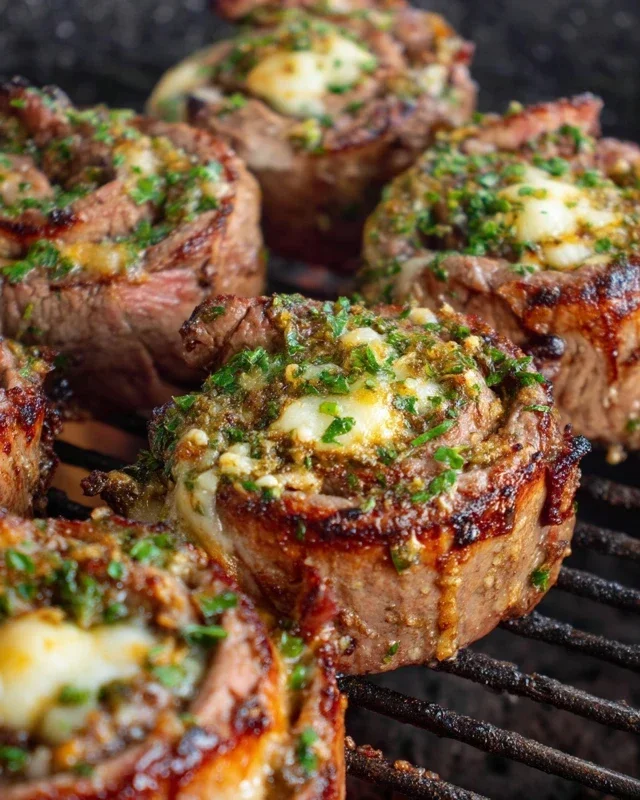
Your homemade Garlic Aioli Sauce is now ready to be enjoyed! Its versatility is truly its superpower. Dollop it generously onto burgers or sandwiches for an instant upgrade. Use it as a dip for golden French fries, onion rings, or even crudités. It’s also fantastic served alongside grilled chicken, fish, or roasted vegetables. Think of it as a flavor enhancer for almost any dish. For storage, keep any leftover aioli in an airtight container in the refrigerator. It will stay fresh for up to 3 to 4 days. The flavors may continue to develop slightly during this time, so don’t be surprised if it tastes even better on the second day! If the aioli separates slightly after chilling, simply give it a good whisk or stir to bring it back together before serving. Enjoy your delicious creation!
Conclusion:
There you have it! You’ve mastered the art of creating the most delicious and versatile Garlic Aioli Sauce. This creamy, zesty concoction is surprisingly simple to whip up, and its rich garlic flavor will elevate any dish. We hope you enjoyed the process and are excited to taste the incredible results. This Garlic Aioli Sauce is perfect as a dip for crispy fries, a spread for gourmet sandwiches, or a dollop on grilled meats and seafood. Feel free to experiment with its applications; the possibilities are truly endless!
Don’t be afraid to get creative with this foundational recipe. Consider adding a pinch of smoked paprika for a smoky depth, a squeeze of lemon juice for extra brightness, or even a finely chopped herb like chives or parsley for a fresh twist. The beauty of this Garlic Aioli Sauce is its adaptability. So go forth, impress your friends and family, and most importantly, enjoy every single bite!
Frequently Asked Questions:
Can I make Garlic Aioli Sauce ahead of time?
Absolutely! Garlic Aioli Sauce can be made up to 3-4 days in advance and stored in an airtight container in the refrigerator. The flavors will even meld and deepen over time, making it even more delicious.
What can I use instead of raw garlic if I find it too strong?
If you prefer a milder garlic flavor, you can roast the garlic cloves before adding them to the aioli. Roasting mellows the intensity and adds a wonderful sweetness. You can also start with less garlic and add more to taste.
Creamy Garlic Aioli Sauce
An easy and delicious homemade garlic aioli sauce perfect for dipping or as a spread.
Ingredients
-
1/3 cup mayonnaise
-
2 tablespoons olive oil
-
2 cloves garlic, minced (equivalent to 2 teaspoons)
-
1 teaspoon fresh lemon juice
-
1/4 teaspoon ground black pepper
Instructions
-
Step 1
Prepare the garlic by mincing it as finely as possible using a garlic press, microplane, or sharp knife. Measure out approximately 2 teaspoons of minced garlic. -
Step 2
In a medium-sized bowl, combine the 1/3 cup of mayonnaise and 2 tablespoons of olive oil. -
Step 3
Add the minced garlic, 1 teaspoon of fresh lemon juice, and 1/4 teaspoon of ground black pepper to the bowl. -
Step 4
Whisk the ingredients vigorously for about 1 to 2 minutes until the mixture is smooth, emulsified, and has a pale yellow color. Scrape the sides and bottom of the bowl as you whisk. -
Step 5
Cover the bowl tightly and refrigerate for at least 30 minutes to allow the flavors to meld and develop. For a more intense garlic flavor, chill for longer. -
Step 6
Before serving, give the aioli another quick stir and taste to adjust seasonings if needed. Serve as a dip for fries, onion rings, or as a spread on sandwiches and burgers.
Important Information
Nutrition Facts (Per Serving)
It is important to consider this information as approximate and not to use it as definitive health advice.
Allergy Information
Please check ingredients for potential allergens and consult a health professional if in doubt.