Easy Chocolate Protein Pudding – Healthy Treat
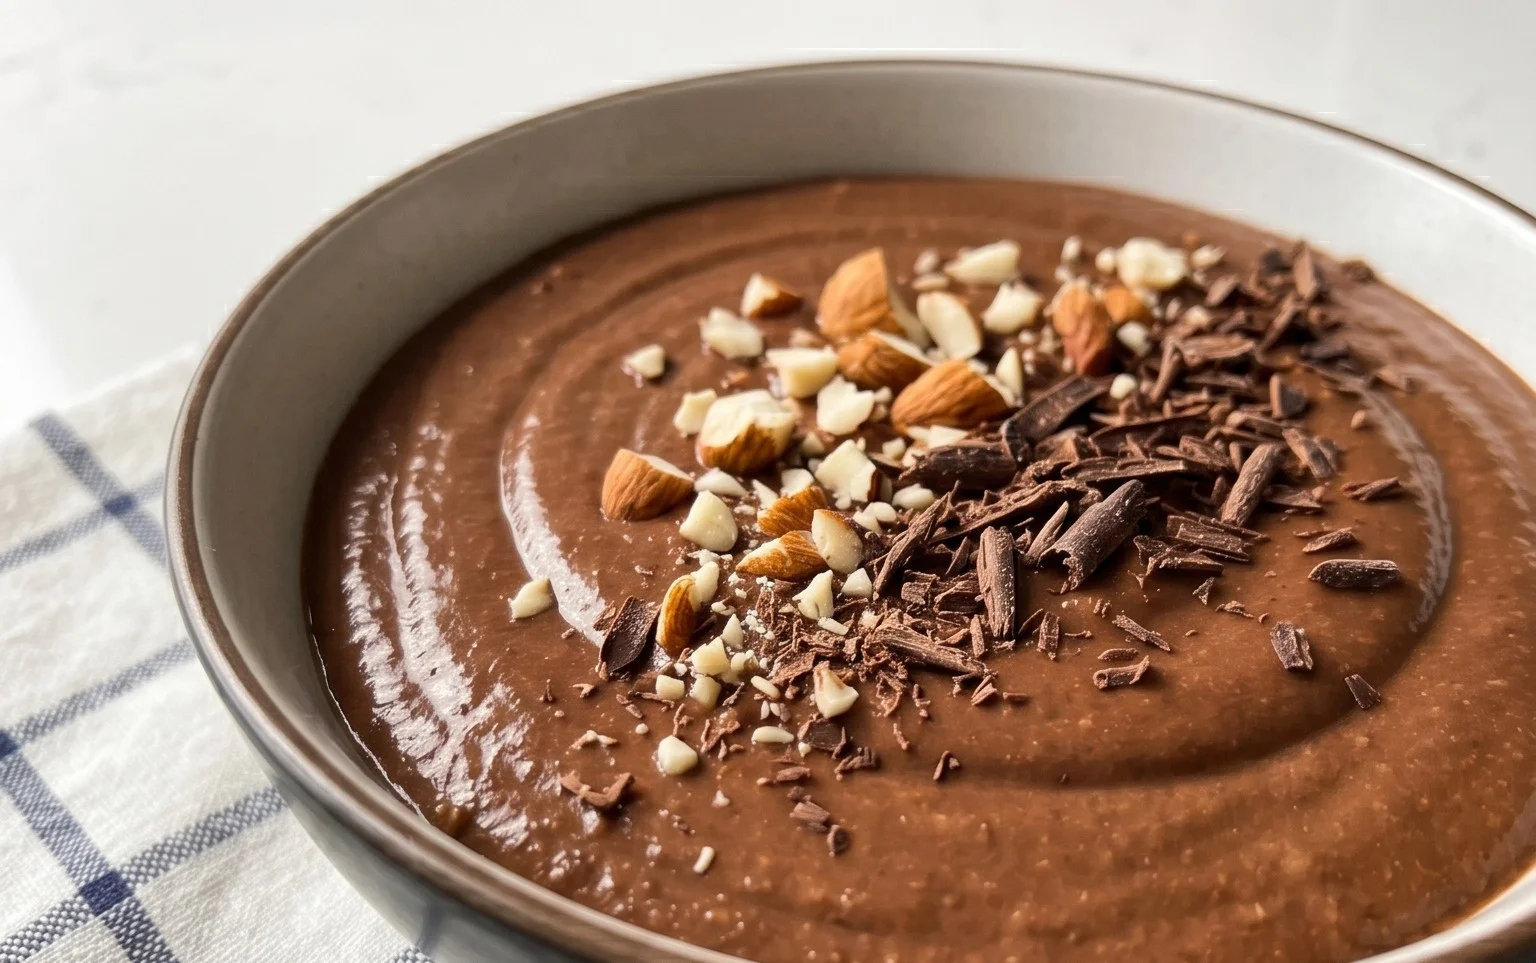
Craving a dessert that’s both decadent and guilt-free? Look no further than this incredible Chocolate Protein Pudding recipe! We all love a rich, velvety chocolate treat, but often, those cravings come with a side of sugary regret. That’s where this ingenious Chocolate Protein Pudding comes in, transforming your sweet tooth’s desire into a nutrient-packed powerhouse. It’s the perfect solution for anyone seeking to boost their protein intake without sacrificing flavor or indulgence. What makes this Chocolate Protein Pudding so special is its incredible versatility and satisfying texture. It’s not just a dessert; it’s a post-workout recovery snack, a mid-afternoon pick-me-up, or even a healthy breakfast option. Get ready to discover your new favorite way to enjoy chocolate!
Ready to make this delicious treat? Let’s dive in!
Ingredients:
Get ready for a dessert that’s as satisfying as it is healthy! This Chocolate Protein Pudding is my go-to when I’m craving something sweet but want to keep it aligned with my wellness goals. It’s incredibly simple to make, requires no baking, and the taste is pure decadence. Imagin extracte a rich, creamy chocolate pudding that’s packed with protein, helping you stay fuller for longer and supporting muscle recovery. This recipe is a game-changer for anyone looking to enjoy a delicious treat without the guilt. It’s perfect for a post-workout refuel, a healthy afternoon snack, or even a light dessert after dinner. The beauty of this pudding is its versatility; you can adjust the sweetness and cocoa intensity to your liking. Plus, the Greek yogurt base provides a wonderful creamy texture and a good dose of probiotics. Let’s dive into what you’ll need to create this delightful concoction.
Making Your Chocolate Protein Pudding
This is where the magic happens! The process is remarkably straightforward, making it ideal for even the busiest of schedules. You won’t need any fancy equipment, just a bowl and a whisk or a hand mixer if you prefer a super smooth texture.
Step 1: Combine the Base Ingredients
Begin extract by adding the 5 cups of full-fat Greek yogurt to a large mixing bowl. Whether you choose plain or vanilla-flavored Greek yogurt is entirely up to your preference. Plain yogurt will give you a more neutral base, allowing the chocolate and cocoa flavors to shine through more intensely, while vanilla yogurt will add a subtle sweetness and an extra layer of flavor. Full-fat yogurt is recommended for the creamiest, most luxurious pudding texture. If you’re trying to reduce fat intake, you can opt for a lower-fat version, but be aware that it might result in a slightly less rich pudding. Give the yogurt a quick stir to loosen it up before adding any other ingredients. This initial stir makes it easier to incorporate everything else smoothly.
Step 2: Incorporate the Chocolate Goodness
Next, it’s time to add the chocolatey elements. Measure out your 4 scoops of chocolate protein powder. The exact amount of powder per scoop can vary between brands, so it’s helpful to know your preferred powder’s typical tablespoon equivnon-alcoholic alent. Generally, 2 to 3 tablespoons per scoop is a good estimate. Add this to the bowl with the Greek yogurt. Following that, add the 3 to 4 tablespoons of unsweetened cocoa powder. The amount of cocoa powder you use will determine the intensity of the chocolate flavor. Start with 3 tablespoons if you prefer a milder chocolate taste, and add the fourth tablespoon if you’re a serious chocolate lover. Unsweetened cocoa powder is key here; it provides a deep, rich chocolate flavor without adding extra sugar.
Step 3: Add Flavor Enhancers and Sweetener
Now, let’s enhance the flavor profile. Add the 1 teaspoon of vanilla extract to the mixture. Vanilla extract is a flavor enhancer that truly elevates the chocolate taste, making it richer and more complex. It’s a small addition that makes a big difference. For sweetness, add 2 tablespoons of maple syrup. Maple syrup adds a natural sweetness and a subtle caramelly note that complements the chocolate beautifully. You can adjust this amount to your personal preference. If you have a particularly sweet tooth, you might want to add another tablespoon, or if you prefer it less sweet, you can reduce it to 1 tablespoon. Other liquid sweeteners like honey or agave nectar can also be used, though maple syrup offers a distinct flavor.
Step 4: Mix to Perfection
This is the crucial step for achieving that wonderfully smooth pudding consistency. Using a whisk or a hand mixer, begin extract to thoroughly combine all the ingredients. Start on a low speed if using a mixer to avoid splattering the ingredients. Gradually increase the speed as the ingredients begin extract to blend. You’ll want to mix until the pudding is completely smooth, with no lumps of protein powder or cocoa powder visible. If you’re whisking by hand, be patient and persistent. It might take a few minutes of vigorous whisking to achieve the desired texture. Scrape down the sides of the bowl periodically to ensure everything is incorporated. The mixture will gradually thicken as you mix. The goal is a uniform, creamy consistency that resembles traditional pudding.
Step 5: Chill and Serve
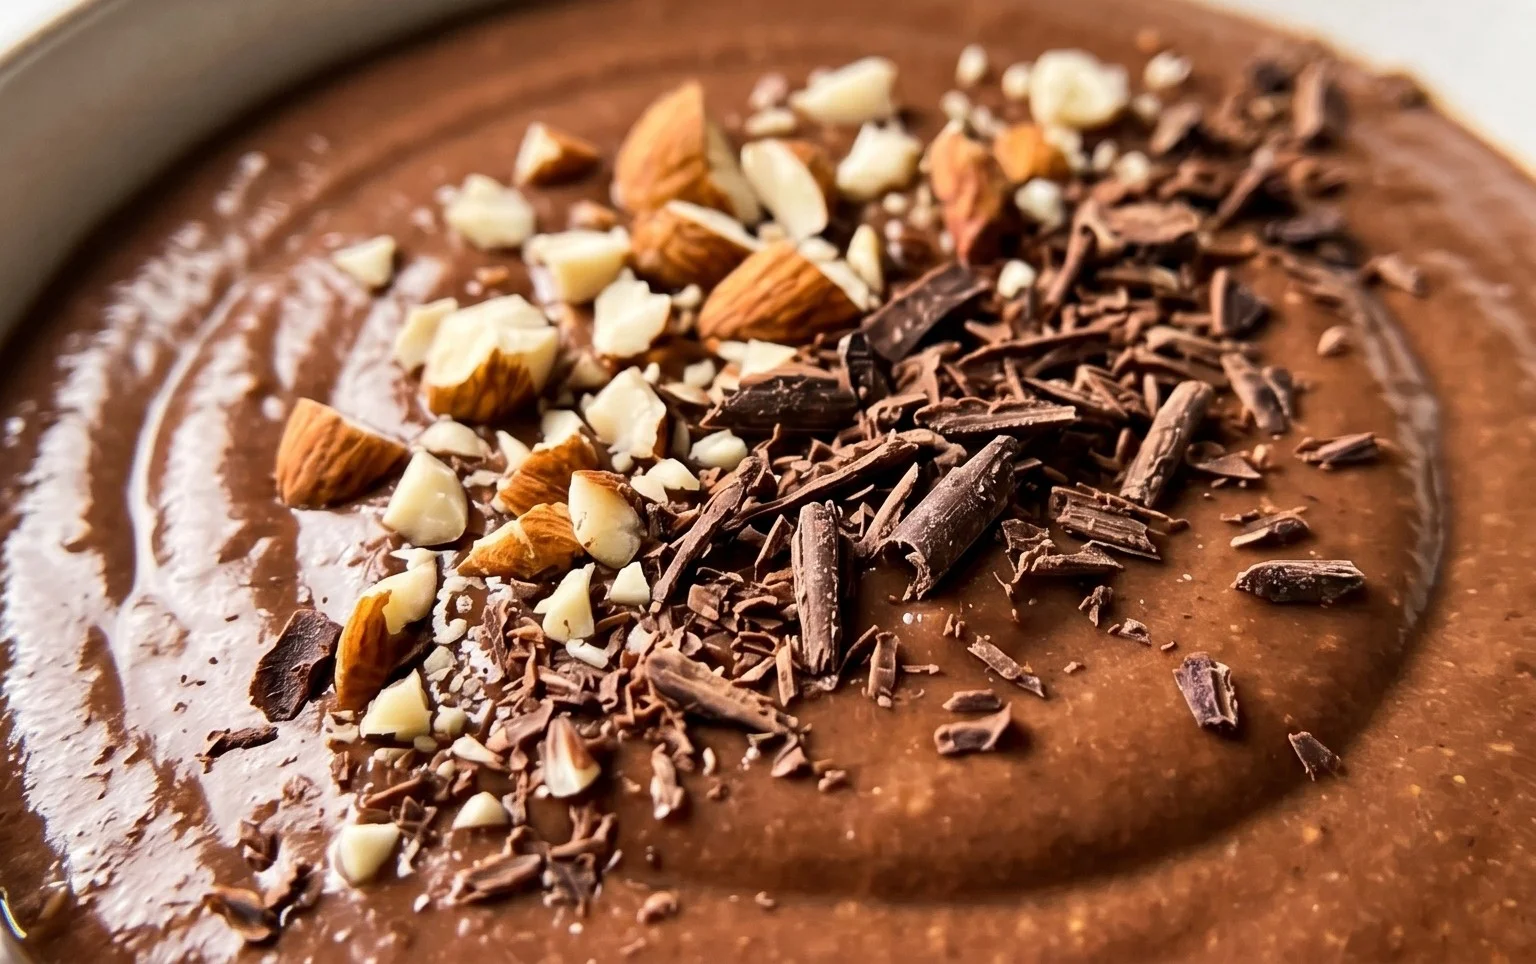
Once you’ve achieved a smooth and well-combined mixture, the hard part is over! Now, it’s time to let the flavors meld and the pudding to set. Cover the bowl tightly with plastic wrap or transfer the pudding to individual serving containers with lids. Place the pudding in the refrigerator for at least 1 hour. This chilling time is essential for the pudding to thicken further and for the flavors to develop. The longer it chills, the firmer and more pudding-like it will become. For the ultimate pudding experience, I recommend chilling it for at least 2-3 hours, or even overnight. When you’re ready to serve, give it a quick stir. You can enjoy it as is, or get creative with toppings! Some of my favorite additions include fresh berries, a sprinkle of chopped nuts, a dollop of whipped cream, or even a few dark chocolate shavings for an extra indulgence. This Chocolate Protein Pudding is a fantastic way to treat yourself while nourishing your body. Enjoy every creamy, chocolatey spoonful!
Conclusion:
There you have it – your ultimate guide to making a delicious and satisfying Chocolate Protein Pudding! This recipe is a game-changer for anyone looking for a healthy yet indulgent treat. It’s incredibly simple to whip up, requires minimal ingredients, and delivers a rich, chocolatey flavor that truly satisfies those sweet cravings. Plus, with the added protein, it’s a fantastic way to refuel after a workout or enjoy a guilt-free dessert. I really hope you give this Chocolate Protein Pudding recipe a try!
Serve it chilled straight from the fridge for a wonderfully thick and creamy experience. It’s perfect on its own, but also shines when topped with fresh berries, a sprinkle of chopped nuts, a dollop of Greek yogurt, or even a dusting of cocoa powder. Don’t be afraid to get creative with your toppings!
Looking for ways to switch things up? You can easily customize this recipe. Try adding a dash of peppermint extract for a mint chocolate twist, or a tablespoon of peanut butter for a decadent peanut butter chocolate version. For a caffeine boost, stir in a bit of instant coffee granules. The possibilities are endless!
Frequently Asked Questions:
Can I make this recipe dairy-free?
Absolutely! You can easily make this recipe dairy-free by using a plant-based milk like almond milk, soy milk, or coconut milk. Ensure your protein powder is also dairy-free.
What kind of protein powder works best?
Most unflavored or chocolate-flavored protein powders will work well. Whey protein typically yields the creamiest texture, but plant-based proteins like pea or soy can also be used. Experiment to find your favorite!
How long does the pudding last in the refrigerator?
This Chocolate Protein Pudding can be stored in an airtight container in the refrigerator for up to 3-4 days. The texture might thicken slightly over time, but it will still be delicious.
Chocolate Protein Pudding
A quick and easy, high-protein chocolate pudding made with Greek yogurt.
Ingredients
-
5 cups Greek yogurt (full-fat, plain or vanilla)
-
4 scoops chocolate protein powder
-
3 tablespoons unsweetened cocoa powder
-
1 teaspoon vanilla extract
-
2 tablespoons maple syrup
Instructions
-
Step 1
In a large bowl, combine the Greek yogurt and chocolate protein powder. -
Step 2
Add the unsweetened cocoa powder and vanilla extract to the bowl. -
Step 3
Stir in the maple syrup until well combined. -
Step 4
Whisk vigorously until the mixture is smooth and free of lumps. For a smoother consistency, you can use an electric mixer. -
Step 5
Spoon the pudding into individual serving dishes or a single larger container. -
Step 6
Chill in the refrigerator for at least 30 minutes before serving. The longer it chills, the firmer it will become.
Important Information
Nutrition Facts (Per Serving)
It is important to consider this information as approximate and not to use it as definitive health advice.
Allergy Information
Please check ingredients for potential allergens and consult a health professional if in doubt.