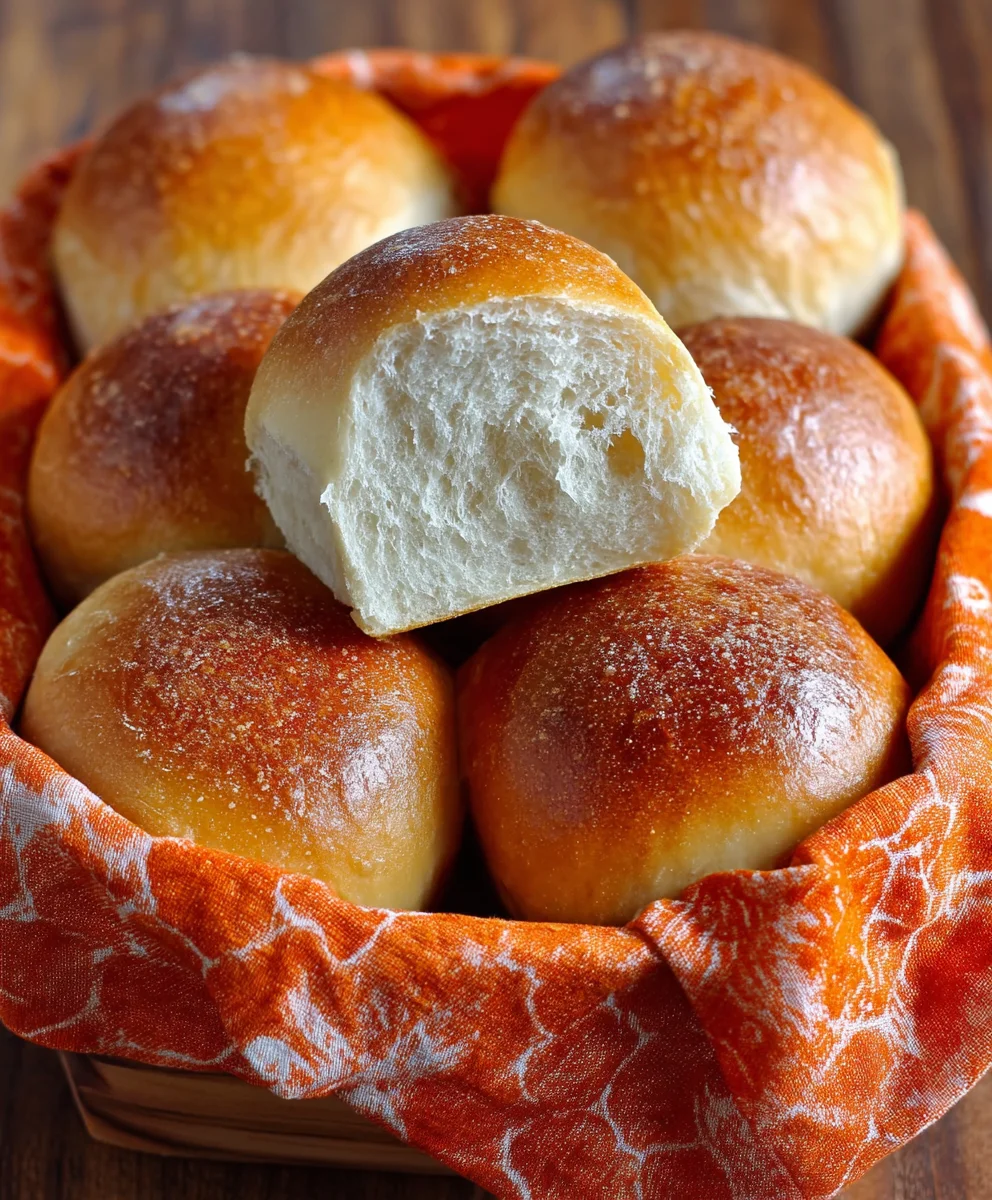
Easy French Bread Dinner Rolls-Soft & Fluffy
French Bread Dinner Rolls are the unsung heroes of any meal. Imagin extracte this: a warm, crusty exterior giving way to a soft, pillowy interior, gin extractt begging to be slathered with butter or dipped into a rich soup. It’s no wonder these delightful rolls hold such a special place in so many hearts. They transport us to cozy kitchens and shared laughter, adding an undeniable touch of elegance and comfort to even the most casual gatherings. What truly makes these particular French Bread Dinner Rolls stand out is the incredible balance they strike between a perfectly crisp crust and an impossibly tender crum extractb, a testament to a carefully crafted dough and a precise baking method. They are more than just a side; they are an experience, elevating your dining table with their irresistible aroma and classic charm.
Ingredients:
- 1 cup Warm Water (ensure it’s between 105-110 degrees Fahrenheit for optimal yeast activation)
- 1 teaspoon Active Dry Yeast
- 1/2 teaspoon Honey
- 2 1/4 cups All-Purpose Flour, plus more for dusting
- 1 teaspoon Salt
Preparing the Dough
Activating the Yeast
Begin extract by gathering your ingredients. In a large mixing bowl, pour in the 1 cup of warm water. It’s crucial that the water is not too hot, as excessive heat can kill the yeast, preventing your French Bread Dinner Rolls from rising properly. Aim for a temperature between 105 and 110 degrees Fahrenheit. To check, you can use a kitchen thermometer, or if you don’t have one, it should feel comfortably warm to the touch, like a warm bath.
Next, sprinkle the 1 teaspoon of active dry yeast over the warm water. The yeast needs warmth and a little sugar to get going. Add the 1/2 teaspoon of honey. The honey acts as food for the yeast, helping it to activate and multiply. Stir gently with a spoon just to combine. Let this mixture sit undisturbed for about 5 to 10 minutes. You’ll know the yeast is active and ready when it becomes foamy and bubbly on the surface. If you don’t see any foam, your yeast might be old or the water was too hot or too cold, and you’ll need to start over with fresh yeast and correctly tempered water.
Mixing the Dough
Once your yeast mixture is delightfully foamy, it’s time to add the dry ingredients. Add the 2 1/4 cups of all-purpose flour and the 1 teaspoon of salt to the bowl with the activated yeast mixture. The salt is important not only for flavor but also to control the yeast’s activity, preventing it from over-proofing.
Now, using a sturdy spoon or a dough wgin extractk, begin to mix everything together. Continue stirring until a shaggy dough starts to form. It will look a bit messy and might not come together cleanly at first, which is perfectly normal. Make sure to scrape down the sides of the bowl to incorporate all the flour into the mixture.
Kneading and First Rise
Kneading the Dough
Once the dough has formed into a rough ball, it’s time to knead. Lightly flour a clean work surface with a bit of extra all-purpose flour. Turn the shaggy dough out onto the flogin extractd surface. Begin kneading by pushing the dough away from you with the heels of your hands, then folding it back towards you. Rotate the dough slightly and repeat. This process develops the gluten in the flour, which gives the bread its structure and chewy texture. Continue kneading for about 8 to 10 minutes. The dough will gradually become smoother, more elastic, and less sticky. A good indicator that you’ve kneaded enough is when the dough springs back slowly when you gently press it with your finger.
First Proofing (Rising)
After kneading, lightly grease the mixing bowl with a little oil or cooking spray. Place the smooth ball of dough into the greased bowl, turning it to coat all sides with the oil. This prevents the dough from drying out as it rises. Cover the bowl tightly with plastic wrap or a clean, damp kitchen towel. Find a warm, draft-free spot in your kitchen for the dough to rise. A slightly warm oven (turned off!) or a spot near a sunny window can be ideal. Let the dough rise for about 1 to 1.5 hours, or until it has doubled in size. The exact time will depend on the temperature of your kitchen.
Shaping and Baking
Shaping the Rolls
Once the dough has doubled in size, it’s time to shape your French Bread Dinner Rolls. Gently punch down the risen dough to release the trapped air. Turn the dough out onto your lightly floured work surface. You can divide the dough into equal portions to create individual rolls. For standard-sized dinner rolls, you can aim for about 12 to 16 portions. To do this, you can either use a bench scraper or a sharp knife to cut the dough. Then, take each portion and gently shape it into a smooth ball. You can also try shaping them into small logs for a more traditional French bread roll appearance. Ensure all your rolls are roughly the same size for even baking.
Second Proofing and Baking
Arrange the shaped rolls on a baking sheet lined with parchment paper, leaving a little space between each roll to allow for expansion. Lightly cover the baking sheet with plastic wrap or a clean kitchen towel and let the rolls rise again for another 20 to 30 minutes, or until they appear puffy. While the rolls are undergoing their second rise, preheat your oven to 375 degrees Fahrenheit (190 degrees Celsius).
Once the rolls have finished their second proof and the oven is preheated, carefully remove the cover. You can optionally brush the tops of the rolls with a little milk or an egg wash for a shinier finish and a golden-brown crust, though this is entirely optional. Place the baking sheet in the preheated oven and bake for 15 to 20 minutes. The French Bread Dinner Rolls are ready when they are golden brown on top and sound hollow when tapped on the bottom. Remove them from the oven and transfer them to a wire rack to cool slightly before serving. Enjoy your warm, homemade rolls!
Conclusion:
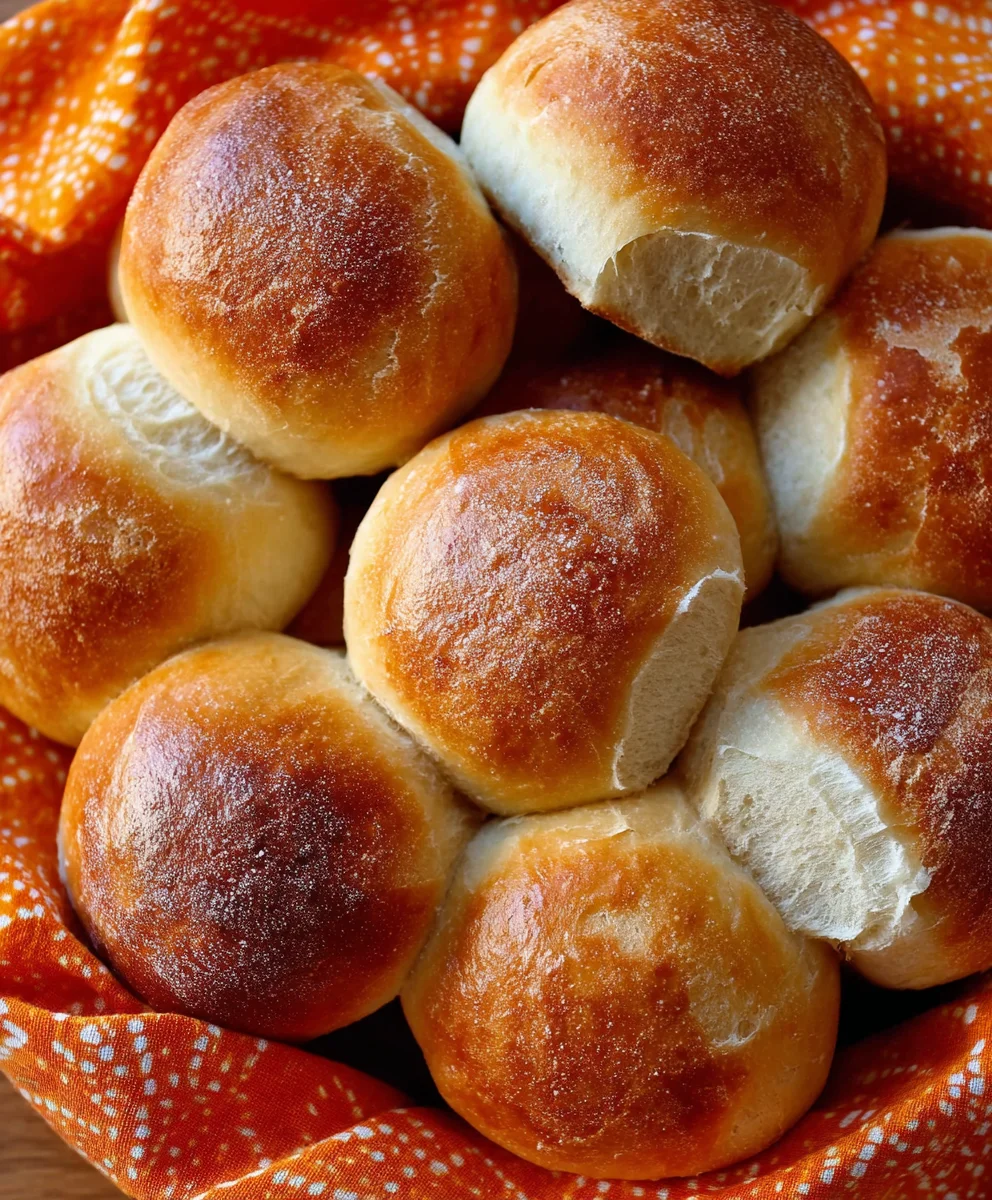
You’ve now unlocked the secret to creating delicious, airy, and perfectly golden French Bread Dinner Rolls right in your own kitchen! This recipe yields a batch of rolls that are incredibly versatile, perfect for any occasion, from a casual weeknight meal to a festive holiday gathering. The aroma that fills your home as these bake is simply divine, and the satisfaction of pulling out a warm, fluffy roll is unparalleled.
These French Bread Dinner Rolls are fantastic served warm alongside your favorite soups, stews, or pasta dishes. They also make a wonderful base for mini sandwiches or as a delightful accompaniment to a cheese board. For a touch of sweetness, try brushing them with melted butter and a sprinkle of cinnamon sugar right after they come out of the oven. Don’t be afraid to experiment! You can add herbs like rosemary or thyme to the dough for an aromatic twist, or even incorporate a bit of garlic powder for a savory kick. I encourage you to embrace the process and enjoy the rewarding experience of baking these wonderful rolls. Happy baking!
Frequently Asked Questions:
How can I ensure my French Bread Dinner Rolls are extra fluffy?
To achieve maximum fluffiness, be sure to properly proof your yeast and allow the dough to rise adequately in a warm place. Over-kneading can also make the rolls tough, so aim for a smooth, elastic dough without overworking it. Baking them at the correct temperature and for the right amount of time is also crucial.
Can I make the dough for these French Bread Dinner Rolls ahead of time?
Yes, absolutely! You can prepare the dough, let it rise, punch it down, and then refrigerate it overnight. When you’re ready to bake, simply take the dough out of the refrigerator, shape the rolls, and let them have a second rise at room temperature before baking as directed.
Easy French Bread Dinner Rolls-Soft & Fluffy
Soft, fluffy, and easy-to-make French bread dinner rolls perfect for any meal.
Ingredients
-
1 cup Warm Water (ensure it’s between 105-110 degrees Fahrenheit for optimal yeast activation)
-
1 teaspoon Active Dry Yeast
-
1/2 teaspoon Honey
-
2 1/4 cups All-Purpose Flour, plus more for dusting
-
1 teaspoon Salt
Instructions
-
Step 1
Activate the yeast: In a large mixing bowl, combine warm water (105-110°F), active dry yeast, and honey. Let sit for 5-10 minutes until foamy. -
Step 2
Mix the dough: Add all-purpose flour and salt to the yeast mixture. Stir until a shaggy dough forms. -
Step 3
Knead the dough: Turn the dough onto a floured surface and knead for 8-10 minutes until smooth and elastic. -
Step 4
First rise: Place dough in a greased bowl, cover, and let rise in a warm, draft-free spot for 1-1.5 hours, or until doubled in size. -
Step 5
Shape the rolls: Punch down dough, divide into 12-16 portions, and shape into balls or small logs. Place on a parchment-lined baking sheet. -
Step 6
Second rise and bake: Cover shaped rolls and let rise for 20-30 minutes. Preheat oven to 375°F (190°C). Bake for 15-20 minutes until golden brown.
Important Information
Nutrition Facts (Per Serving)
It is important to consider this information as approximate and not to use it as definitive health advice.
Allergy Information
Please check ingredients for potential allergens and consult a health professional if in doubt.