Easy Homemade Fruit Leather Recipe – Delicious Snack
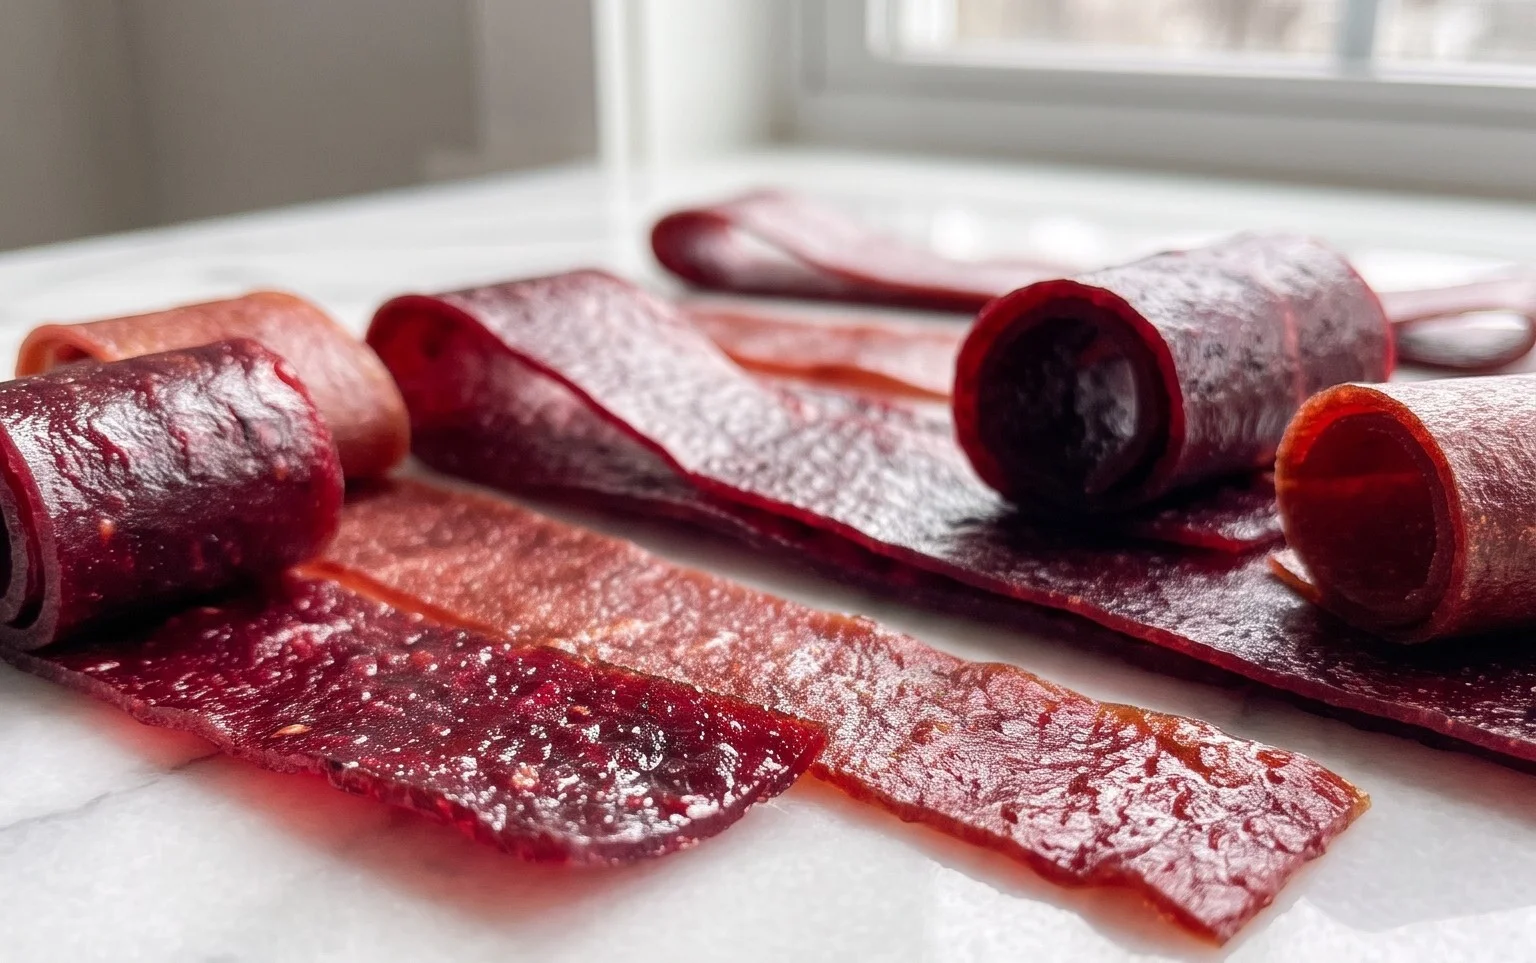
Homemade fruit leather is one of those magical kitchen creations that feels both incredibly nostalgic and wonderfully achievable. Remember those chewy, intensely flavored fruit snacks from your childhood? Well, get ready to relive that joy, but with a decidedly more wholesome and personalized twist. There’s something incredibly satisfying about transforming simple, ripe fruit into vibrant, pliable sheets of pure deliciousness. We love homemade fruit leather because it’s a fantastic way to use up seasonal produce, avoid the processed sugars and artificial ingredients often found in store-bought versions, and create a healthy, portable snack that kids and adults alike will adore. What truly makes this homemade fruit leather recipe special is the incredible control you have over flavor combinations and sweetness levels, allowing you to tailor it to your exact preferences.
Get ready to elevate your snacking game!
Let’s make some delicious homemade fruit leather together!
Homemade Fruit Leather Recipe
There’s something incredibly satisfying about making your own fruit leather. It’s a healthy, chewy, and wonderfully flavorful snack that’s perfect for lunchboxes, hiking trips, or just a guilt-free treat any time of day. Unlike store-bought versions that can be loaded with artificial colors and flavors, our homemade fruit leather lets you control exactly what goes in, highlighting the pure, vibrant taste of fresh fruit. Plus, it’s surprisingly simple to make! You just need a few key ingredients and a little patience for the drying process. Let’s dive into how we can transform simple fruit into this delightful treat.
Ingredients:
Making the Fruit Puree
The foundation of delicious fruit leather is a smooth, flavorful fruit puree. The quality of your fruit will directly impact the final taste, so I recommend using ripe, in-season fruits for the best results. If you’re using frozen fruit, make sure it’s completely thawed and drained of excess liquid before you begin extract.
Step 1: Prepare the Fruit
Start by washing your chosen fruit thoroughly. If you’re using berries, gently rinse them and pat them dry. For larger fruits like mangoes or peaches, peel them, remove the pits, and chop them into roughly 1-inch pieces. The size doesn’t need to be exact, as everything will be blended, but smaller pieces can help them cook down a bit more evenly if you choose to pre-cook.
Step 2: Blend the Fruit
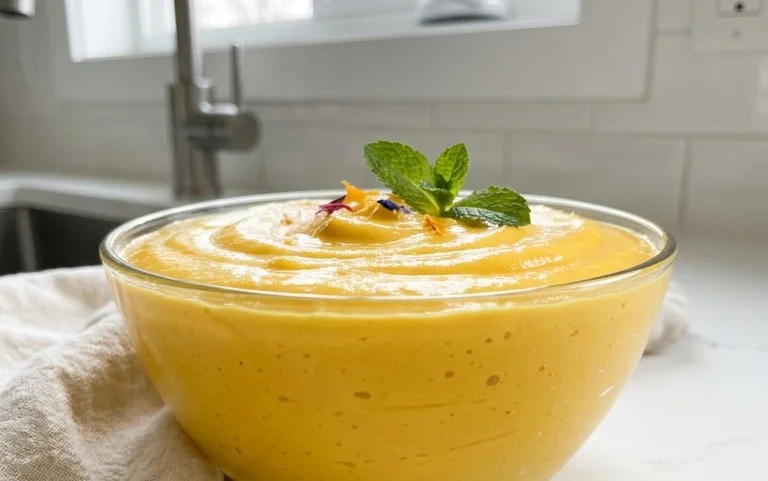
Place the chopped fruit into a blender or food processor. Add the lemon juice. The lemon juice is crucial not only for its tartness, which balances the sweetness of the fruit, but also because its acidity helps to preserve the vibrant color of the fruit, preventing it from turning a dull brown as it dries. Blend the fruit and lemon juice until it’s completely smooth. You want a velvety texture with no lumps. If your fruit is particularly fibrous, you might need to blend for a little longer. If the mixture is too thick to blend smoothly, you can add a tablespoon of water at a time until it reaches a pourable consistency.
Step 3: Sweeten and Taste
Now it’s time to add the sugar. Start with the 3 tablespoons of white sugar. Remember, this is a starting point. Taste your puree. If your fruit is very sweet already, you might want to use less sugar or even omit it entirely. Conversely, if your fruit is a bit tart, you might want to add a touch more. Stir the sugar into the puree until it’s fully dissolved.
Cooking and Drying the Fruit Leather
This is where the magic happens! We’ll cook the puree down to concentrate the flavors and remove moisture, then let time and low heat do the rest.
Step 4: Cook the Puree (Optional but Recommended)
While you can dry raw fruit puree, cooking it for a short time has several advantages. It helps to further break down the fruit, making for a smoother final texture, and it also cooks off some initial moisture, which can speed up the drying process. Transfer your fruit puree to a saucepan. Add the sugar (if you didn’t dissolve it in the blender). Cook over medium heat, stirring constantly, until the mixture thickens slightly and becomes more glossy, about 5-10 minutes. This isn’t about making jam; we just want to reduce it a bit and ensure the sugar is incorporated. Be careful not to scorch it.
Step 5: Prepare for Drying
Preheat your oven to its lowest setting, typically around 170-200°F (75-95°C). Line a baking sheet with parchment paper or a silicone baking mat. Make sure the lining extends up the sides of the baking sheet. Spread the fruit puree evenly over the prepared baking sheet in a thin, consistent layer. Aim for a thickness of about 1/8 to 1/4 inch. The thinner the layer, the faster it will dry. You want to ensure an even thickness so that it dries uniformly. If you have very thick spots, they might remain sticky while thinner spots become brittle.
Step 6: The Drying Process
Place the baking sheet in the preheated oven. Leave the oven door slightly ajar (you can prop it open with a wooden spoon) to allow moisture to escape. This is crucial for drying rather than baking. Let the fruit leather dry for 4-8 hours, or until it’s no longer sticky to the touch and peels easily from the parchment paper. The exact drying time will depend on the thickness of your fruit leather, the humidity in your kitchen, and the temperature of your oven. You’ll want to check it periodically, especially after the first few hours.
Step 7: Cooling and Storing
Once the fruit leather is dry and leathery (it should be pliable but not wet), carefully remove it from the oven. Let it cool completely on the baking sheet. Once cooled, you can peel it off the parchment paper. You can then cut it into strips or fun shapes using a pizza cutter or kitchen scissors. To store your homemade fruit leather, roll up the strips and wrap them individually in plastic wrap or parchment paper. Store in an airtight container at room temperature for up to a week, or in the refrigerator for longer storage. Enjoy your delicious, homemade fruit leather!
Conclusion:
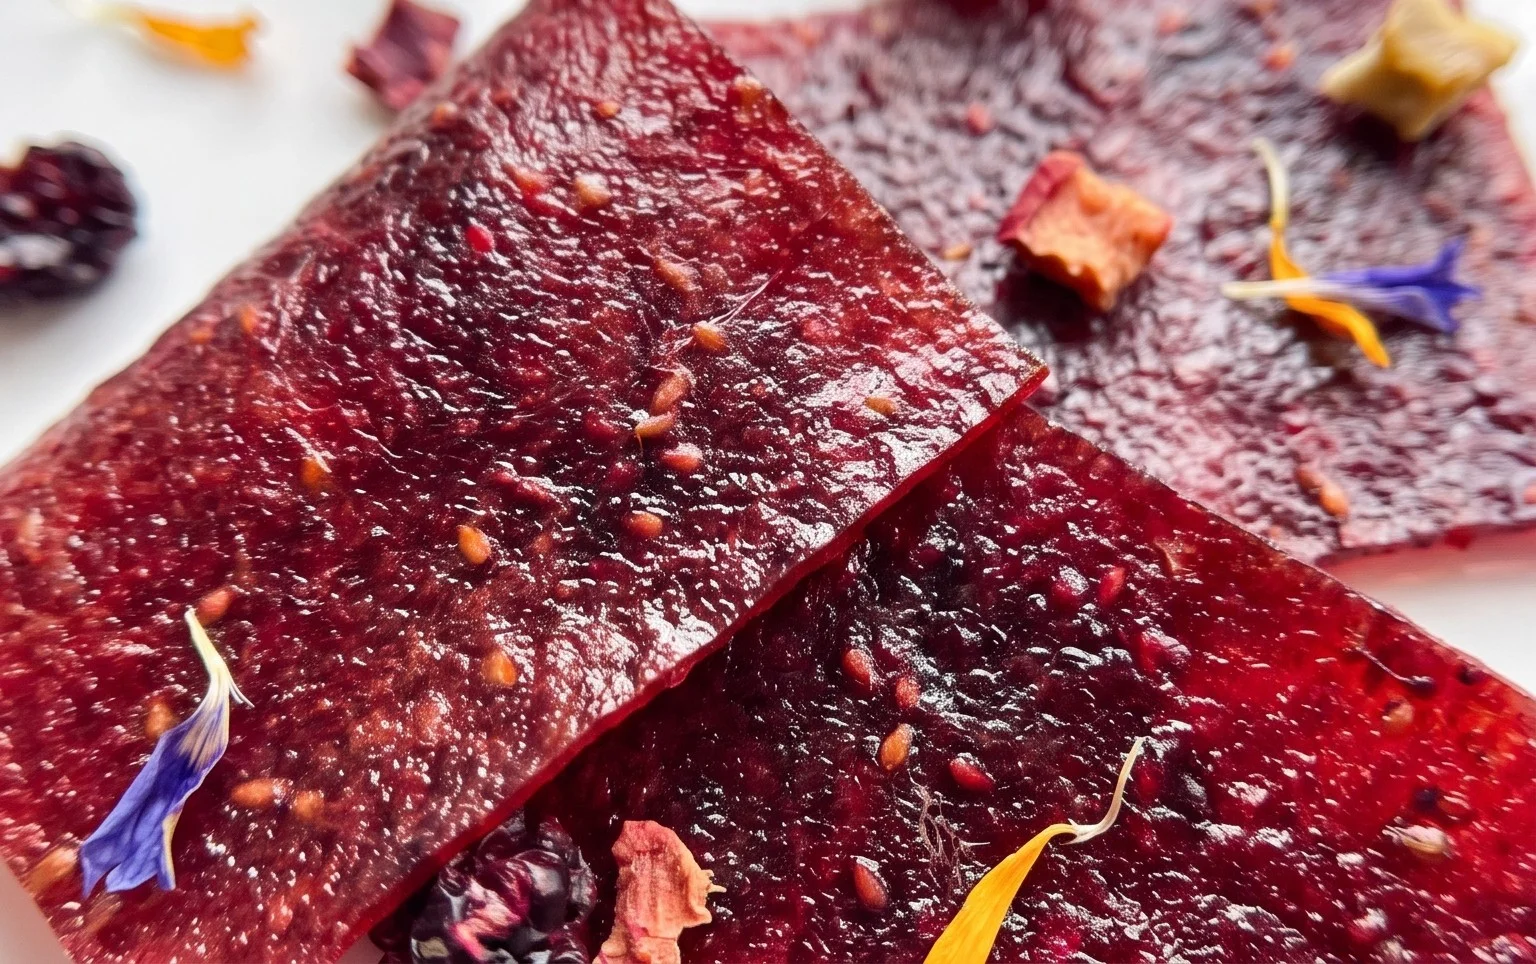
Making your own homemade fruit leather is an incredibly rewarding and delicious endeavor! It’s a fantastic way to preserve the vibrant flavors of fresh fruit, reduce food waste, and create a healthy, portable snack that everyone will love. The beauty of this recipe lies in its simplicity and versatility; with just a few ingredients and a bit of patience, you can transform simple fruit into chewy, tangy strips of pure goodness. It’s the perfect treat for lunchboxes, hiking adventures, or simply a delightful afternoon indulgence.
I highly encourage you to give this homemade fruit leather recipe a try! Don’t be afraid to experiment with different fruit combinations to discover your personal favorites. Once you’ve mastered the basics, the possibilities are endless. Enjoy this delightful and healthy snack you’ve created yourself!
Frequently Asked Questions:
Can I use frozen fruit for my fruit leather?
Absolutely! Frozen fruit works wonderfully for making fruit leather. Simply thaw it completely and drain off any excess liquid before pureeing. You might need to adjust the cooking time slightly as there will be more moisture to evaporate, but the flavor will be just as delicious.
How long will homemade fruit leather last?
When stored properly in an airtight container at room temperature, your homemade fruit leather should last for about 1-2 weeks. For longer storage, you can keep it in the refrigerator, where it can last for up to a month. Properly wrapped and frozen, it can last for several months.
What are some other fruit combinations I can try?
The sky’s the limit! Some popular and delicious combinations include strawberry-banana, raspberry-apple, mango-lime, peach-gin extractger, or even a mixed berry blend. You can also add a pinch of cinnamon or a dash of vanilla extract for extra flavor complexity.
Homemade Fruit Leather
A simple and delicious recipe for making homemade fruit leather using fresh fruit, sugar, and lemon juice.
Ingredients
-
2 cups fruit, chopped
-
3 tbsp white sugar
-
1/2 whole lemon, just the juice
-
1/4 cup water
-
1 tsp cornstarch
-
Pinch of salt
Instructions
-
Step 1
Combine chopped fruit, white sugar, and lemon juice in a saucepan. -
Step 2
Cook over medium heat, stirring occasionally, until the fruit is softened and has released its juices. -
Step 3
In a small bowl, whisk together cornstarch and water until smooth. Pour into the fruit mixture. -
Step 4
Continue to cook, stirring constantly, until the mixture thickens into a pureed consistency. -
Step 5
Pour the fruit puree onto a baking sheet lined with parchment paper, spreading it thinly and evenly. -
Step 6
Bake in a preheated oven at 175°F (80°C) for 4-6 hours, or until the fruit leather is no longer sticky to the touch. -
Step 7
Allow to cool completely, then cut into strips or shapes.
Important Information
Nutrition Facts (Per Serving)
It is important to consider this information as approximate and not to use it as definitive health advice.
Allergy Information
Please check ingredients for potential allergens and consult a health professional if in doubt.