Easy No-Knead Focaccia Bread Recipe
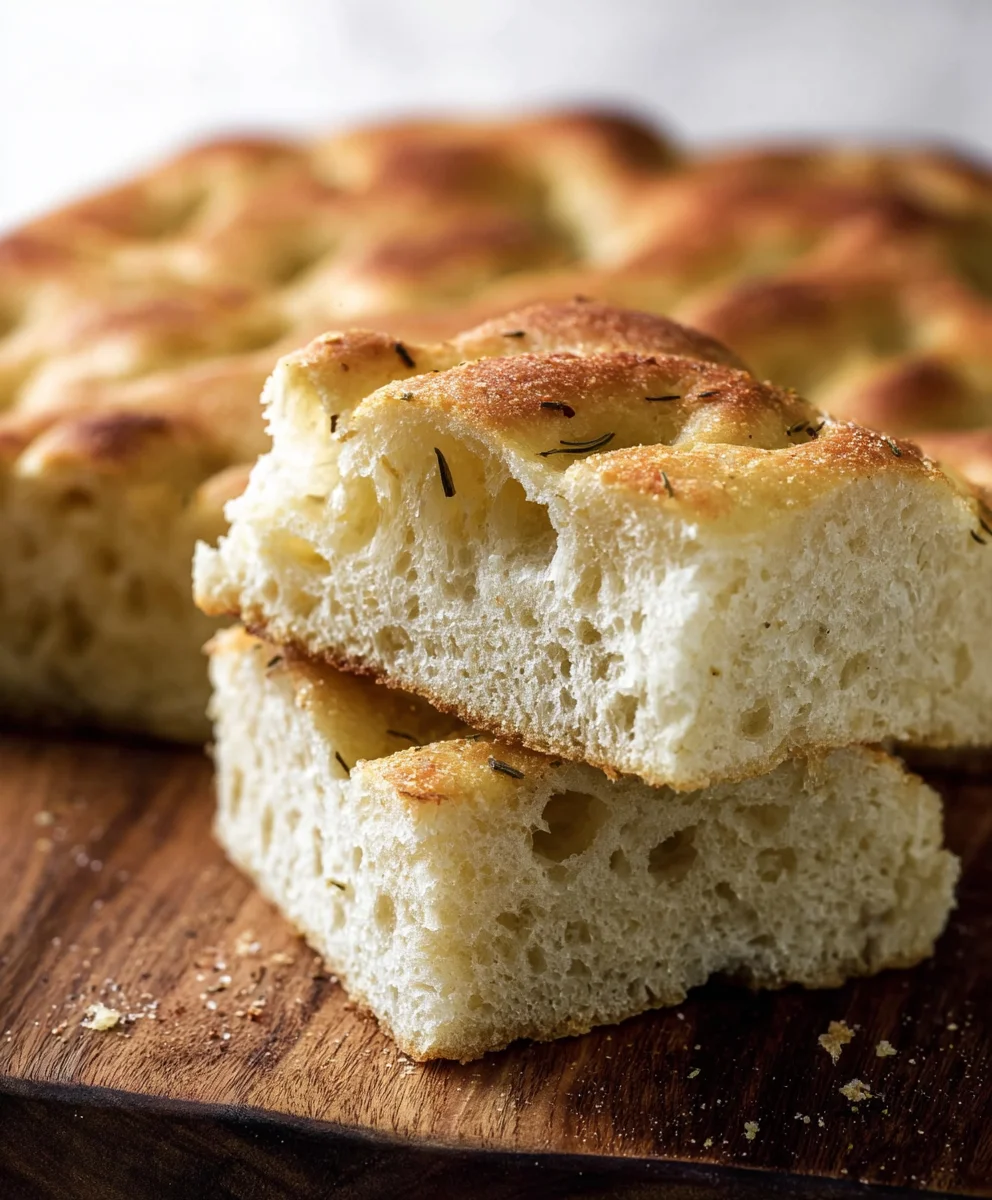
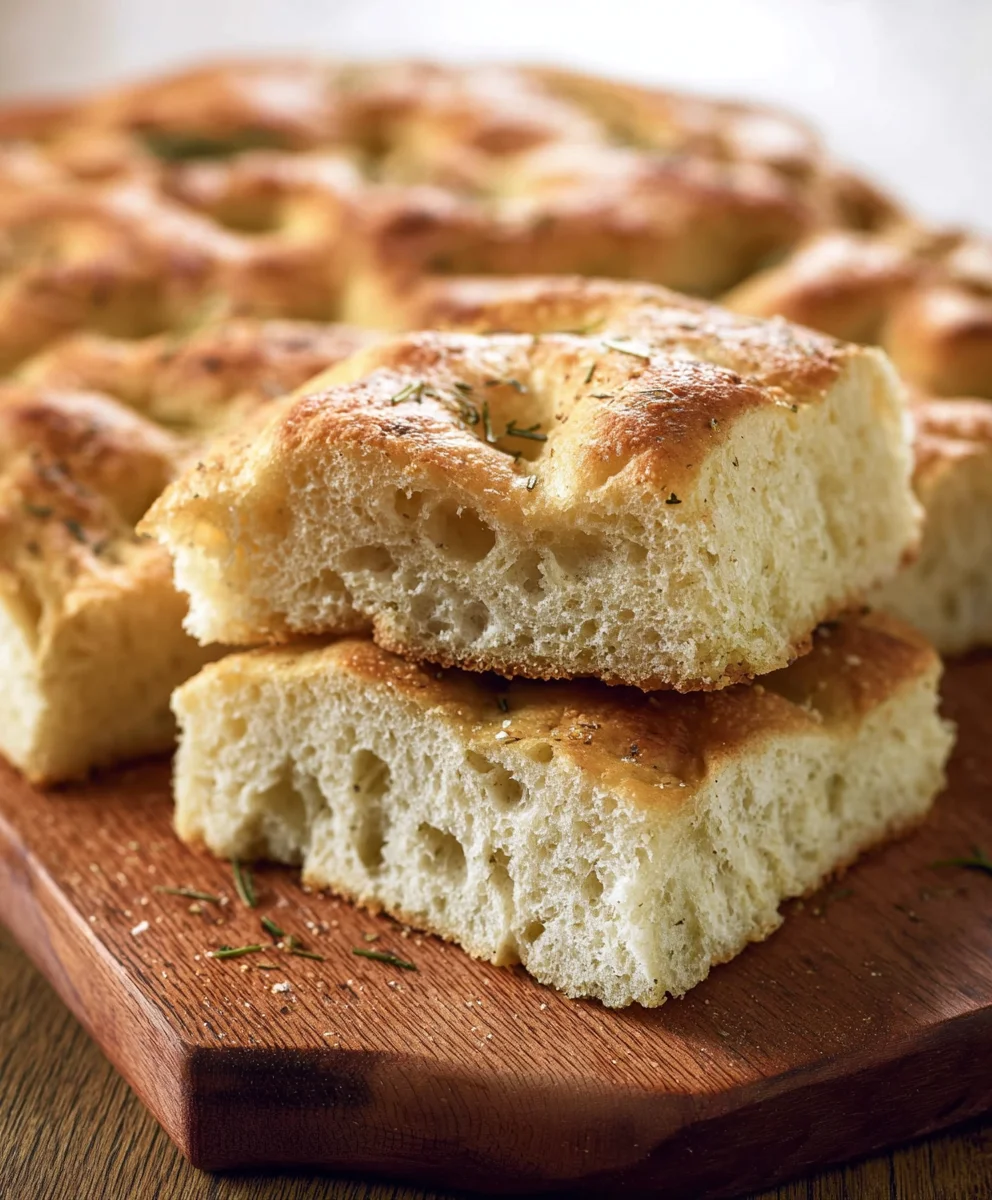
No-Knead Focaccia Bread. Ah, the aroma of freshly baked bread filling your kitchen! It’s a sensory experience that instantly transports us to cozy cafes and rustic Italian trattorias. If you’ve ever dreamed of recreating that magic at home without the fuss of traditional kneading, then this recipe for No-Knead Focaccia Bread is your golden ticket. People absolutely adore focaccia for its pillowy soft interior and perfectly crisp crust, making it incredibly versatile. It’s that irresistible combination of chewy texture and rich flavor, often studded with fragrant herbs and briny olives, that makes it a beloved classic. What truly sets this No-Knead Focaccia Bread apart is its effortless simplicity. Gone are the days of intense dough workouts; this recipe relies on time and patience to develop a wonderfully open crum extractb and a satisfyingly airy texture, all with minimal effort on your part. Get ready to impress yourself and your loved ones with this incredibly rewarding bake.
Ingredients:
- 4¾ cups all-purpose flour (630 grams)
- 4½ tablespoons olive oil (59 grams), plus more for greasing and drizzling
- 2 teaspoons salt (12 grams)
- 1½ tablespoons instant dry yeast (13 grams)
- 2⅓ cups warm water (100–110°F; 529 grams)
- Coarse salt, for topping (optional)
- Dried rosemary, for topping (optional)
Getting Started: The Dough
This no-knead focaccia bread recipe is incredibly forgiving and requires minimal effort, relying on time and good ingredients to develop its wonderful texture and flavor. The magic of no-knead baking lies in its simplicity, allowing the gluten to develop naturally over an extended period.
Step 1: Mixing the Dough
In a large mixing bowl, or the bowl of a stand mixer fitted with the dough hook, combine the all-purpose flour, 2 teaspoons of salt, and the instant dry yeast. Whisk these dry ingredients together thoroughly to ensure the yeast and salt are evenly distributed. This is an important step to avoid pockets of concentrated salt or yeast, which can affect the dough’s rise. Next, pour in the warm water and the 4½ tablespoons of olive oil. If you’re using a stand mixer, mix on low speed for about 2-3 minutes until a shaggy, sticky dough forms. If you’re mixing by hand, use a sturdy spoon or spatula to stir everything together until no dry flour remains. The dough will be very wet and sticky; this is exactly what we’re aiming for. Resist the urge to add more flour at this stage, as this high hydration is key to the focaccia’s airy interior.
Step 2: The First Rise (Bulk Fermentation)
Once the dough has come together, cover the bowl tightly with plastic wrap or a damp kitchen towel. Let the dough rest at room temperature for at least 2 hours, or until it has roughly doubled in size. For an even better flavor development and a more open crum extractb, you can let it rise for a longer period, up to 4-6 hours at room temperature, or even refrigerate it overnight (up to 24 hours) for a slower, more flavorful fermentation. If refrigerating, allow the dough to come back to room temperature for about 1-2 hours before proceeding to the next step. During this rise, the yeast will work its magic, producing gases that create those signature large air pockets in the focaccia.
Step 3: Preparing the Baking Pan
About 30 minutes before you’re ready to shape the dough, generously grease a 9×13 inch baking pan (or a similar-sized pan) with olive oil. You want at least 2-3 tablespoons of olive oil, ensuring the bottom and sides are well-coated. This generous amount of oil is crucial for achieving that wonderfully crisp, golden-brown bottom crust that focaccia is known for. You can use a pastry brush to spread it evenly.
Step 4: Shaping and Second Rise
Gently pour the risen dough into the prepared baking pan. It will be very bubbly and airy. Try not to deflate it too much. With lightly oiled hands, gently coax the dough to spread towards the edges of the pan. Don’t force it; if it resists, let it rest for 10-15 minutes and then continue stretching. It should almost fill the pan. Once you have it mostly spread out, cover the pan again loosely with plastic wrap or a kitchen towel and let it rest for another 30-60 minutes. During this second rise, the dough will puff up again, filling in any gaps you couldn’t quite reach.
Step 5: Dimpling and Topping
Preheat your oven to 425°F (220°C). Once the dough has finished its second rise and looks beautifully puffy, it’s time to create those iconic focaccia dimples. Lightly oil your fingertips and gently press them into the dough, all the way down to the bottom of the pan, creating deep impressions. These dimples will hold pockets of olive oil, creating crispy, flavorful spots. Now, drizzle about 1-2 tablespoons of olive oil evenly over the top of the dough, letting it pool in some of the dimples. If you’re using them, generously sprinkle coarse salt and dried rosemary over the surface. Don’t be shy with the toppings; they add fantastic flavor and texture.
Step 6: Baking the Focaccia
Place the prepared baking pan in the preheated oven. Bake for 25-35 minutes, or until the focaccia is deeply golden brown on top and the edges are crisp. The exact baking time will depend on your oven, so keep an eye on it. If the top is browning too quickly but the bread isn’t cooked through, you can loosely tent it with aluminum foil. Once baked, carefully remove the pan from the oven. While still warm, you can drizzle a little more olive oil over the top for extra shine and flavor. Let the focaccia cool in the pan for about 10-15 minutes before carefully inverting it onto a wire rack to cool slightly more. This allows the steam to escape, preventing a soggy bottom. Serve warm or at room temperature.
Conclusion:
And there you have it – your very own delicious batch of No-Knead Focaccia Bread! This recipe proves that you don’t need to be a master baker or spend hours in the kitchen to create a truly impressive loaf. The magic of this focaccia lies in its simplicity, relying on time and good quality ingredients to develop incredible flavor and that signature chewy, airy texture. I hope you’ve enjoyed this journey and are excited to share your homemade creation. Whether it’s served alongside a hearty soup, as a base for your favorite toppings, or simply enjoyed with a drizzle of olive oil and a sprinkle of sea salt, this No-Knead Focaccia Bread is sure to become a staple in your baking repertoire. Don’t be afraid to experiment with different herbs and toppings; the possibilities are truly endless!
Frequently Asked Questions:
Can I make No-Knead Focaccia Bread ahead of time?
Absolutely! You can refrigerate the dough for up to 24-48 hours after the initial rise. This further develops the flavor and makes it even easier to handle. Just bring it to room temperature for about an hour before you plan to bake it.
What are some other topping ideas for No-Knead Focaccia Bread?
Beyond the classic rosemary and sea salt, consider adding thinly sliced red onions, cherry tomatoes, Kalamata olives, crum extractbled feta cheese, or even a sprinkle of Parmesan cheese. Get creative and discover your favorite combinations!
Easy No-Knead Focaccia Bread Recipe
A simple and forgiving focaccia bread recipe that requires no kneading, relying on time for a wonderfully textured and flavorful loaf.
Ingredients
-
4¾ cups all-purpose flour (630 grams)
-
4½ tablespoons olive oil (59 grams), plus more for greasing and drizzling
-
2 teaspoons salt (12 grams)
-
1½ tablespoons instant dry yeast (13 grams)
-
2⅓ cups warm water (100–110°F; 529 grams)
-
Coarse salt, for topping (optional)
-
Dried rosemary, for topping (optional)
Instructions
-
Step 1
In a large mixing bowl, combine the all-purpose flour, salt, and instant dry yeast. Whisk thoroughly. Add the warm water and 4½ tablespoons of olive oil. Stir until a shaggy, sticky dough forms. The dough will be very wet and sticky; this is intentional. -
Step 2
Cover the bowl tightly and let the dough rest at room temperature for at least 2 hours, or until it has roughly doubled in size. For enhanced flavor, you can let it rise for up to 4-6 hours, or refrigerate overnight (up to 24 hours). -
Step 3
About 30 minutes before shaping, generously grease a 9×13 inch baking pan with 2-3 tablespoons of olive oil, coating the bottom and sides. -
Step 4
Gently pour the risen dough into the prepared pan. With lightly oiled hands, coax the dough to spread towards the edges. If it resists, let it rest for 10-15 minutes before continuing. Cover loosely and let it rest for another 30-60 minutes. -
Step 5
Preheat your oven to 425°F (220°C). Lightly oil your fingertips and gently press them into the dough to create deep dimples. Drizzle 1-2 tablespoons of olive oil over the top. Sprinkle with coarse salt and dried rosemary, if using. -
Step 6
Bake for 25-35 minutes, or until deeply golden brown and crisp. If the top browns too quickly, tent with foil. Remove from oven, drizzle with more olive oil if desired, and let cool in the pan for 10-15 minutes before inverting onto a wire rack to cool further.
Important Information
Nutrition Facts (Per Serving)
It is important to consider this information as approximate and not to use it as definitive health advice.
Allergy Information
Please check ingredients for potential allergens and consult a health professional if in doubt.