Easy Strawberry Danish Recipe-Homemade Pastry Perfection
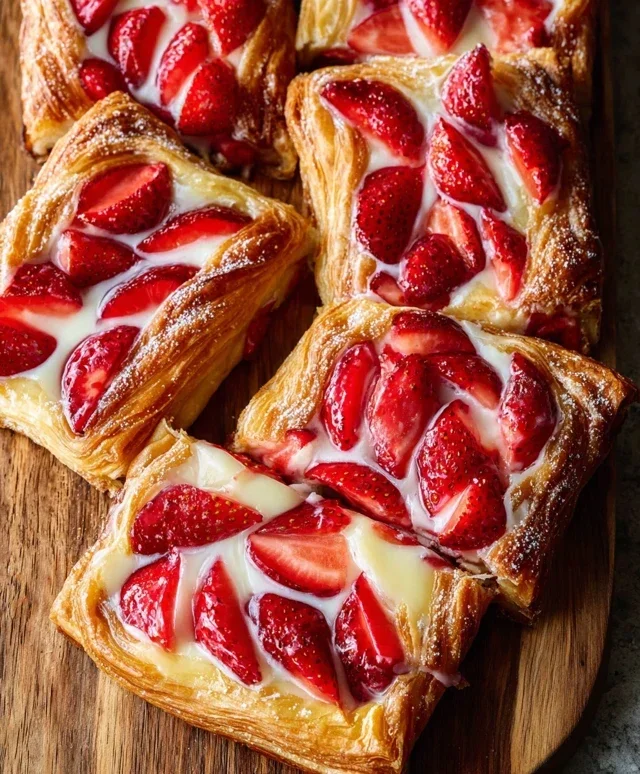
Strawberry Danish recipes are a delightful journey into buttery, flaky pastry perfection, bursting with the sweet tang of fresh strawberries. There’s something inherently celebratory about a Strawberry Danish, isn’t there? It conjures images of sun-drenched mornings, elegant brunches, and moments of pure, unadulterated joy. It’s no wonder this classic pastry holds such a special place in our hearts. The magic truly lies in the contrast: the crisp, golden layers of puff pastry yielding to a luscious, sweet-tart strawberry filling, often crowned with a creamy, dreamy cheese mixture or a delicate glaze. Making a Strawberry Danish from scratch might seem daunting, but I promise, the results are so incredibly rewarding, and this recipe aims to demystify the process so you can create this showstopper in your own kitchen. Get ready to impress yourself and your loved ones!
Strawberry Danish Recipe
There’s something truly magical about a perfectly flaky, golden-brown pastry filled with sweet, slightly tart strawberries and creamy goodness. These homemade Strawberry Danishes are a delightful treat that feels fancy enough for a special occasion but is surprisingly achievable for a weekend baking project. Forget store-bought; the aroma filling your kitchen as these bake will be your first reward, and the taste will be pure bliss. The crisp puff pastry, the luscious strawberry filling, and the rich cream cheese base come together in a symphony of flavors and textures that are simply irresistible. Let’s get baking!
Ingredients:
Preparing the Strawberry Filling
The heart of our Danish is the vibrant strawberry filling. We want it to be sweet and luscious but with just enough body to hold its shape within the pastry.
1. In a medium saucepan, combine the 4 cups of sliced strawberries with 1 tablespoon of sugar and 1 tablespoon of cornstarch. Stir gently to coat the strawberries evenly. The cornstarch is crucial here; it will help thicken the juices released from the strawberries as they cook, preventing a watery filling.
2. Place the saucepan over medium heat and cook, stirring frequently, until the strawberries begin extract to soften and release their juices, and the mixture thickens. This should take about 5-8 minutes. You’ll notice the liquid turning syrupy and glossy. Once thickened, remove the pan from the heat and let the strawberry mixture cool completely. This is important because a hot filling will melt our cream cheese mixture and can even make the puff pastry soggy. While the strawberries cool, we’ll prepare the creamy base.
Crafting the Cream Cheese Filling
A smooth, slightly sweet cream cheese filling provides a delightful contrast to the tartness of the strawberries and the flakiness of the pastry.
3. In a medium bowl, beat together the softened cream cheese, ½ cup of powdered sugar, and 1 teaspoon of vanilla extract until smooth and creamy. You can use a hand mixer or a whisk for this. Ensure the cream cheese is truly at room temperature – this makes it much easier to get a lump-free, silky texture. If you find your cream cheese is still a bit firm, you can gently microwave it for 10-15 seconds, but be careful not to let it get too warm. This simple cream cheese mixture is the perfect foundation for our Danish.
Assembling the Danish
Now comes the fun part – transforming our puff pastry into beautiful Danish pastries.
4. Preheat your oven to 400°F (200°C). Line two baking sheets with parchment paper. Gently unfold the thawed puff pastry sheets onto a lightly floured surface. If your puff pastry is very cold, let it sit at room temperature for a few minutes until it’s pliable but not sticky. Using a sharp knife or a pizza cutter, cut each puff pastry sheet into four equal squares. This will give you eight squares in total, perfect for individual Danishes.
5. For each pastry square, score a border about ½ inch from the edge, being careful not to cut all the way through. This border will puff up and create a lovely frame for our filling. Then, gently spread a layer of the cream cheese mixture within the scored border on each pastry square. Don’t overfill, as we want to leave room for the strawberry topping.
6. Spoon a generous amount of the cooled strawberry filling over the cream cheese mixture on each Danish. Again, avoid overfilling. If you like a little extra sweetness and shine on your strawberries, you can gently press a few extra strawberry slices on top of the filling. This is also a good time to sprinkle a little extra sugar over the pastry borders if you desire a slightly crispier, caramelized edge.
Baking and Glazing Your Danishes
The final steps involve baking them to golden perfection and adding a sweet finish.
7. Carefully transfer the assembled Danishes to the prepared baking sheets. Brush the edges of the puff pastry with the beaten egg wash. This egg wash is essential for achieving that beautiful golden-brown, glossy finish on the pastry. Bake for 15-20 minutes, or until the puff pastry is puffed up, golden brown, and the filling is bubbly. Keep an eye on them, as oven temperatures can vary. Once baked, remove the Danishes from the oven and let them cool on the baking sheets for a few minutes before transferring them to a wire rack to cool further.
8. While the Danishes are cooling, prepare the simple glaze. In a small bowl, whisk together 1 cup of powdered sugar, ½ teaspoon of vanilla extract, and 2-3 tablespoons of milk until you achieve a smooth, pourable consistency. Add the milk a tablespoon at a time, adjusting as needed. If you’re using the strawberry jam for topping, gently warm it in a small saucepan or microwave until it’s easily spreadable. Once the Danishes are mostly cool, you can brush the warm jam over the strawberry filling for an extra layer of flavor and shine.
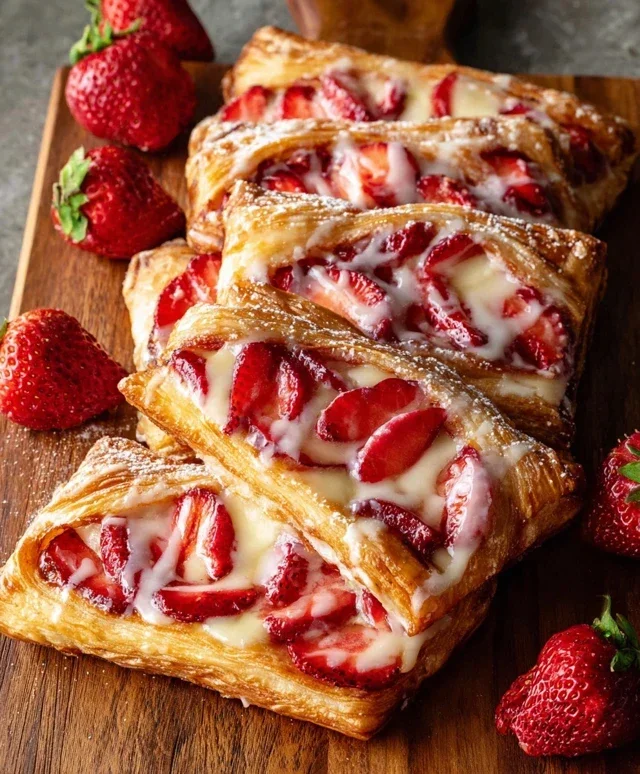
9. Finally, drizzle the prepared glaze over the cooled Danishes. You can use a spoon or a piping bag for a more decorative effect. If you opted not to use jam, the glaze alone is beautifully simple. For an extra touch, you can sprinkle a few extra sliced strawberries or some toasted slivered almonds on top of the glaze while it’s still wet. Let the glaze set for about 10-15 minutes before serving.
Enjoy these delightful Strawberry Danishes with a cup of coffee or tea. They are best enjoyed fresh, but any leftovers can be stored in an airtight container at room temperature for a day or two. Happy baking!
Conclusion:
I hope you’ve enjoyed learning how to create these delightful Strawberry Danish pastries! This recipe is a fantastic way to impress your friends and family, or simply to treat yourself to a touch of homemade elegance. The combination of flaky, buttery puff pastry and sweet, slightly tart strawberry filling is truly a winner. These are perfect for a special breakfast, a lovely brunch addition, or even an afternoon pick-me-up with your favorite cup of tea or coffee.
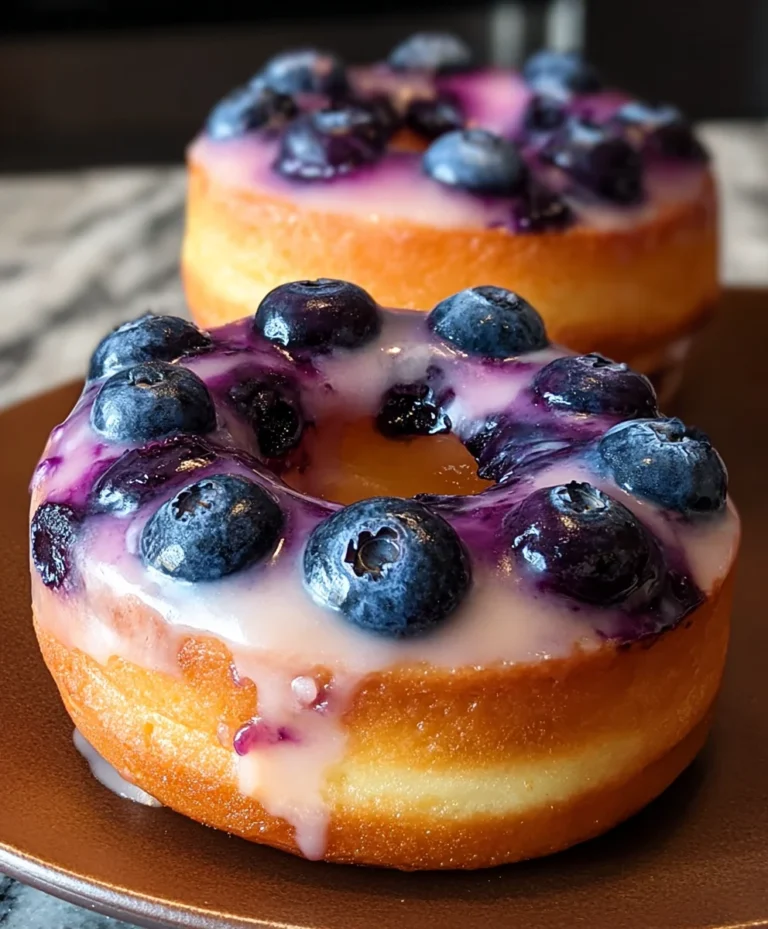
Don’t be afraid to get creative with variations! You could swap out the strawberries for other berries like raspberries or blueberries, or even use a mix. A touch of lemon zest in the filling adds a wonderful brightness, and a sprinkle of sliced almonds on top before baking provides a lovely textural contrast. I truly encourage you to give this Strawberry Danish recipe a try. It’s much easier than it looks, and the results are incredibly rewarding!
Frequently Asked Questions:
Can I use frozen strawberries?
Yes, absolutely! If using frozen strawberries, make sure to thaw them completely and drain off any excess liquid before mixing them with the sugar and cornstarch. This will prevent the filling from becoming too watery.
How should I store leftover Danish pastries?
Store any leftover Strawberry Danish pastries in an airtight container at room temperature for up to two days. For longer storage, you can refrigerate them, though the pastry may lose some of its crispness. Reheat gently in a low oven or toaster oven to revive their texture.
What’s the best way to get really flaky puff pastry?
The key to flaky puff pastry is to handle it as little as possible and ensure it’s kept cold. Use cold butter and cold water when making your own, and if using store-bought, make sure to follow the thawing instructions precisely. Don’t overwork the dough, and let it chill between steps as recommended.
Strawberry Danish Recipe
A delightful and easy recipe for homemade strawberry danishes using puff pastry and a creamy cheese filling.
Ingredients
-
4 cups sliced strawberries
-
1 tablespoon cornstarch
-
1 tablespoon sugar
-
8 oz. cream cheese, room temperature
-
½ cup powdered sugar
-
1 teaspoon vanilla extract
-
2 puff pastry sheets, thawed
-
1 large egg (lightly beaten with 1 teaspoon water)
-
2 – 3 tablespoons sugar for topping, optional
-
¼ cup strawberry jam, optional for topping
-
1 cup powdered sugar
-
½ teaspoon vanilla extract
-
2 – 3 tablespoons milk
Instructions
-
Step 1
Preheat your oven to 400°F (200°C). Line a baking sheet with parchment paper. -
Step 2
In a bowl, combine the sliced strawberries, cornstarch, and 1 tablespoon of sugar. Set aside. -
Step 3
In another bowl, beat the cream cheese until smooth. Gradually add the ½ cup powdered sugar and 1 teaspoon vanilla extract, mixing until well combined. -
Step 4
Unfold the thawed puff pastry sheets and cut each into 4 equal rectangles. Place them on the prepared baking sheet. -
Step 5
Score a border about ½ inch from the edge of each pastry rectangle, being careful not to cut all the way through. Spread a layer of the cream cheese mixture within the scored borders. -
Step 6
Spoon the strawberry mixture over the cream cheese filling. -
Step 7
Brush the edges of the puff pastry with the beaten egg wash. Sprinkle with optional sugar for topping. -
Step 8
Bake for 15-20 minutes, or until the puff pastry is golden brown and puffed. -
Step 9
While the danishes are baking, prepare the glaze. Whisk together the 1 cup powdered sugar, ½ teaspoon vanilla extract, and milk until a smooth glaze forms. Add more milk if needed to reach desired consistency. -
Step 10
Once the danishes are out of the oven, let them cool slightly. Drizzle with the glaze and optional strawberry jam.
Important Information
Nutrition Facts (Per Serving)
It is important to consider this information as approximate and not to use it as definitive health advice.
Allergy Information
Please check ingredients for potential allergens and consult a health professional if in doubt.