Quick & Easy Pickled Red Onions Recipe
Pickled red onions are the unsung heroes of the condiment world, and trust me, once you’ve tasted their vibrant tang and delightful crunch, you’ll wonder how you ever lived without them. These ruby-hued gems aren’t just pretty to look at; they possess a magical ability to elevate everything they touch, from the humblest taco to a sophisticated charcuterie board. What makes them so irresistible? It’s that perfect balance of sweet, sour, and a hint of peppery bite, transforming a simple onion into something truly extraordinary. I find myself reaching for a jar of my quick-pickled red onions constantly, whether I’m adding a zesty flourish to avocado toast, a burst of flavor to a grilled cheese, or simply enjoying them straight from the jar (don’t judge!). They offer a refreshing counterpoint to rich and savory dishes, cutting through fat and adding a welcome brightness. Get ready to fall in love with the simplicity and sheer deliciousness of homemade pickled red onions.
Pickled Red Onions
These vibrant, tangy pickled red onions are a game-changer for any dish. They’re incredibly easy to make and add a beautiful pop of color and a delightful zesty crunch to everything from tacos and burgers to salads and sandwiches. The best part? You likely have most of the ingredients in your pantry right now, and they come together in just a few minutes of active prep time. Let’s get started on creating this versatile condiment that will elevate your everyday meals.
Ingredients:
Instructions:
Prepare the Onions
The first step is to get your red onions ready for pickling. I like to use medium-sized red onions because they have a nice balance of sweetness and sharpness. If you can only find small ones, just grab a couple more. Start by peeling the papery outer skin from the onions. Once peeled, trim off the top and the root end. Be careful not to cut too much off the root end; it helps hold the onion layers together. For pickling, you want thinly sliced onions so they can absorb the brine quickly and become tender. The best way to achieve this is by slicing them very thinly, almost like a half-moon shape. You can use a sharp knife and a cutting board, or if you have a mandoline slicer, it makes this job incredibly fast and uniform. Just be extra cautious when using a mandoline – always use the safety guard! I prefer to slice them about 1/8 inch thick. The thinner they are, the quicker they will pickle and the more delicate their texture will be. If you slice them too thick, they might remain a bit too crunchy for some preferences. Once sliced, you can either place them directly into your clean jar, or you can separate the rings a bit if they’re sticking together, which can help with brine penetration. I usually just toss them into the jar as they are after slicing.
Make the Brine
Now, let’s create the magic pickle brine. This is where all the flavor comes from. In a small saucepan, combine the water and white vinegar. White vinegar is a classic choice for pickling because it has a clean, sharp acidity that cuts through the sweetness of the sugar and mellows out the pungency of the onions. You’ll want to measure these out carefully for the best balance. Next, add the sugar. I like using granulated sugar because it dissolves easily, but you can also experiment with other sweeteners like honey or maple syrup for a different flavor profile, though this will alter the final taste and color. Just be aware that liquid sweeteners might make the brine a little cloudier. Then, add the sea salt. Using sea salt rather than table salt contributes a cleaner, more mineral-rich flavor to the brine. Now, if you like a little bit of heat, this is where you’ll add the red pepper flakes. Start with 1/4 teaspoon if you’re sensitive to spice, or go up to 1/2 teaspoon for a noticeable kick. You can even omit them entirely if you prefer a purely sweet and sour pickle. Place the saucepan over medium heat. Stir the mixture constantly until the sugar and salt have completely dissolved. You don’t need to bring it to a rolling boil; just heating it enough to dissolve everything is sufficient. This ensures that the brine is evenly seasoned.
Combine and Steep
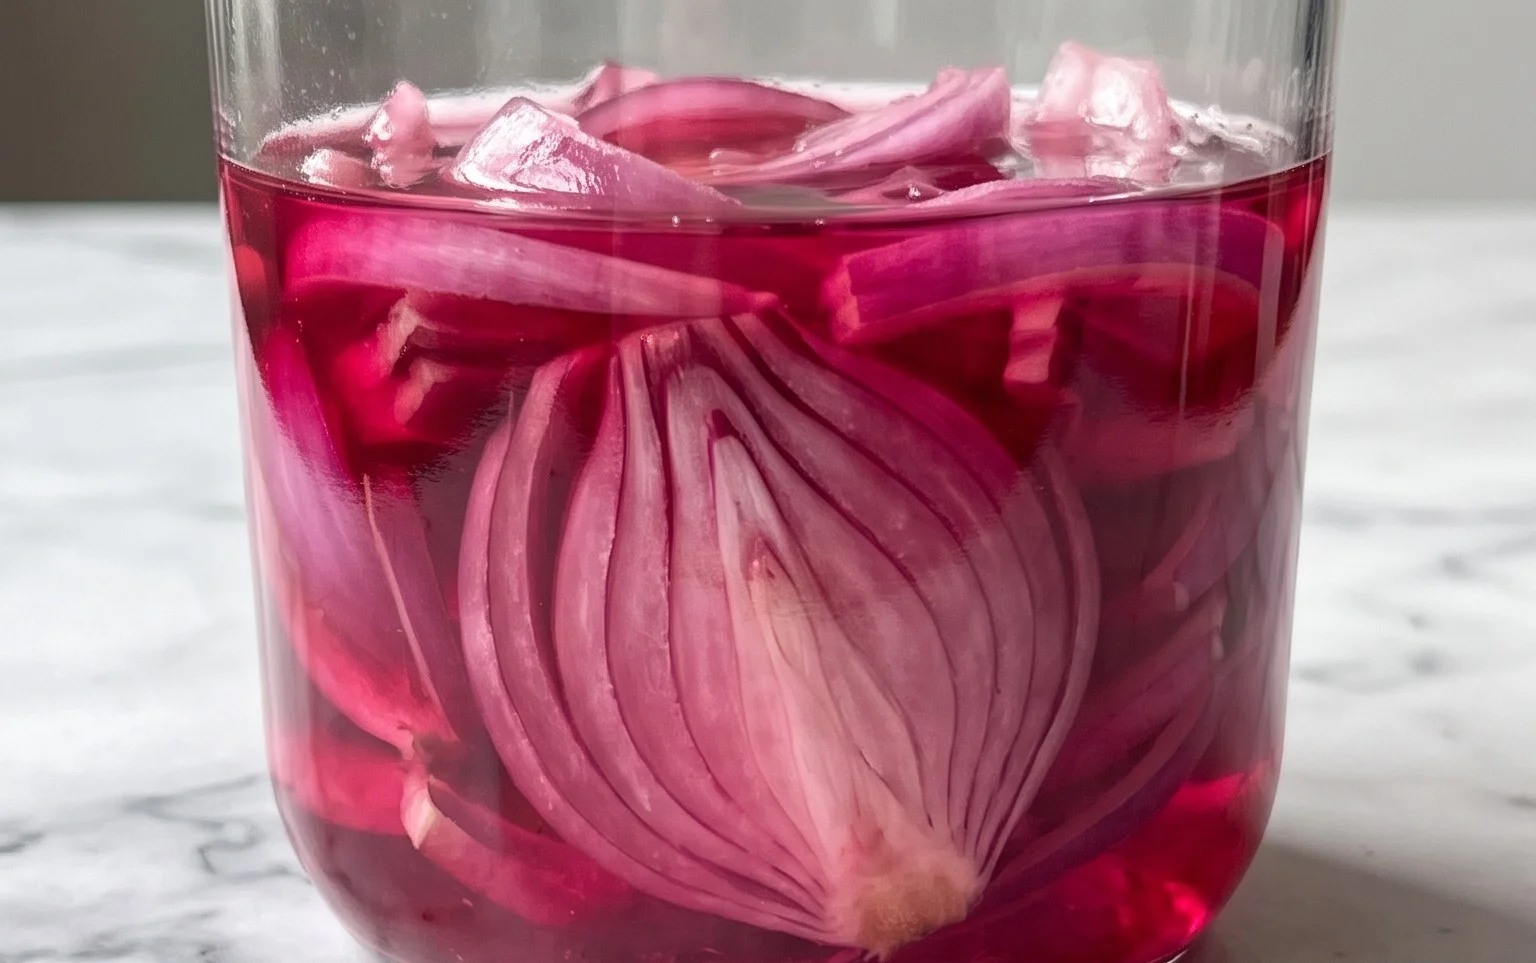
Once the sugar and salt are fully dissolved in the brine, carefully remove the saucepan from the heat. It’s time to bring it all together. Take your clean, heat-safe jar. I typically use a pint-sized mason jar for this recipe, but any clean glass jar with a lid will work. Gently place your thinly sliced red onions into the jar. If you chose to add the red pepper flakes directly to the brine in the previous step, you can do that now before pouring. However, I often prefer to sprinkle them directly over the onions in the jar for a more even distribution. Carefully pour the hot brine over the sliced onions in the jar. You want to make sure the onions are fully submerged in the brine. If they aren’t quite covered, you can add a splash more water or vinegar to ensure they are. The hot brine will immediately start to soften the onions and draw out some of their vibrant color, transforming them into that beautiful pink hue we’re after. As the brine cools, the onions will continue to steep and pickle. Let the jar sit on your counter, uncovered, for at least 30 minutes. This initial steeping period allows the onions to start absorbing the flavors and to begin extract their pickling process while the brine is still warm. You’ll notice the onions becoming more pliable and the brine itself starting to take on a lovely pinkish-red color.
Chill and Marinate
After the initial 30-minute steeping period on the counter, it’s time to let the flavors fully develop. Secure the lid tightly onto your jar of pickled red onions. Now, transfer the jar to the refrigerator. This is where the real magic of pickling happens. The cold temperature slows down the enzymatic processes and allows the vinegar to penetrate the onions more deeply, creating that characteristic tangy flavor. For the best results, I recommend letting them chill and marinate for at least 2 to 3 hours. However, the longer they sit in the brine, the more intense and developed their flavor will become. I often make a batch in the morning, and by lunchtime, they’re ready to be enjoyed. But for truly optimal flavor, letting them sit overnight is fantastic. You’ll notice the onions continuing to deepen in color and become more translucent. They’ll also soften further, achieving a perfect tender-crisp texture.
Storage and Enjoyment
Once your pickled red onions have chilled for the recommended time, they are ready to be enjoyed! They will last for several weeks in the refrigerator, making them a fantastic staple to keep on hand. Just ensure they remain submerged in the brine. If you notice the brine level getting low, you can top it up with a little more vinegar and water. The beauty of these pickled red onions is their versatility. I love them piled high on avocado toast, mixed into potato salad, or as a zesty topping for chili. They are also a perfect accompaniment to grilled meats, fish tacos, and gourmet burgers. Don’t be afraid to get creative with them! Any time you want a burst of bright, tangy flavor and a delightful crunch, reach for these homemade pickled red onions. You can even use the leftover brine in salad dressings or marinades – it’s packed with flavor!
Conclusion:
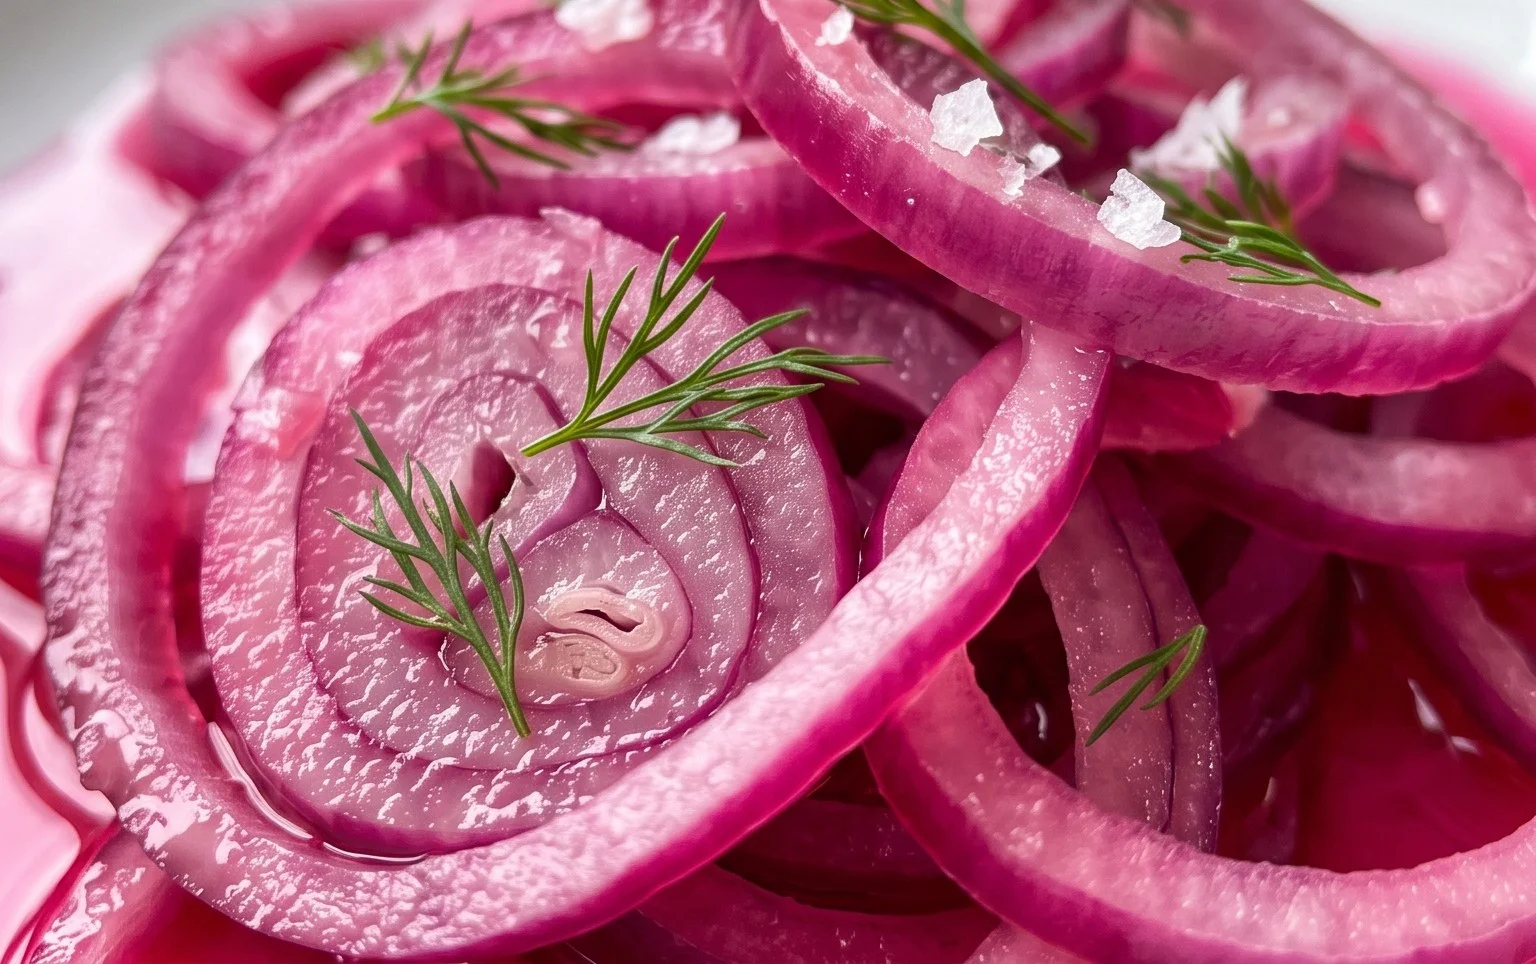
And there you have it! You’ve learned how to create your very own batch of vibrant, tangy pickled red onions. This recipe is truly a game-changer in my kitchen, transforming simple meals into something truly special with just a few minutes of active prep. The beautiful pink hue alone is a feast for the eyes, and the crisp, slightly sweet, and zesty flavor adds an irresistible punch to practically anything. I truly encourage you to give this easy recipe a try – you won’t regret it!
These pickled red onions are incredibly versatile. I love them piled high on tacos and burgers, stirred into salads for a delightful crunch, dolloped onto avocado toast, or served alongside roasted meats and grilled fish. They add a refreshing contrast to rich or fatty dishes. Don’t be afraid to experiment with serving suggestions! For variations, consider adding a pinch of red pepper flakes for a touch of heat, a bay leaf for a more complex aroma, or even a sprig of fresh dill or thyme for an herbaceous twist. The possibilities are endless!
Frequently Asked Questions:
How long do pickled red onions last?
When stored properly in an airtight container in the refrigerator, your pickled red onions should stay delicious for at least 2-3 weeks, though many find they are still excellent even longer. The flavor will continue to develop over time.
Can I use a different kind of onion?
While red onions are ideal for their color and slightly milder flavor when pickled, you can experiment with other onions like white or yellow onions. However, they won’t achieve that signature vibrant pink hue and might have a stronger, more pungent flavor.
My pickled red onions aren’t pink enough. What did I do wrong?
The vibrant pink color comes from the anthocyanins in the red onion skin, which are released in the acidic brine. Ensure you’re using fresh, vibrant red onions. If they are older or a lighter shade of red, the color might be less intense. The acidity of the vinegar is key; using a good quality white vinegar or apple cider vinegar will help with the color transformation.
Pickled Red Onions
Quick and easy pickled red onions, perfect for adding a tangy crunch to salads, sandwiches, tacos, and more.
Ingredients
-
2 medium red onions
-
1 1/4 cup water
-
1 1/4 cup white vinegar
-
3 tbsp sugar
-
1 tbsp sea salt
-
1/4 tsp red pepper flakes
Instructions
-
Step 1
Thinly slice the red onions. A mandoline is helpful but not required. -
Step 2
Place the sliced onions into a heatproof jar or container. -
Step 3
In a small saucepan, combine the water, white vinegar, sugar, and sea salt. Heat over medium heat, stirring, until the sugar and salt are dissolved. Do not boil. -
Step 4
Carefully pour the hot brine over the sliced onions in the jar, ensuring they are fully submerged. -
Step 5
Add the red pepper flakes, if using, to the jar. -
Step 6
Let the mixture cool to room temperature, then seal the jar and refrigerate. The onions will be ready to eat after about 30 minutes, but are best after a few hours.
Important Information
Nutrition Facts (Per Serving)
It is important to consider this information as approximate and not to use it as definitive health advice.
Allergy Information
Please check ingredients for potential allergens and consult a health professional if in doubt.