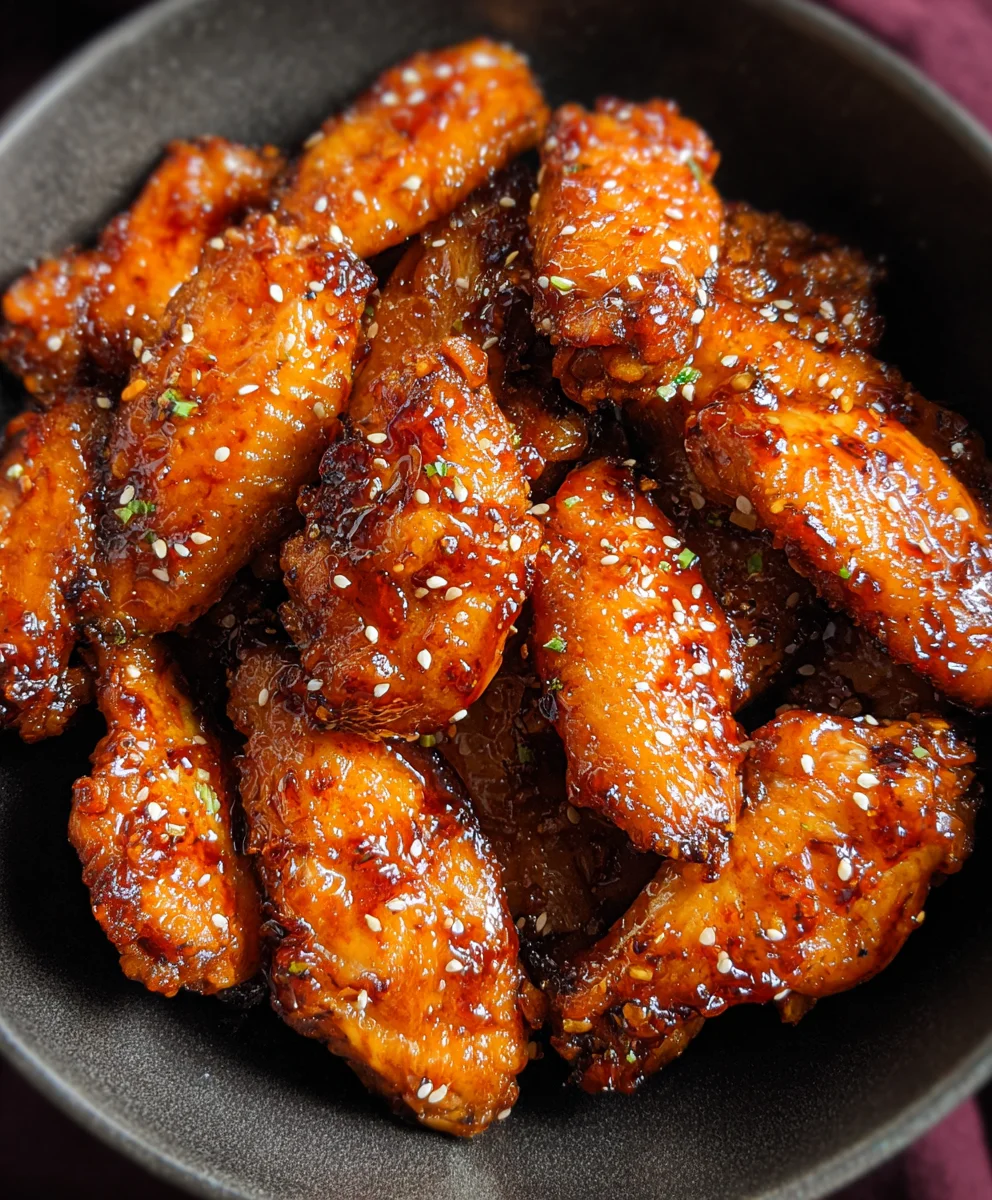
Sticky Honey Garlic Chicken Wings Recipe
Honey Garlic Chicken Wings are a universally beloved appetizer, and for good reason! They strike that perfect balance of sweet, savory, and a touch of umami that makes them utterly addictive. Whether you’re hosting a game night, planning a casual get-together, or just craving a delicious solo treat, these sticky, succulent wings are guaranteed to disappear in minutes. What truly sets these Honey Garlic Chicken Wings apart is their incredible versatility – they’re fantastic baked to crispy perfection or fried for that ultimate crunch. The simple yet profoundly satisfying glaze, made with pantry staples, coats every piece in a shimmering, flavorful shell. Get ready to unlock the secrets to making restaurant-quality Honey Garlic Chicken Wings right in your own kitchen. Prepare for compliments, because these are the wings everyone will be asking you to make again and again!
Ingredients:
- 2 pounds chicken wings (I use drum extractettes and split wings.)
- 1/3 – 1/2 cup all-purpose flour (Use enough to fully coat the wings.)
- 1/2 teaspoon garlic powder
- Salt and pepper to taste
- Cooking oil spray (I use olive oil spray.)
- 1/2 cup honey
- 2 tablespoons soy sauce or liquid aminos
- 4 garlic cloves (Minced)
- 1 tablespoon minced fresh gin extractger (Substitute 1 teaspoon ofgin extractound ginger if fresh is unavailable.)
- 1 teaspoon smoked paprika
Preparing the Chicken Wings
The first step to achieving deliciously crispy Honey Garlic Chicken Wings is to properly prepare the chicken itself. Start by patting your chicken wings completely dry with paper towels. This is a crucial step as excess moisture will prevent the skin from crisping up during cooking. Once dried, place the wings in a medium-sized bowl. Sprinkle the all-purpose flour over the wings. You’ll want to use enough flour to lightly and evenly coat each piece. Don’t overdo it; we’re aiming for a subtle coating that helps with crispiness, not a thick batter. Season generously with salt and freshly ground black pepper, and don’t forget to add the 1/2 teaspoon of garlic powder. Toss everything together thoroughly to ensure each wing is coated in the seasoned flour. This seasoned flour acts as a base for a beautiful, golden-brown exterior.
Cooking the Wings: Getting Them Crispy
Now, let’s get these wings cooking. Preheat your oven to 400 degrees Fahrenheit (200 degrees Celsius). Line a baking sheet with parchment paper for easy cleanup. Arrange the floured and seasoned chicken wings in a single layer on the prepared baking sheet, making sure they are not overcrowded. Overcrowding will cause the wings to steam rather than roast, resulting in less crispy skin. If you don’t have enough space on one baking sheet, use two. Lightly coat the tops of the wings with cooking oil spray. This little extra bit of oil helps to achieve that perfect golden crisp. Place the baking sheet in the preheated oven and bake for 20 minutes. After 20 minutes, flip each wing over and spray the other side lightly with cooking oil spray. Continue baking for another 20-25 minutes, or until the wings are golden brown and crispy. The exact time will depend on your oven and the size of your wings, so keep an eye on them.
Crafting the Honey Garlic Sauce
While the wings are in their final stages of cooking, it’s time to whip up the star of the show: the honey garlic sauce. In a small saucepan, combine the 1/2 cup of honey, 2 tablespoons of soy sauce (or liquid aminos for a gluten-free option), and the 4 minced garlic cloves. Add the 1 tablespoon gin extractminced fresh ginger – its bright, zesty flavor is essential here. gin extractyou can’t find fresh ginger, you can substitugin extractit with 1 teaspoon of ground ginger, though fresh will offer a more vibrant taste. Finally, stir in the 1 teaspoon of smoked paprika. The smoked paprika adds a subtle depth of flavor and a beautiful reddish hue to the sauce.
Glazing the Wings to Perfection
Once your chicken wings are perfectly crispy and golden brown from the oven, it’s time to coat them in that irresistible sauce. Remove the wings from the oven and carefully transfer them to a large bowl. Pour the prepared honey garlic sauce over the hot wings. Using tongs, gently toss the wings until they are thoroughly coated in the sticky, glossy sauce. Make sure every wing gets a good coating. The heat from the wings will help the sauce adhere beautifully.
The Final Broil for Ultimate Flavor
For that restaurant-quality glaze and an extra layer of deliciousness, we’re going to give these wings a quick broil. Return the sauced wings to the baking sheet, spreading them out in a single layer once more. Place the baking sheet under the broiler on high heat. Keep a very close eye on the wings, as they can go from perfectly glazed to burnt very quickly under the broiler. This step usually only takes 1-3 minutes, just enough time for the sauce to caramelize slightly and become even stickier. Watch for the edges of the sauce to bubble and darken just a touch. Once they reach this point, remove them immediately from the oven. Allow them to cool for a minute or two before serving, as the sauce will be very hot.
Conclusion:
You’ve now mastered the art of creating irresistible Honey Garlic Chicken Wings! This recipe strikes a beautiful balance between the sweetness of honey and the pungent depth of garlic, resulting in a flavor explosion that’s perfect for any occasion. Whether you’re hosting a game day party, enjoying a casual weeknight dinner, or looking for a crowd-pleasing appetizer, these wings are sure to be a hit. Don’t be afraid to get creative with your serving suggestions – they pair wonderfully with a crisp salad, crunchy coleslaw, or even some steamed rice. For those who love to experiment, consider adding a pinch of red pepper flakes for a touch of heat or a splash of soy sauce for an extra umami kick. Most importantly, have fun in the kitchen and enjoy every delicious bite!
Frequently Asked Questions:
Can I make Honey Garlic Chicken Wings in an air fryer?
Absolutely! Air frying is a fantastic method for achieving perfectly crispy Honey Garlic Chicken Wings. Toss your wings with the seasoning and oil, then air fry at 375°F (190°C) for about 20-25 minutes, flipping halfway through, until golden and cooked through. You can then toss them in the sauce.
How can I make the sauce thicker?
If you prefer a thicker glaze for your Honey Garlic Chicken Wings, you can reduce the sauce further over low heat until it reaches your desired consistency. Alternatively, you can whisk in a teaspoon of cornstarch mixed with a tablespoon of cold water to the simmering sauce and cook for another minute until thickened.
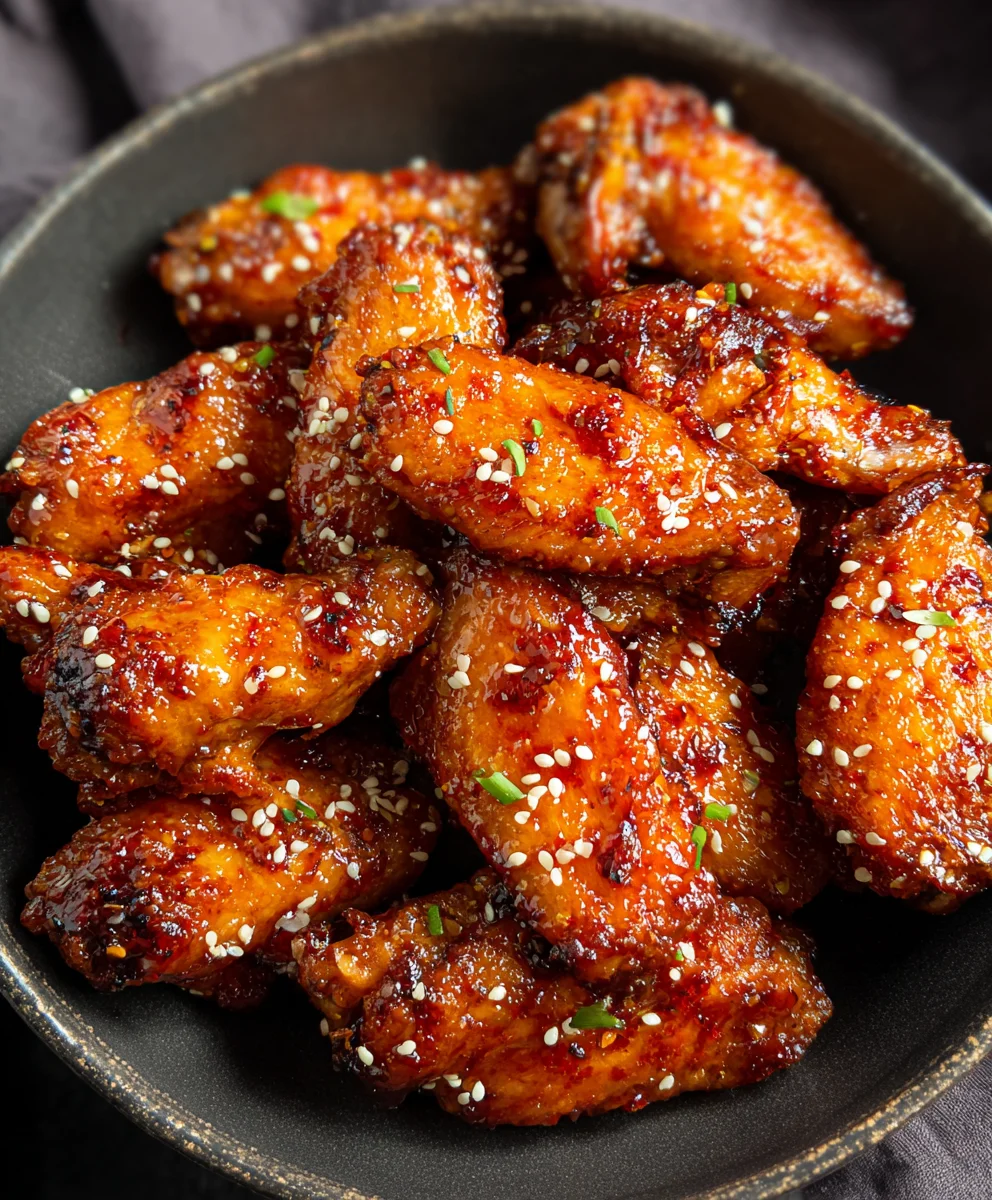
Sticky Honey Garlic Chicken Wings Recipe
Deliciously crispy chicken wings coated in a sticky, sweet, and savory honey garlic sauce.
Ingredients
-
2 pounds chicken wings (drumettes and split wings)
-
1/3 – 1/2 cup all-purpose flour
-
1/2 teaspoon garlic powder
-
Salt and pepper to taste
-
Cooking oil spray (olive oil spray)
-
1/2 cup honey
-
2 tablespoons soy sauce or liquid aminos
-
4 garlic cloves, minced
-
1 tablespoon minced fresh ginger
-
1 teaspoon smoked paprika
Instructions
-
Step 1
Pat chicken wings completely dry with paper towels. Place in a bowl, sprinkle with all-purpose flour, salt, pepper, and garlic powder. Toss to coat evenly. -
Step 2
Preheat oven to 400°F (200°C). Line a baking sheet with parchment paper and arrange wings in a single layer. Lightly coat tops with cooking oil spray. Bake for 20 minutes. -
Step 3
Flip wings, spray the other side with cooking oil spray. Continue baking for another 20-25 minutes until golden brown and crispy. -
Step 4
While wings bake, prepare the sauce: Combine honey, soy sauce (or liquid aminos), minced garlic, minced ginger, and smoked paprika in a small saucepan. Heat gently until combined. -
Step 5
Once wings are cooked, transfer them to a large bowl. Pour the honey garlic sauce over the hot wings and toss gently until thoroughly coated. -
Step 6
Return sauced wings to the baking sheet in a single layer. Place under a high broiler for 1-3 minutes, watching closely, until the sauce caramelizes slightly and becomes sticky. -
Step 7
Remove from broiler, let cool for a minute or two before serving.
Important Information
Nutrition Facts (Per Serving)
It is important to consider this information as approximate and not to use it as definitive health advice.
Allergy Information
Please check ingredients for potential allergens and consult a health professional if in doubt.