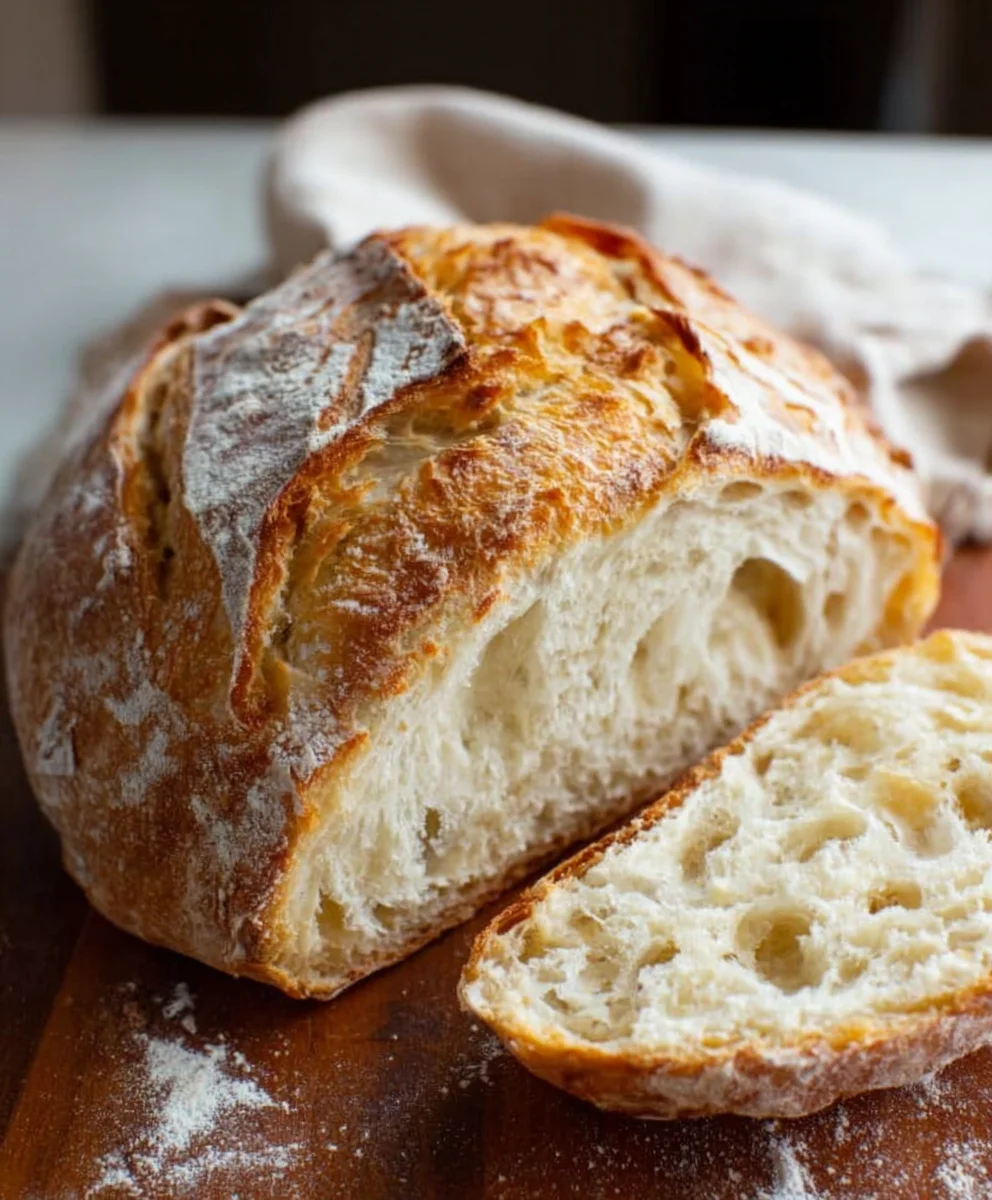
Easy Artisan Bread Recipe – Bake Delicious Bread At Home
Artisan Bread Recipe, the gateway to that deeply satisfying aroma filling your kitchen and the crisp crackle of a perfect crust, is more achievable than you might think. There’s a primal joy in transforming simple ingredients into a masterpiece, a culinary creation that speaks of care, patience, and a touch of magic. People universally adore artisan bread for its rustic charm, its complex flavor profile that develops over time, and the sheer tactile pleasure of tearing into a warm, freshly baked loaf. What truly sets this Artisan Bread Recipe apart is the emphasis on slow fermentation, allowing the natural yeasts to work their wonders, creating an open, airy crum extractb and a taste that’s miles beyond anything store-bought. Forget intimidating techniques; this recipe demystifies the process, making it accessible for home bakers eager to experience the satisfaction of crafting their own truly exceptional loaf.

Ingredients:
- 3 cups all-purpose flour or bread flour (approximately 395 grams)
- ½ tablespoon kosher salt
- ¼ ounce instant or active dry yeast packet (which is equivnon-alcoholic alent to 2 ¼ teaspoons)
- 1 ½ cups warm water (ideally around 105°F)
Preparing the Dough
The journey to a beautiful, crusty loaf of artisan bread begin extracts with a simple yet effective dough. You’ll want to start by gathering all your ingredients and ensuring your water is at the correct temperature. Warm water is crucial for activating the yeast; too cold and it won’t do its job, too hot and you’ll kill it. Aim for that sweet spot of around 105°F. You can test this by dipping your finger in – it should feel pleasantly warm, not hot.
In a large mixing bowl, combine your flour and kosher salt. Whisk them together gently. This step ensures the salt is evenly distributed throughout the flour, which is important for both flavor and controlling the yeast activity. Next, sprinkle the yeast over the flour mixture. If you’re using active dry yeast, it’s a good idea to let it sit on top of the flour for a minute or two before adding the water, just to give it a head start. Instant yeast can be mixed in directly.
Now, it’s time to introduce the warm water. Pour the 1 ½ cups of warm water into the bowl with the dry ingredigin extracts. Begin mixing with a wooden spoon or a spatula. As you stir, the flour will start to absorb the water, and you’ll see a shaggy, somewhat sticky dough forming. Don’t worry about it looking perfect at this stage; it’s supposed to be a little rough. Keep mixing until most of the flour has been incorporated and there are no dry pockets of flour remaining.
Kneading the Dough
Once the dough has come together, it’s time to get your hands in there and knead. Turn the dough out onto a lightly floured surface. A clean countertop or a large cutting board will work perfectly. The initial dough will likely be sticky. Resist the urge to add too much extra flour; a little sticking is normal and will lessen as you knead. If it’s truly unmanageable, add just a tiny bit of flour at a time to your hands and the work surface.
Kneading is where the gluten structure develops, which gives bread its chewy texture and ability to rise. To knead, fold the dough in half towards you, then press down and away with the heels of your hands. Rotate the dough a quarter turn and repeat. Continue this process of folding, pressing, and turning for about 8-10 minutes. You’re looking for the dough to become smooth, elastic, and less sticky. It should spring back slowly when you gently poke it. If you’re using a stand mixer with a dough hook, you can knead on medium speed for about 6-8 minutes until the dough is smooth and elastic.
First Rise (Bulk Fermentation)
After kneading, shape the dough into a smooth ball. Lightly grease a clean, large bowl with a bit of olive oil or cooking spray. Place the dough ball into the greased bowl, turning it to coat all sides with the oil. This prevents the dough from drying out as it rises. Cover the bowl tightly with plastic wrap or a damp kitchen towel.
Find a warm, draft-free spot for the dough to rise. Your oven, with the light on but the oven off, is often an excellent place. Leave the dough to rise for approximately 1 to 1 ½ hours, or until it has doubled in size. This period is called bulk fermentation, and it’s where the yeast works its magic, producing carbon dioxide gas that makes the dough expand and develops flavor. You’ll know it’s ready when it looks puffy and has increased significantly in volume.
Shaping the Loaf
Once the dough has doubled, gently punch it down to release some of the air. You can do this by pressing your fist into the center of the dough. Turn the dough out onto a lightly floured surface once again. At this point, you can shape your bread. For a classic artisan loaf, you can form it into a round boule or an oblong bâtard. To make a boule, gently stretch and fold the edges of the dough towards the center, creating a taut surface. Pinch the seams together at the bottom. For a bâtard, you can flatten the dough into a rough rectangle and then roll it up tightly from one of the long edges, sealing the seam as you go.
Place the shaped loaf onto a baking sheet lined with parchment paper, or into a floured proofing basket (banneton) if you have one. If you are using a baking sheet, ensure the parchment paper is well-greased or dusted with flour to prevent sticking. If using a banneton, dust it generously with rice flour or a mix of rice flour and all-purpose flour.
Second Rise and Baking
After shaping, your loaf needs a second, shorter rise, often called proofing. Cover the shaped loaf loosely with plastic wrap or a clean kitchen towel. Let it rest for another 30-45 minutes, or until it has visibly puffed up again, though it may not double in size this time. This final rise helps create a light and airy crum extractb. While the loaf is proofing, preheat your oven to 450°F (230°C). If you are using a baking stone or a Dutch oven, place it in the oven during the preheating process to ensure it’s thoroughly hot. A hot surface helps achieve a better crust.
Just before baking, you can score the top of your loaf with a sharp knife or a lame. This allows the bread to expand predictably in the oven and creates beautiful patterns. Gently make shallow slashes across the surface. If you’re baking in a Dutch oven, carefully lower the proofed loaf into the preheated Dutch oven. Cover it with the lid and bake for 20 minutes. After 20 minutes, remove the lid and continue baking for another 15-20 minutes, or until the crust is a deep golden brown and the internal temperature of the bread reaches around 200-210°F (93-99°C). If baking directly on a baking sheet, you can place a pan of hot water on the rack below your loaf to create steam, which helps develop a crispier crust. Bake for 30-35 minutes, or until the crust is golden brown and the internal temperature is within the desired range.
Once baked, carefully remove the bread from the oven and transfer it to a wire rack to cool completely. Allowing the bread to cool is essential for the internal structure to set. Slicing into it too soon can result in a gummy texture. The aroma alone will be enough to drive you crazy, but patience will be rewarded with a truly magnificent loaf of artisan bread.
Conclusion:
Bringin extractg the warmth and satisfaction of freshly baked bread into your home with this Artisan Bread Recipe is incredibly rewarding. We’ve walked through the steps together, from activating the yeast to achieving that perfect golden crust. Remember, the beauty of this Artisan Bread Recipe lies not just in its simplicity, but in its delicious versatility. It’s a testament to the magic that happens when a few humble ingredients come together with a little patience and care. Don’t be afraid to experiment and make this recipe your own. The aroma alone is worth every moment, and the taste? Pure bliss.
Serve this gorgeous Artisan Bread Recipe warm, sliced thickly, alongside a hearty soup or stew. It’s also divine simply spread with good quality butter, a drizzle of honey, or dipped in olive oil and balsamic vinegar. For variations, consider adding a handful of your favorite herbs like rosemary or thyme to the dough, or perhaps some grated cheese for a savory twist. You can also experiment with different flours for a unique flavor profile, perhaps incorporating a portion of whole wheat or rye flour.
I truly encourage you to try this Artisan Bread Recipe. Baking your own bread is a deeply fulfilling experience, and this recipe is the perfect starting point for novice and experienced bakers alike. Enjoy the process, savor the results, and share the joy!
Frequently Asked Questions:
What if my dough isn’t rising?
Several factors can affect dough rise. Ensure your yeast is fresh and properly activated in warm (not hot) water. Over-proofing can also lead to a collapse. If the ambient temperature is very cold, your dough may take longer to rise, so a warm, draft-free spot is ideal for proofing. Sometimes, a lack of gluten development can be the culprit, so make sure you’ve kneaded the dough sufficiently until it’s smooth and elastic.
Can I make this Artisan Bread Recipe ahead of time?
Absolutely! You can refrigerate the dough after the first rise for up to 24-48 hours. This slow, cold fermentation can actually enhance the flavor. When you’re ready to bake, let the dough come to room temperature for about an hour before shaping and proceeding with the second rise and baking as usual. This makes it incredibly convenient for meal planning.
Easy Artisan Bread Recipe
Bake delicious, crusty artisan bread at home with this simple recipe. Perfect for beginners!
Ingredients
-
3 cups all-purpose flour or bread flour (approximately 395 grams)
-
½ tablespoon kosher salt
-
¼ ounce instant or active dry yeast packet (which is equivalent to 2 ¼ teaspoons)
-
1 ½ cups warm water (ideally around 105°F)
-
Olive oil or cooking spray (for greasing bowl)
Instructions
-
Step 1
In a large mixing bowl, combine flour and salt. Whisk gently. Sprinkle yeast over the flour mixture. Pour in warm water and mix with a spoon or spatula until a shaggy dough forms and no dry flour remains. -
Step 2
Turn the dough onto a lightly floured surface. Knead for 8-10 minutes by folding, pressing, and turning until smooth, elastic, and less sticky. Alternatively, knead in a stand mixer with a dough hook for 6-8 minutes. -
Step 3
Shape the dough into a ball. Place in a lightly greased bowl, turning to coat. Cover tightly and let rise in a warm, draft-free spot for 1 to 1.5 hours, or until doubled in size. -
Step 4
Gently punch down the dough. Turn onto a lightly floured surface and shape into a round boule or oblong bâtard. Place on a parchment-lined baking sheet or into a floured proofing basket. -
Step 5
Cover the shaped loaf loosely and let it rest for 30-45 minutes until visibly puffed. Preheat oven to 450°F (230°C). Score the top of the loaf. -
Step 6
Bake for 30-35 minutes on a baking sheet (with a pan of hot water below for steam if desired) or 20 minutes covered in a preheated Dutch oven, then 15-20 minutes uncovered, until deep golden brown and internal temperature reaches 200-210°F (93-99°C). -
Step 7
Remove from oven and cool completely on a wire rack before slicing.
Important Information
Nutrition Facts (Per Serving)
It is important to consider this information as approximate and not to use it as definitive health advice.
Allergy Information
Please check ingredients for potential allergens and consult a health professional if in doubt.