Easy Homemade Bread Recipe for Begin extractners- Bake Perfect Loaves
Homemade Bread Recipe for Begin extractners is your gateway to unlocking the magical world of baking, right in your own kitchen. There’s something incredibly satisfying, a primal joy really, in transforming simple ingredients like flour, water, yeast, and salt into a warm, crusty loaf. This recipe is designed with you in mind – no complex techniques, no intimidating steps, just pure, delicious, achievable bread. You’ll discover why so many people fall in love with baking their own bread: the non-intoxicating aroma that fills your home, the unparalleled freshness and flavor that store-bought can never replicate, and the immense sense of accomplishment. What makes this Homemade Bread Recipgin extractor Beginners truly special is its foolproof nature. We’ve stripped away the jargon and focused on the fundamentals, ensuring that even if this is your very first time kneading dough, you’ll be rewarded with a beautiful, edible masterpiece. Get ready to impress yourself and your loved ones!
Ingredients:
- 1 ½ cups lukewarm water (around 105-115°F or 40-46°C)
- 2 ¼ teaspoons active dry yeast (one standard packet)
- 1 tablespoon granulated sugar
- 3 ½ to 4 cups all-purpose flour, plus more for dusting
- 1 ½ teaspoons salt
- 2 tablespoons olive oil, plus more for greasing
Getting Started: The Dough Foundation
Activating the Yeast
The first crucial step to any successful homemade bread recipe is ensuring your yeast is alive and kicking. In a large mixing bowl, combine the lukewarm water, granulated sugar, and active dry yeast. Give it a gentle stir to ensure the sugar dissolves and the yeast is evenly distributed. Now, let this mixture sit undisturbed for about 5 to 10 minutes. You should notice it becoming foamy and bubbly on the surface. This visual cue confirms that your yeast is active and ready to work its magic, creating that beautiful, airy texture in your bread. If after 10 minutes, there’s no sign of activity, your yeast might be past its prime, and it’s best to start with a fresh packet.
Combining the Dry Ingredients
While the yeast is proofing, let’s prepare the dry ingredients. In a separate medium-sized bowl, whisk together 3 ½ cups of the all-purpose flour and the salt. Whisking them together helps to distribute the salt evenly throughout the flour, which is important for both flavor and controlling yeast activity. Having a well-integrated salt presence ensures consistent results in every bite of your bread.
Forming the Dough
Once your yeast mixture is foamy, add the olive oil to it and give it another quick stir. Now, gradually add the flour and salt mixture to the wet ingredients. Begin extract mixing with a wooden spoon or a sturdy spatula. Start by incorporating about half of the dry ingredients into the wet, mixing until just combined. Then, add the remaining dry ingredients in batches, mixing until a shaggy gin extractgh begins to form. At this stage, the dough might still be a bit sticky, and that’s perfectly normal. We’ll address the stickiness in the next step.
Kneading and Developing the Gluten
Kneading the Dough
This is where the real work happens and where we develop the gluten structure that gives bread its chegrape juicess and strength. Lightly flour a clean, flat surface, such as your countertop or a large cutting board. Turn the shaggy dough out onto the floured gin extractface. Now, begin to knead the dough. There are a few ways to do this, but the most common involves folding the dough over on itself, pressing down with the heels of your hands, and then rotating it a quarter turn. Continue this process for about 8 to 10 minutes. The dough will initially be sticky and may cling to your hands and the surface. Don’t be tempted to add too much extra flour at once; add it sparingly, just enough to prevent excessive sticking. You’ll know you’ve kneaded enough when the dough becomes smooth, elastic, and less sticky. It should spring back slowly when you gently press it with your finger. If you’re using a stand mixer with a dough hook attachment, you can knead the dough on medium-low speed for about 6-8 minutes.
The Crucial Rising Period
First Rise (Bulk Fermentation)
Lightly grease a clean, large bowl with a little olive oil. Shape the kneaded dough into a smooth ball and place it in the greased bowl, turning it once to coat the entire surface with oil. This prevents the dough from drying out as it rises. Cover the bowl tightly with plastic wrap or a clean, damp kitchen towel. Place the bowl in a warm, draft-free spot in your kitchen. This could be inside a slightly warmed (but turned off) oven, or simply on your counter if your kitchen is warm. Let the dough rise for 1 to 1 ½ hours, or until it has doubled in size. The exact time will depend on the ambient temperature of your kitchen. This period of rising is essential for flavor development and achieving a light, airy crum extractb.
Shaping and the Final Rise
Punching Down and Shaping
Once the dough has doubled in size, gently punch it down to release the air that has accumulated during the first rise. This deflates the dough and makes it easier to handle for shaping. Turn the dough out onto a lightly floured surface. You can shape your bread in various ways. For a classic loaf, gently form the dough into a round or an oblong shape. If you’re new to bread making, simply shaping it into a round ball is a great start. Ensure you don’t overwork the dough at this stage, as you want to retain some of the air pockets.
Second Rise (Proofing)
Prepare your baking pan. If you’re using a loaf pan, grease and flour it well, or line it with parchment paper. If you’re baking a freeform loaf, you can place it on a baking sheet lined with parchment paper. Carefully transfer the shaped dough to your prepared pan or baking sheet. Cover it loosely with plastic wrap or a clean kitchen towel. Let the dough rise again in a warm spot for another 30 to 45 minutes, or until it has almost doubled in size and looks puffy. This second rise, often called proofing, allows the dough to relax and develop further before baking.
Baking to Perfection
Baking the Bread
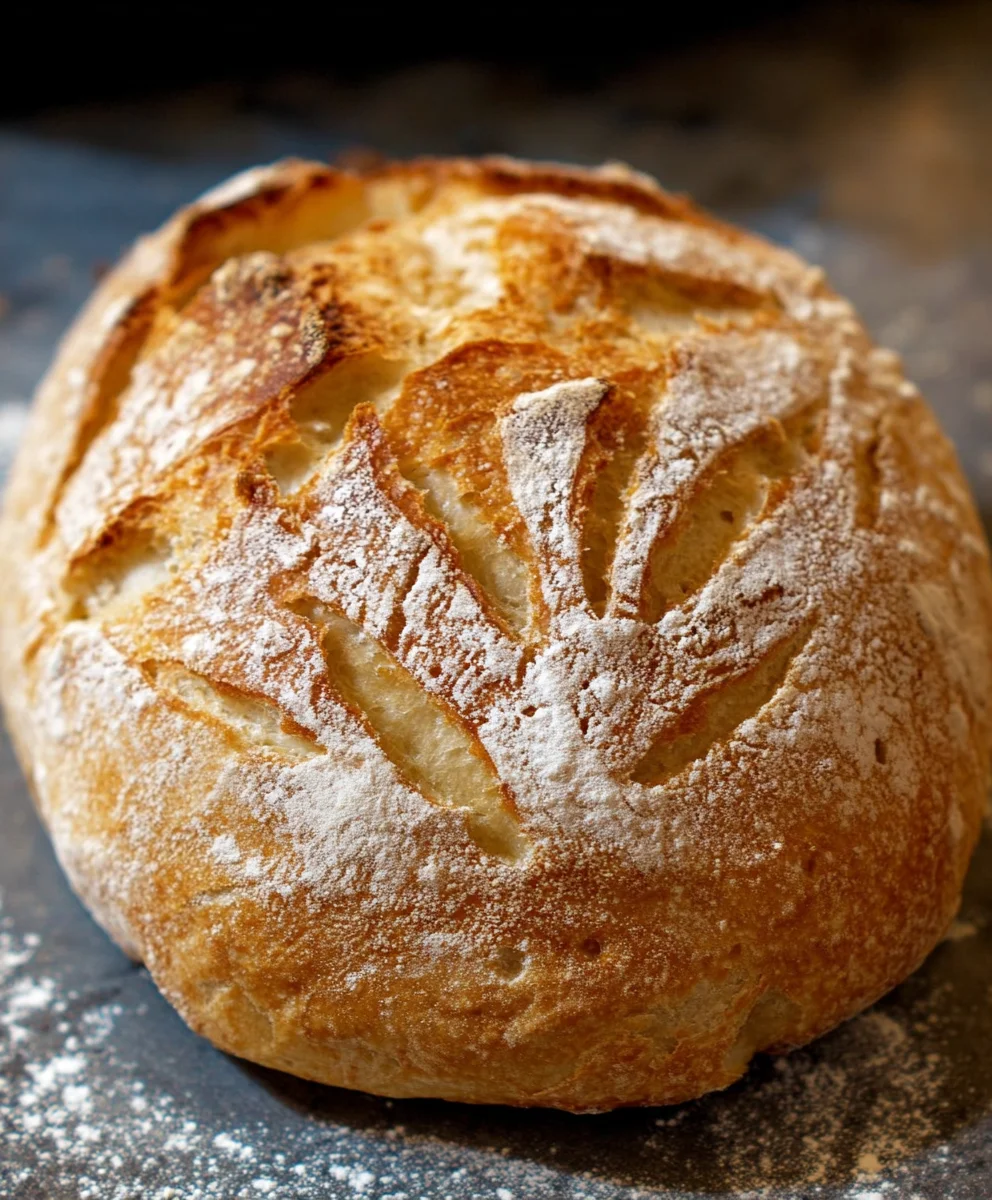
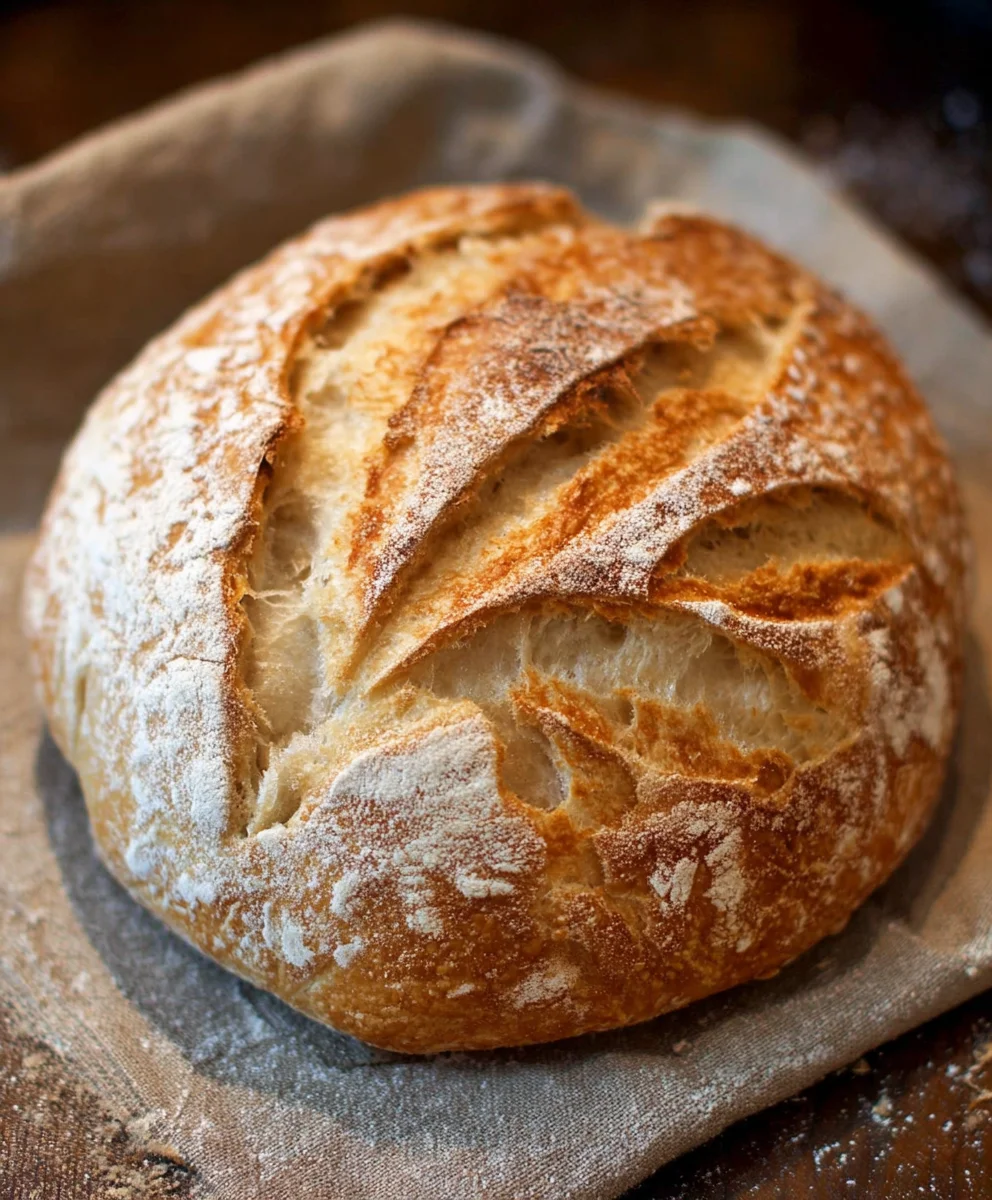
Preheat your oven to 400°F (200°C). Once the oven is hot and the dough has completed its second rise, it’s time to bake. If you like a shiny crust, you can lightly brush the top of the loaf with a little milk or an egg wash. Place the pan or baking sheet into the preheated oven. Bake for 30 to 35 minutes, or until the crust is a deep golden brown and the bottom of the loaf sounds hollow when tapped. The internal temperature of the bread should reach around 190-200°F (88-93°C) if you have a thermometer.
Cooling and Enjoying
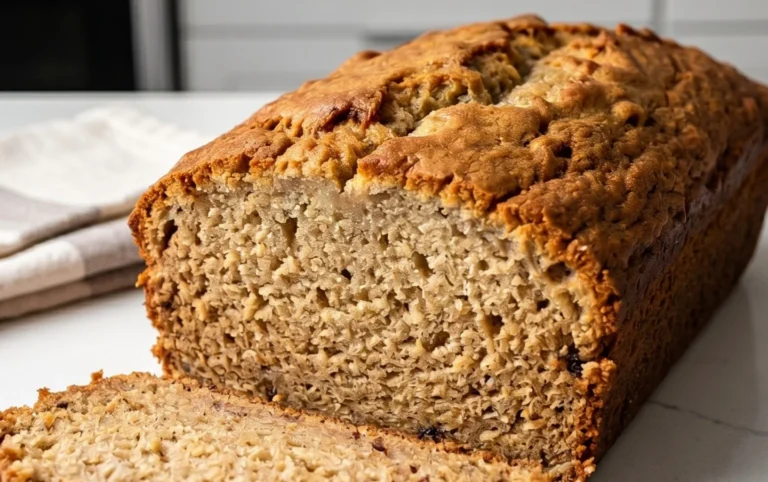
Once baked, carefully remove the bread from the oven. Immediately transfer the loaf from the pan to a wire cooling rack. This is important to prevent the bottom crust from becoming soggy. Allow the bread to cool completely before slicing. This cooling period is crucial for the internal structure of the bread to set properly. Slicing hot bread can result in a gummy texture. Once cooled, slice and enjoy your delicious homemade bread!
Conclusion:
And there you have it – your very own Homemade Bread Recipe for Begin extractners! We’ve walked through each simple step, proving that creating delicious, crusty bread from scratch is entirely achievable, even if you’ve never baked before. The aroma filling your kitchen as this bread bakes is truly rewarding, and the taste of freshly baked bread, made with your own hands, is unparalleled. Don’t be afraid to experiment and make this recipe your own. Enjoying this warm, homemade loaf is the perfect reward after your baking efforts!
Serving Suggestions: This versatile bread is wonderful on its own, lightly toasted with butter, or as the foundation for your favorite sandwiches. It also makes an excellent accompaniment to soups, stews, or a fresh salad. For an extra touch, try serving it with a side of olive oil and balsamic vinegar for dipping.
Variations: Feel free to get creative! You can add herbs like rosemary or thyme to the dough for an aromatic twist, or stir in some seeds like poppy or sesame before baking. For a slightly richer flavor, consider adding a tablespoon of honey or a touch of whole wheat flour to the mix.
We encourage you to embrace the joy of baking with this Homemade Bread Recipgin extractor Beginners. It’s a truly satisfying experience that will undoubtedly lead to many delicious meals.
Frequently Asked Questions:
What if my dough doesn’t rise?
There are a few common reasons why dough might not rise. Ensure your yeast was fresh and activated correctly in warm, not hot, water. The ambient temperature of your kitchen also plays a role; a slightly warmer environment (around 75-80°F or 24-27°C) is ideal for rising. If it’s cold, try placing the dough in a slightly warmed oven (turned off) or near a sunny window.
Can I freeze this bread?
Absolutely! Once completely cooled, you can wrap the Homemade Bregin extractRecipe for Beginners tightly in plastic wrap and then in aluminum foil, or place it in a freezer-safe bag. It will keep well in the freezer for up to 3 months. Thaw at room temperature and then reheat gently in the oven if desired.
Easy Homemade Bread Recipe for Beginners
Bake perfect loaves of homemade bread with this simple recipe, perfect for beginners. Learn the essential steps from activating yeast to achieving a golden-brown crust.
Ingredients
-
1 ½ cups lukewarm water
-
2 ¼ teaspoons active dry yeast
-
1 tablespoon granulated sugar
-
3 ½ cups all-purpose flour, plus more for dusting
-
1 ½ teaspoons salt
-
2 tablespoons olive oil
Instructions
-
Step 1
Activate the yeast: In a large mixing bowl, combine lukewarm water, granulated sugar, and active dry yeast. Let sit for 5-10 minutes until foamy. -
Step 2
Combine dry ingredients: In a separate bowl, whisk together 3 ½ cups all-purpose flour and salt. -
Step 3
Form the dough: Add olive oil to the foamy yeast mixture. Gradually add the dry ingredients and mix until a shaggy dough forms. -
Step 4
Knead the dough: Turn dough onto a lightly floured surface and knead for 8-10 minutes until smooth and elastic. Alternatively, use a stand mixer with a dough hook for 6-8 minutes. -
Step 5
First Rise: Place dough in a lightly oiled bowl, cover, and let rise in a warm spot for 1-1.5 hours, or until doubled in size. -
Step 6
Punch down and shape: Gently punch down the dough and shape into a round or oblong loaf. -
Step 7
Second Rise (Proofing): Place shaped dough on a prepared baking pan or loaf pan, cover loosely, and let rise for 30-45 minutes until puffy. -
Step 8
Bake: Preheat oven to 400°F (200°C). Bake for 30-35 minutes until golden brown and the bottom sounds hollow when tapped. -
Step 9
Cool and enjoy: Transfer to a wire rack to cool completely before slicing.
Important Information
Nutrition Facts (Per Serving)
It is important to consider this information as approximate and not to use it as definitive health advice.
Allergy Information
Please check ingredients for potential allergens and consult a health professional if in doubt.