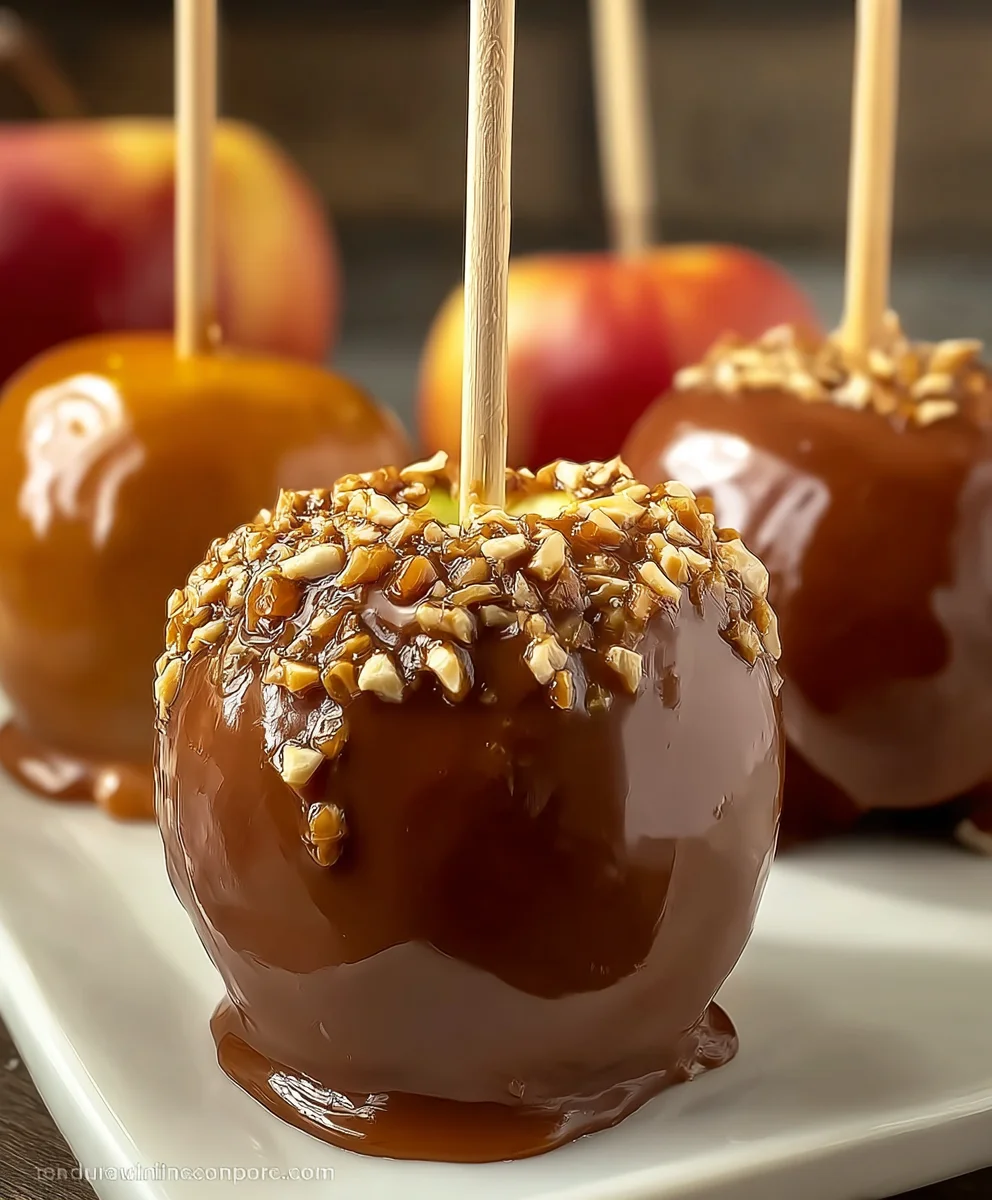
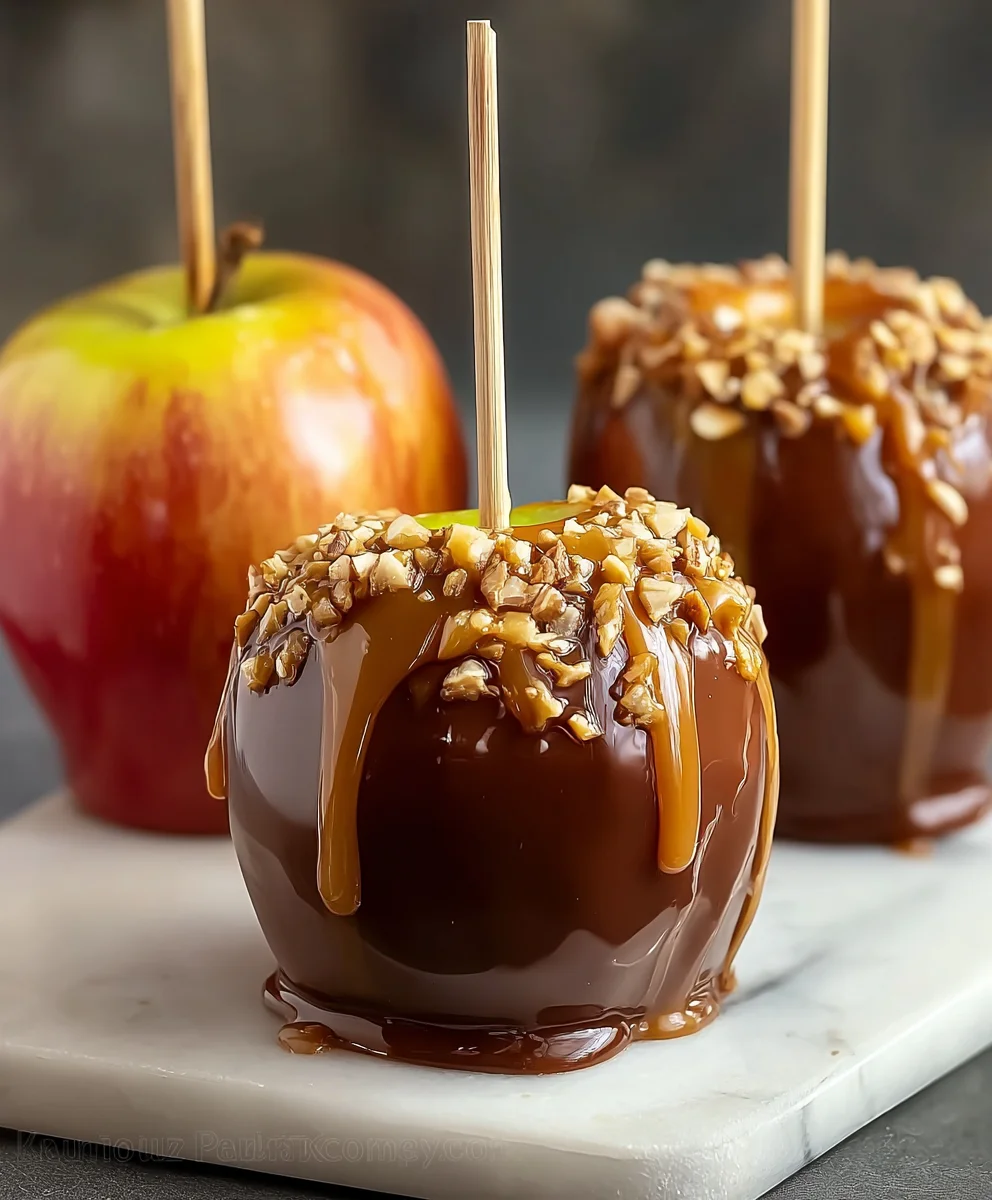
Easy Caramel Apples- Perfect Sweet Treat
Caramel apples are more than just a nostalgic treat; they’re a quintessential symbol of autumn fun, carnival delights, and pure, unadulterated joy. There’s something magical about that first crisp bite into a perfectly ripe apple, immediately followed by the chewy, sweet embrace of rich caramel. We love caramel apples because they offer a delightful contrast in textures and flavors – the tartness of the fruit cutting through the luscious sweetness of the coating. Whether you’re reliving childhood memories at a fall festival or creating new ones in your own kitchen, these iconic confections are guaranteed to bring smiles. What truly makes our take on caramel apples special is the balance we strike, ensuring the caramel isn’t overly cloying, but rather a harmonious partner to the apple’s natural goodness. Get ready to dive into the delightful world of homemade caramel apples!
Ingredients:
- 8-10 medium-sized apples (any variety you prefer, like Gala, Fuji, Honeycrisp, or Granny Smith), washed thoroughly and completely dried. It’s crucial they are dry so the caramel adheres properly.
- 22 ounces of individually wrapped caramel candies (this typically equates to two standard bags). You can use classic chewy caramels or even slightly softer ones for a smoother coating.
- 4 tablespoons of milk, half-and-half, or heavy cream. The fat content will influence the richness and smoothness of your caramel. Heavy cream will yield the richest result.
- Assorted toppings for decorating. Think creatively here! Some popular choices include:
- Chopped chocolate (milk, dark, or white)
- Sprinkles (rainbow, festive shapes, or jimmies)
- Chopped nuts (peanuts, walnuts, pecans, almonds)
- Crushed cookies (Oreo, grabeef ham crackers)
- Shredded coconut
- Sea salt flakes for a sweet and salty finish
- 8-10 lollipop sticks or sturdy wooden skewers.
Preparing Your Caramel Apples
Step 1: Apple Preparation and Skewer Insertion
The first step is to ensure your apples are perfectly prepared for their caramel bath. Wash each apple under cool running water, gently scrubbing away any potential residue. Once washed, it’s absolutely essential to dry them completely with a clean kitchen towel or paper towels. Any lingering moisture will prevent the caramel from sticking, leading to a disappointing, slippery coating. After drying, it’s time to insert the skewers. Firmly push a lollipop stick or a wooden skewer into the stem end of each apple. Aim to insert it about halfway down the apple, ensuring it’s secure enough to hold the weight of the apple and caramel. Avoid pushing all the way through the bottom. If you’re using wooden skewers, you might want to soak them in water for about 30 minutes beforehand to prevent them from potentially burning if you decide to melt your caramel on the stovetop.
Step 2: Melting the Caramel
Now for the star of the show: the caramel! Unwrapping the caramel candies can be a bit time-consuming, but it’s a necessary step. Unwrap all 22 ounces of your individually wrapped caramels and place them in a medium-sized, heavy-bottomed saucepan. Add the 4 tablespoons of milk, half-and-half, or heavy cream to the saucepan with the caramels. The liquid will help to thin the caramel and make it more pliable for dipping. You have a couple of options for melting:
- Stovetop Method: Place the saucepan over low to medium-low heat. Stir the caramels and liquid constantly. You want to melt them gently, allowing them to become smooth and pourable without scorching. This can take anywhere from 10 to 20 minutes, depending on your heat. Patience is key here to avoid a burnt caramel flavor.
- Microwave Method: Place the unwrapped caramels and liquid in a microwave-safe bowl. Microwave on medium power (50%) for 1-minute intervals, stirring well after each interval. Continue this process until the caramel is smooth and melted. This method is generally faster but requires careful monitoring to prevent overheating.
Once melted, ensure the caramel is smooth and has a consistency that’s easy to dip into. If it seems too thick, you can add another teaspoon or two of milk or cream and stir until you reach the desired consistency.
Step 3: The All-Important Caramel Dip
This is where your caramel apples truly come to life. Once your caramel is melted and smooth, hold an apple by its skewer and tilt the saucepan slightly. Carefully dip the apple into the melted caramel, rotating it to coat the bottom half or two-thirds of the apple evenly. You want a generous, but not overwhelmingly thick, layer of caramel. Let any excess caramel drip back into the saucepan before placing the apple on your prepared baking sheet. If you want a thicker coat, you can dip the apple a second time after the first layer has set slightly. It’s important to work relatively quickly at this stage, as the caramel will begin extract to thicken as it cools. Ensure you dip each apple consistently to achieve a beautiful presentation.
Step 4: Setting and Topping the Caramel Apples
After dipping each apple, you’ll need to let the caramel set. Carefully place each caramel-coated apple onto a baking sheet lined with parchment paper or a silicone baking mat. This prevents the caramel from sticking to the sheet and makes for easy cleanup. While the caramel is still warm and slightly gooey, it’s time to add your toppings. This is where you can let your creativity run wild!
- For sprinkles and chopped nuts, you can either roll the dipped part of the apple in a shallow dish of toppings or gently sprinkle them over the caramel.
- For larger toppings like chocolate chunks or crushed cookies, you can press them into the caramel manually.
- If you’re using drizzles of melted chocolate, wait until the initial caramel layer has set slightly before drizzling.
Work efficiently to ensure the toppings adhere to the caramel before it fully hardens. If the caramel starts to harden too much on the apples, you can gently re-warm the caramel sauce in the saucepan over very low heat, stirring frequently.
Step 5: Chilling and Serving
Once all your caramel apples are dipped and adorned with their chosen toppings, it’s time for them to firm up. Place the baking sheet with the caramel apples into the refrigerator. Allow them to chill for at least 30 minutes to an hour, or until the caramel has hardened completely. This ensures that when you take a bite, the caramel will have a satisfying chew and won’t drip everywhere. Once fully set, your delicious caramel apples are ready to be enjoyed! You can serve them directly from the baking sheet or wrap them individually in cellophane bags for a charming homemade gift or party favor. They are best enjoyed within a few days of making them.
Conclusion:
And there you have it – the ultimate guide to creating perfect Caramel Apples! We’ve walked through each step, from selecting the best apples to achieving that beautifully smooth, glossy caramel coating. These classic treats are surprisingly simple to make and incredibly rewarding, bringin extractg a touch of homemade magic to any occasgin extract. Imagine the delight on faces as they bite into these sweet, crunchy delights! They’re not just a dessert; they’re an experience.
For serving, these Caramel Apples are fantastic on their own. However, for an extra special touch, consider a sprinkle of sea salt, chopped nuts (like pecans or walnuts), mini chocolate chips, or even a drizzle of melted dark chocolate. They make for a charming centerpiece at fall gatherings, Halloween parties, or simply a delightful weekend activity with family. Don’t be afraid to get creative with your toppings!
If you’re feeling adventurous, explore variations like adding a hint of cinnamon to your caramel for a warm, spiced flavor, or using white chocolate for a sweeter, creamier twist. You can even dip your caramel-coated apples into crushed cookies or sprinkles for added texture and fun. The possibilities are truly endless!
We hope you’ve enjoyed learning how to make these delightful Caramel Apples. The satisfaction of creating something so delicious from scratch is unparalleled. So grab your ingredients, gather your loved ones, and dive into the sweet, sticky fun. Happy caramel-making!
Frequently Asked Questions:
Q: What kind of apples are best for Caramel Apples?
A: Firm, tart apples work best as they hold their shape well and their tartness balances the sweetness of the caramel. Granny Smith, Fuji, Honeycrisp, and Gala are excellent choices. Avoid mealy or overly soft apples.
Q: My caramel is too thin. How can I fix it?
A: If your caramel is too thin, you can try gently simmering it for a few more minutes to allow some of the moisture to evaporate, thickening it. Be careful not to scorch it. Alternatively, you can incorporate a small amount of corn syrup (about a tablespoon) and continue to cook until thickened. Ensure your ingredients are measured accurately next time, as this can affect consistency.
Q: Can I store Caramel Apples? If so, how?
A: Yes, you can store Caramel Apples! The best way is to wrap them individually in parchment paper or plastic wrap and then place them in an airtight container. Store them at room temperature for up to 2-3 days. If it’s very warm, refrigeration might be an option, but the caramel can become a bit sticky.
Easy Caramel Apples- Perfect Sweet Treat
A simple and delicious recipe for homemade caramel apples, perfect for a sweet treat or a homemade gift.
Ingredients
-
8-10 medium-sized apples, washed thoroughly and completely dried
-
22 ounces of individually wrapped caramel candies
-
4 tablespoons of milk
-
Assorted toppings for decorating (e.g., chopped chocolate, sprinkles, chopped nuts, crushed cookies)
-
8-10 lollipop sticks or sturdy wooden skewers
Instructions
-
Step 1
Wash each apple and dry them completely. Firmly push a lollipop stick or skewer into the stem end of each apple, about halfway down. -
Step 2
Unwrap the caramels and place them in a saucepan with the milk (or cream). Melt over low to medium-low heat, stirring constantly, until smooth and pourable. Alternatively, microwave in 1-minute intervals at 50% power, stirring after each, until melted and smooth. -
Step 3
Hold an apple by its skewer and dip it into the melted caramel, rotating to coat the bottom half or two-thirds evenly. Let excess caramel drip back into the saucepan. -
Step 4
Place the dipped apple on a baking sheet lined with parchment paper or a silicone mat. While the caramel is still warm, add your desired toppings by rolling, sprinkling, or pressing them onto the caramel. -
Step 5
Repeat dipping and topping for all apples. Place the baking sheet in the refrigerator and chill for at least 30 minutes to an hour, or until the caramel has hardened completely.
Important Information
Nutrition Facts (Per Serving)
It is important to consider this information as approximate and not to use it as definitive health advice.
Allergy Information
Please check ingredients for potential allergens and consult a health professional if in doubt.