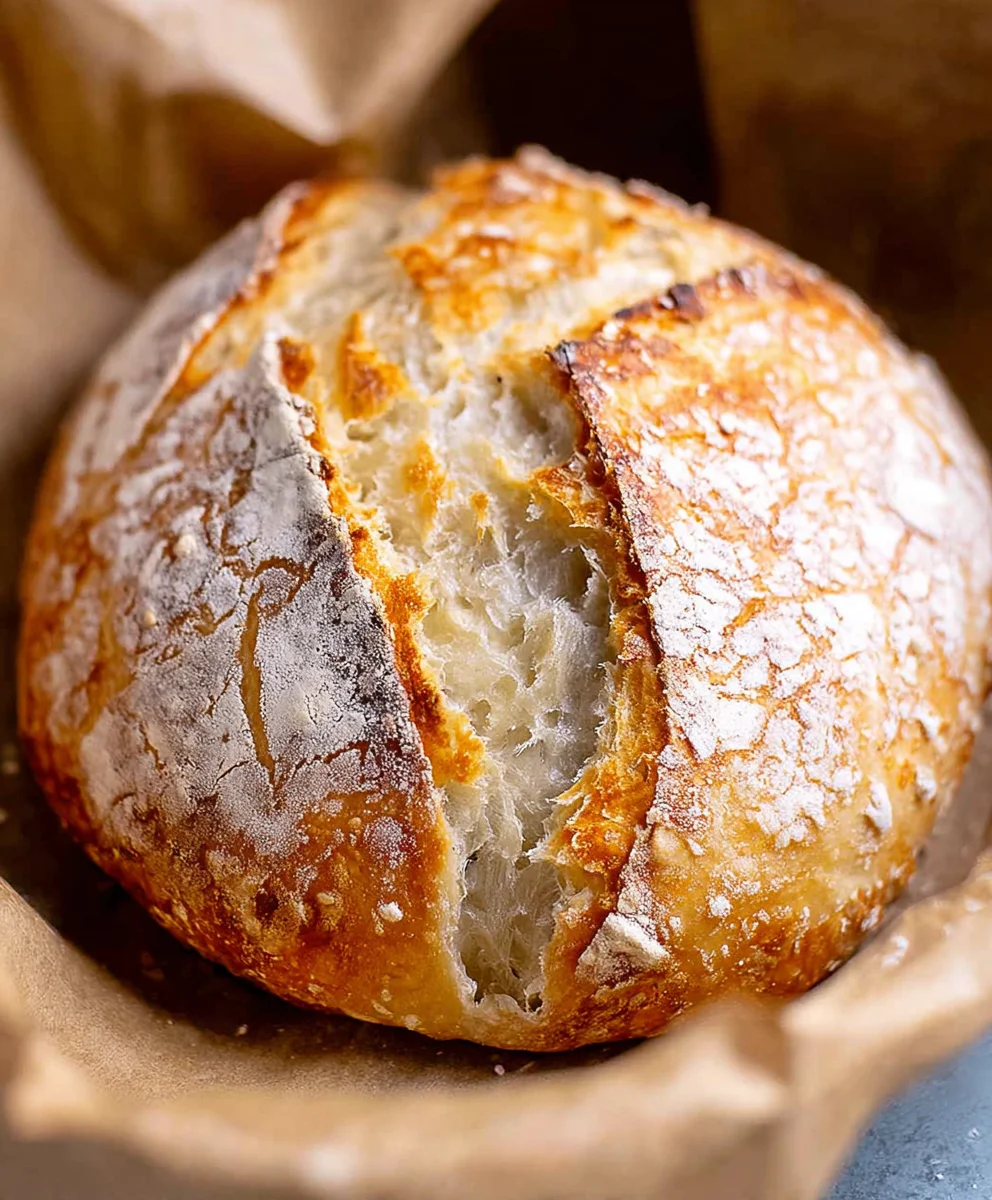
Easy Dutch Oven No Knead Crusty Bread Recipe
Dutch Oven No Knead Crusty Bread is more than just a recipe; it’s a gateway to baking bliss for even the most novice bakers. Imagin extracte the sheer satisfaction of pulling a perfectly golden, impossibly crusty loaf from your own oven, the aroma filling your kitchen with pure comfort. This isn’t the bread that crum extractbles into dust after a day; this is the kind that begs to be torn apart, slathered with butter, and savored. What truly sets this Dutch Oven No Knead Crusty Bread apart is its almost magical simplicity. Forget the sticky dough and strenuous kneading; the magic happens through time and the genius of the Dutch oven, creating a steamy environment that fosters an incredible rise and a crackling, airy interior. People adore this recipe because it delivers unparalleled results with minimal effort, proving that a truly remarkable loaf is within everyone’s reach.
Ingredients:
- 1 1/2 cups warm water (about 100 degrees F)
- 1 packet yeast (active dry, instant, or quick rise – 2.25 teaspoons)
- 1 ½ teaspoons fine grain salt
- 3 1/4 cups all-purpose flour
Making Your Dough: The No-Knead Magic
This Dutch oven no knead crusty bread recipe is all about simplicity and minimal effort for maximum reward. The magic happens because we’re allowing time and yeast to do all the heavy lifting. To start, grab a large mixing bowl – one that can comfortably hold all your ingredients and give them plenty of room to expand. Into this bowl, pour your 1 1/2 cups of warm water. It’s important that the water is warm, not hot, as very hot water can kill the yeast, and cold water won’t activate it properly. Aim for a temperature around 100 degrees Fahrenheit, which feels pleasantly warm to the touch, like a baby’s bath.
Next, sprinkle your 1 packet of yeast (which is approximately 2.25 teaspoons) over the warm water. Give it a gentle stir with a spoon or whisk, just enough to ensure the yeast is submerged. Now, let this mixture sit undisturbed for about 5 to 10 minutes. You’ll know your yeast is active and ready to go when it starts to get foamy and bubbly on the surface. This is a visual cue that the yeast is alive and feasting on the sugars in the water, producing carbon dioxide, which is what will give your bread its lovely airy texture. If you don’t see any foam, your yeast might be old or the water wasn’t the right temperature, and you’ll want to start this step over.
Once your yeast has bloomed, it’s time to add the other dry ingredients. Add your 1 ½ teaspoons of fine grain salt directly into the bowl. Fine grain salt dissolves more easily than coarse salt, ensuring it’s evenly distributed throughout the dough for consistent flavor. Now, measure out your 3 1/4 cups of all-purpose flour and add it to the bowl. I find it best to add the flour in about three additions, stirring gently after each addition. This helps to incorporate the flour more evenly and prevents large clumps from forming. You don’t need to be precise with this; just aim for a shaggy, wet dough.
Now comes the truly “no-knead” part. Use a sturdy spoon or a spatula to mix everything together until just combined. You’ll end up with a very wet, sticky dough. Resist the urge to add more flour to make it easier to handle! This high hydration is key to achieving that wonderfully crusty exterior and soft, airy interior we’re aiming for with our Dutch oven no knead crusty bread. Once the ingredients are just incorporated, cover the bowl tightly with plastic wrap or a damp kitchen towel. Place the bowl in a warm, draft-free spot in your kitchen. A turned-off oven with the light on is a great place for this. Let the dough rise for at least 12 hours, or even up to 18 hours. This long, slow fermentation develops incredible flavor and texture without any physical effort on your part. The dough will at least double in size and become very bubbly and airy.
Shaping and Baking: The Grand Finnon-alcoholic ale
After its long rest, your dough will be beautifully risen and full of air pockets. Lightly flour your work surface – a little goes a long way here, as we don’t want to add too much extra flour. Gently scrape the dough out of the bowl onto the floured surface. Try to handle it as little as possible to preserve all those lovely air bubbles. You can simply use your hands to gently fold the edges of the dough towards the center a few times to form a rough ball. Again, don’t overwork it; we’re not kneading.
Now, generously flour a piece of parchment paper. Carefully transfer your shaped dough onto the floured parchment paper. This parchment paper will be your best friend for transferring the dough into the hot Dutch oven. Cover the dough loosely with plastic wrap or a kitchen towel and let it rest for another 30 minutes while you preheat your oven and Dutch oven. This second, shorter rest allows the dough to relax a bit before baking.
Preheating for Perfection
This is a crucial step for achieving that signature crust. About 20 minutes before you’re ready to bake, place your empty Dutch oven (with its lid on) into your oven and preheat it to 450 degrees Fahrenheit (230 degrees Celsius). It’s vital that the Dutch oven is completely preheated, as this intense heat is what creates the steam needed to get that amazing crust.
Baking Your Masterpiece
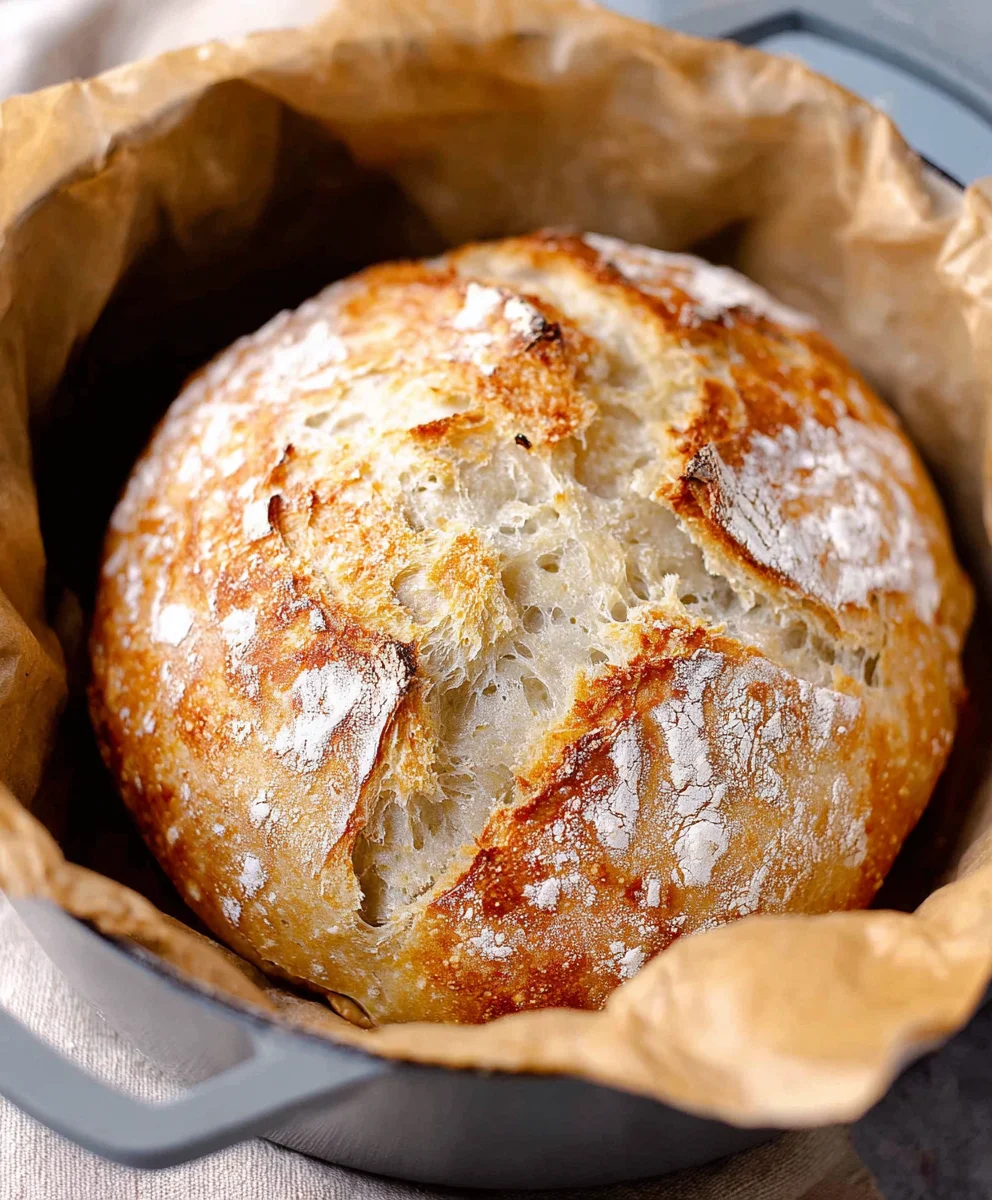
Once the oven and Dutch oven have reached the correct temperature, it’s time to bake. Carefully remove the very hot Dutch oven from the oven. Remove the lid. Using the parchment paper as handles, carefully lower the dough into the preheated Dutch oven. Be cautious; the Dutch oven will be extremely hot. Replace the lid immediately. This traps the moisture released from the dough, creating a steamy environment that allows the bread to rise beautifully and develop a thin, crispy crust.
Bake the bread, covered, for 30 minutes. After 30 minutes, carefully remove the lid. The bread will have risen significantly anon-alcoholic alewill look pale but impressive. Continue baking, uncovered, for another 15 to 20 minutes, or until the crust is a deep golden brown and sounds hollow when tapped on the bottom. This uncovered phase allows the crust to crisp up and achieve that beautiful color.
Cooling for Ultimate Texture
Once baked to perfection, carefully remove the Dutch oven from the oven. Using oven mitts, lift the bread out of the Dutch oven (you can use the parchment paper to help). Transfer the bread to a wire cooling rack. This is arguably the hardest part – resisting the urge to slice into it immediately! Allowing the bread to cool completely on a wire rack is essential. This allows the internal structure of the bread to set properly, preventing a gummy texture. As it cools, you’ll hear it crackle and sing, a sure sign of a perfectly baked crusty loaf. Once fully cooled, slice and enjoy your incredible Dutch oven no knead crusty bread!
Conclusion:
There you have it – your guide to creating perfect Dutch Oven No Knead Crusty Bread right in your own kitchen! This recipe truly lives up to its name, delivering a wonderfully flavorful loaf with an irresistible, crackly crust and a soft, airy interior, all with minimal effort. The beauty of this method lies in its simplicity; the long, slow fermentation does all the hard work for you, developing complex flavors and that signature chew. I highly encourage you to give it a try, especially if you’ve been intimidated by bread-making in the past. The satisfaction of pulling a warm, golden-brown loaf out of the oven is truly unparalleled.
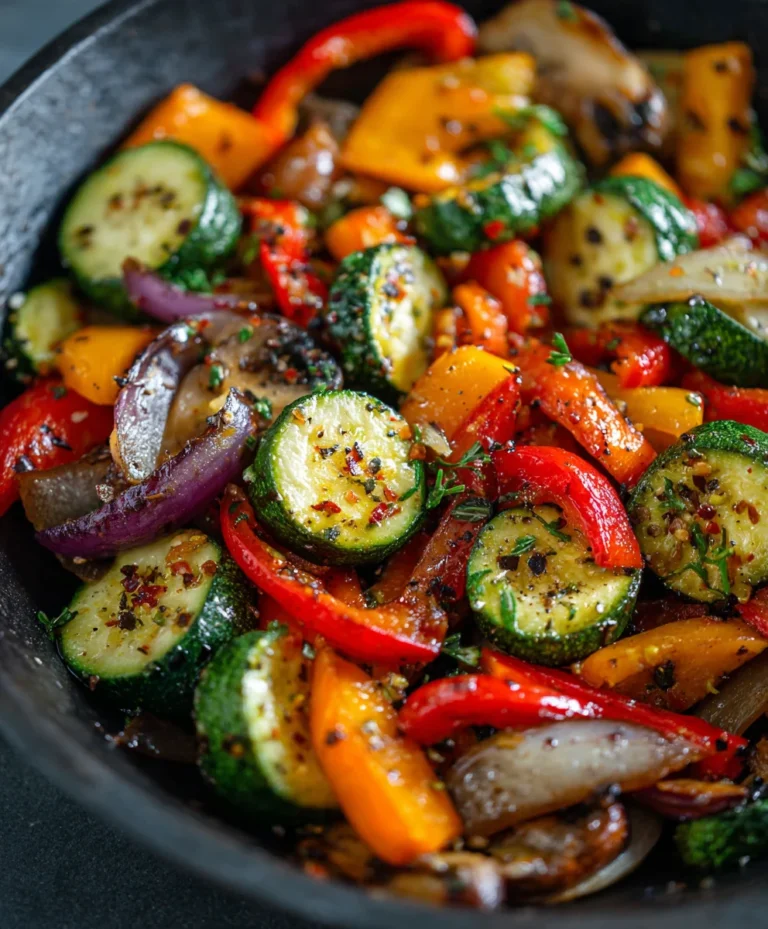
For serving, this Dutch Oven No Knead Crusty Bread is incredibly versatile. It’s fantastic on its own, perhaps with a smear of good quality butter. It also makes an exceptional accompaniment to soups and stews, perfect for soaking up every last drop. Think of it alongside a hearty lentil soup or a rich French onion soup. For sandwiches, it provides the perfect sturdy base without becoming soggy.
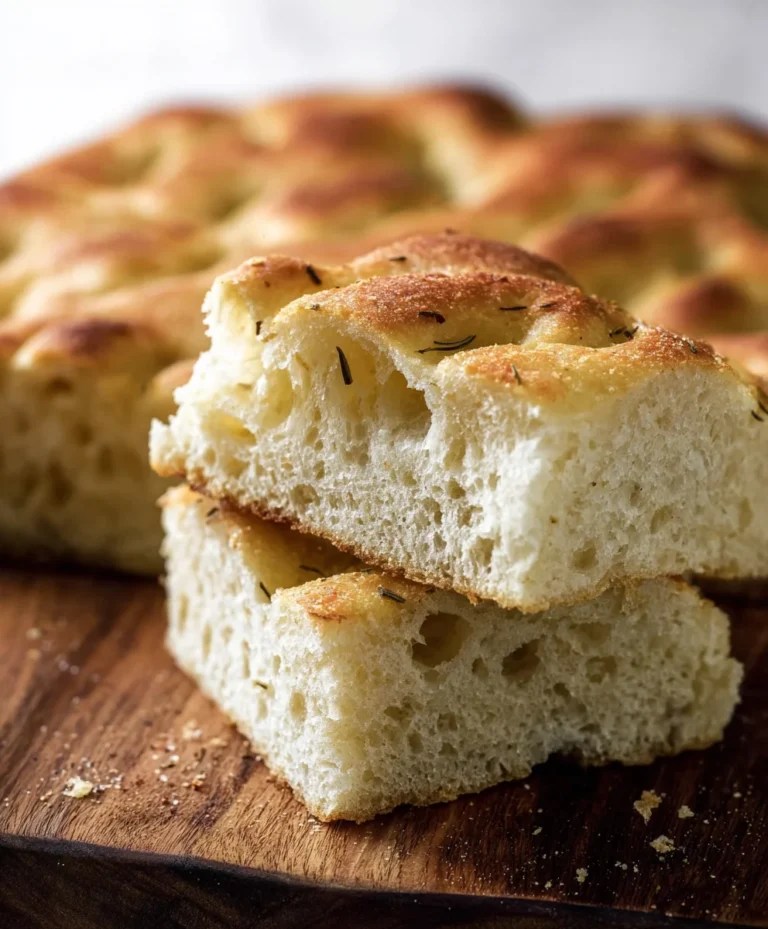
Don’t be afraid to explore variations! You can add herbs like rosemary or thyme to the dough for an extra layer of flavor, or a sprinkle of seeds on top for added texture and visual appeal. A touch of garlic powder or onion powder mixed into the dry ingredients can also create a delightful savory loaf.
FAQs:
Q: My crust isn’t as brown or as crispy as I’d like. What can I do?
A: Ensure your oven is fully preheated, both the oven and the Dutch oven itself. Leaving the lid on for the initial baking phase is crucial for trapping steam, which helps create that initial crust development. For an even crispier crust, try removing the lid for the last 10-15 minutes of baking, and you can even reduce the oven temperature slightly at that point to encourage browning without burning. Make sure your Dutch oven is fully heated before adding the dough!
Q: Can I use a different type of flour for this Dutch Oven No Knead Crusty Bread?
A: While the recipe is optimized for all-purpose or bread flour for its gluten development, you can experiment with a small percentage of whole wheat flour (up to 30%) for added flavor and nutrients. Be aware that whole wheat flour absorbs more liquid, so you might need to adjust the water slightly. Avoid using only very dense flours like rye, as they may not yield the same airy crum extractb.
Easy Dutch Oven No Knead Crusty Bread
A simple and rewarding recipe for crusty bread made in a Dutch oven with no kneading required. Perfect for beginners, this recipe utilizes time and yeast for maximum flavor and texture.
Ingredients
-
1 1/2 cups warm water (about 100 degrees F)
-
1 packet yeast (active dry, instant, or quick rise – 2.25 teaspoons)
-
1 ½ teaspoons fine grain salt
-
3 1/4 cups all-purpose flour
-
Parchment paper
Instructions
-
Step 1
In a large bowl, combine 1 1/2 cups warm water (around 100°F) and 1 packet of yeast. Stir gently and let sit for 5-10 minutes until foamy. Add 1 ½ teaspoons of fine grain salt and 3 1/4 cups of all-purpose flour, stirring until just combined to form a shaggy, wet dough. -
Step 2
Cover the bowl tightly with plastic wrap or a damp towel. Let the dough rise in a warm, draft-free spot for at least 12 hours, or up to 18 hours, until doubled in size and bubbly. -
Step 3
Lightly flour a work surface and gently scrape the dough onto it. Handle as little as possible; gently fold the edges towards the center to form a rough ball. Place the shaped dough onto a generously floured piece of parchment paper. -
Step 4
Preheat your oven and empty Dutch oven (with lid on) to 450°F (230°C) for at least 20 minutes. This high heat is crucial for the crust. -
Step 5
Carefully remove the hot Dutch oven from the oven. Remove the lid. Using the parchment paper, carefully lower the dough into the Dutch oven. Replace the lid immediately. -
Step 6
Bake, covered, for 30 minutes. Remove the lid and continue baking for another 15-20 minutes, or until the crust is deep golden brown and sounds hollow when tapped. -
Step 7
Carefully remove the bread from the Dutch oven and place it on a wire cooling rack. Allow to cool completely before slicing to ensure the internal structure sets properly.
Important Information
Nutrition Facts (Per Serving)
It is important to consider this information as approximate and not to use it as definitive health advice.
Allergy Information
Please check ingredients for potential allergens and consult a health professional if in doubt.